Recently a question was posted to OneStream Champions, inquiring on how to configure Attribute Value Dimensions. This blog will provide a tutorial on how this configuration occurs which will be demonstrated with the OneStream GolfStream application.
As is customary, log into the GolfStream application.
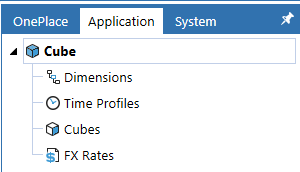
Select and expand “Application” -> “Cube” -> “Cubes“.
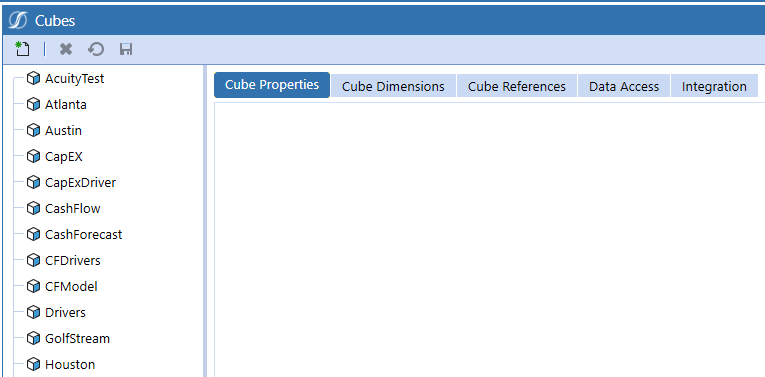
Select the “Cube” for which the Attribute Dimension will be configured for. In this example, “Houston” is selected.
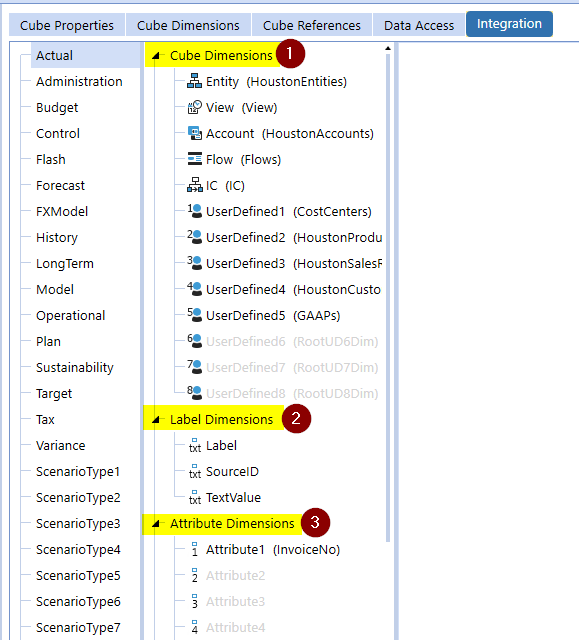
With the “Houston Cube” selected, click the “Integration” tab.

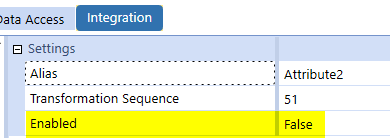
After selecting the “Integration” tab, the configuration of “Cube” “#1“, “Label” “#2“, and “Attribute” “#3” Dimensions is displayed by Scenario Type. In the configuration displayed which is for the Actual Scenario Type, Attribute 1 is enabled which visually is indicated by the non greyed out text. To enable an Attribute Dimension, select one of the greyed out dimensions to begin the process which in this example with be “Attribute2“.
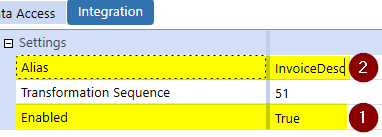
Update the Enabled setting from “False” to “True” “#1” which is the initial step to utilize the Attribute2 dimension for integration. Optionally change the Alias “#2” to have a business meeting. After the updates have been completed, select the “Save” ![]() icon.
icon.
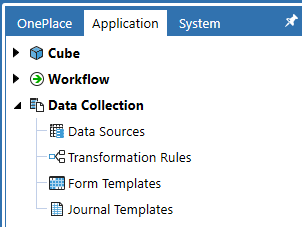
Having enabled the Attribute2 Dimension, the next step will be to configure the Data Source. To continue, select “Application” -> “Data Collection” -> “Data Sources“.
Navigate to and select the “Data Source” to which the Attribute Dimension will be added to which in this example is “HoustonRevMgmt“.
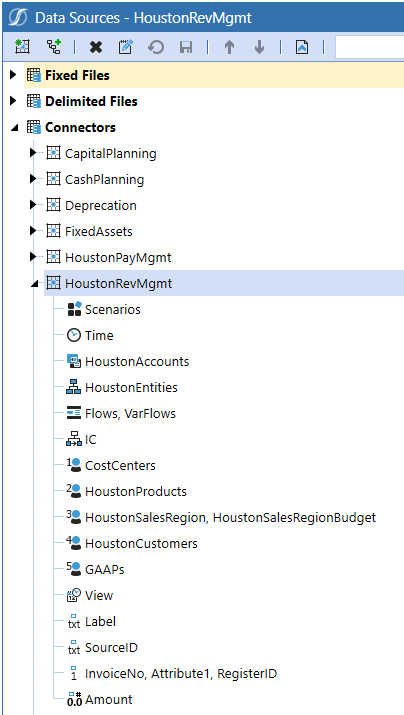
With the Data source selected, click the “Create Source Dimension” ![]() icon.
icon.

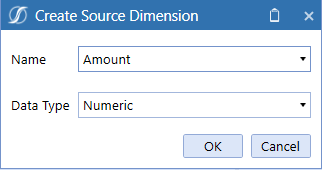
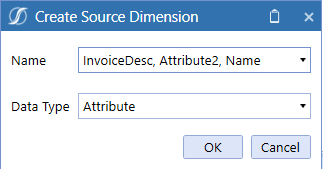
After the “Create Source Dimension” dialog box renders, update the Name from “Amount” to “InvoiceDesc, Attribute2, Name” which will also update the Data Type from “Numeric” to “Attribute“. Once this is done, select “OK“.
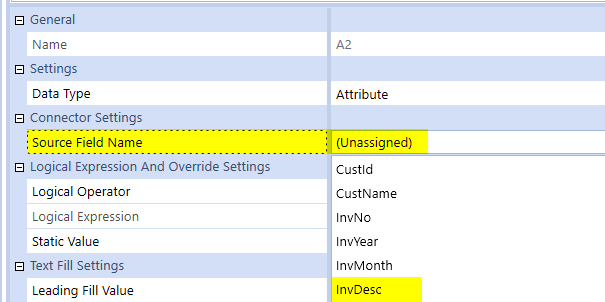
Update the “Source Field Name” from “(Unassigned)” to “InvDesc” and select the “Save” ![]() icon. Note, the items listed in the drop-down for “Source Field Name” are configured in the Connector Business Rule defined for the Data Source.
icon. Note, the items listed in the drop-down for “Source Field Name” are configured in the Connector Business Rule defined for the Data Source.

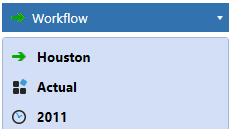
To test the configuration, navigate to the Workflow POV for Houston which in this example will be “Houston” -> “Actual” -> “2011“.
Select “Houston.Sales Detail” which is the Workflow configured for the Data Source previously updated.
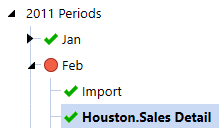
Select “Import” to view the previous import which is displayed in the second image and shows Attribute2 “Invoice Desc” added but without values.


To update “Invoice Desc“, select “Load And Transform“.

Select “OK“.
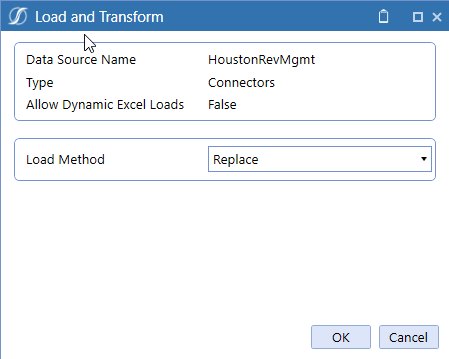
After the “Import” completes, “Attribute2 – InvoiceDesc” will have values.

In the event you need to add and configure an Attribute Dimension to a Data Source, I hope you find this post helpful. As always should you have any questions, either leave a comment or email me at terry.ledet@perficient.com.

