
The prerequisite to install WebSphere Portal 9 on Ubuntu:
- Install Ubuntu 16.04 LTS operating system.
- Install IBM Installation Manager 1.8.5 or higher. (If you are running on a lower version of installation manager then upgrade it before starting the installation.)
- Download below eAssembly or part number separately for Portal 9 installation.
You can download CJ1A3ML eAssembly; it will have all the four required parts for installation.
 Important Note:
Parts 1 – 4 of this image must be extracted into the same directory to create an installable image.
Installation Process
To install WebSphere Portal 9, you need to do the following steps:
- Install WebSphere Portal 8.5.
- Update Portal to CF 13.
- Run portal script to upgrade the profile for CF update.
- Install WebSphere Portal 9.
1. Install WebSphere Portal 8.5
The first step is to install the base Portal 8.5 with WAS 9.0.0.2, JDK8.0.3, and PI59896.
Start the installation manager and add the repositories.
Click on the install and select the checkbox as shown below to install WebSphere Portal 8.5.
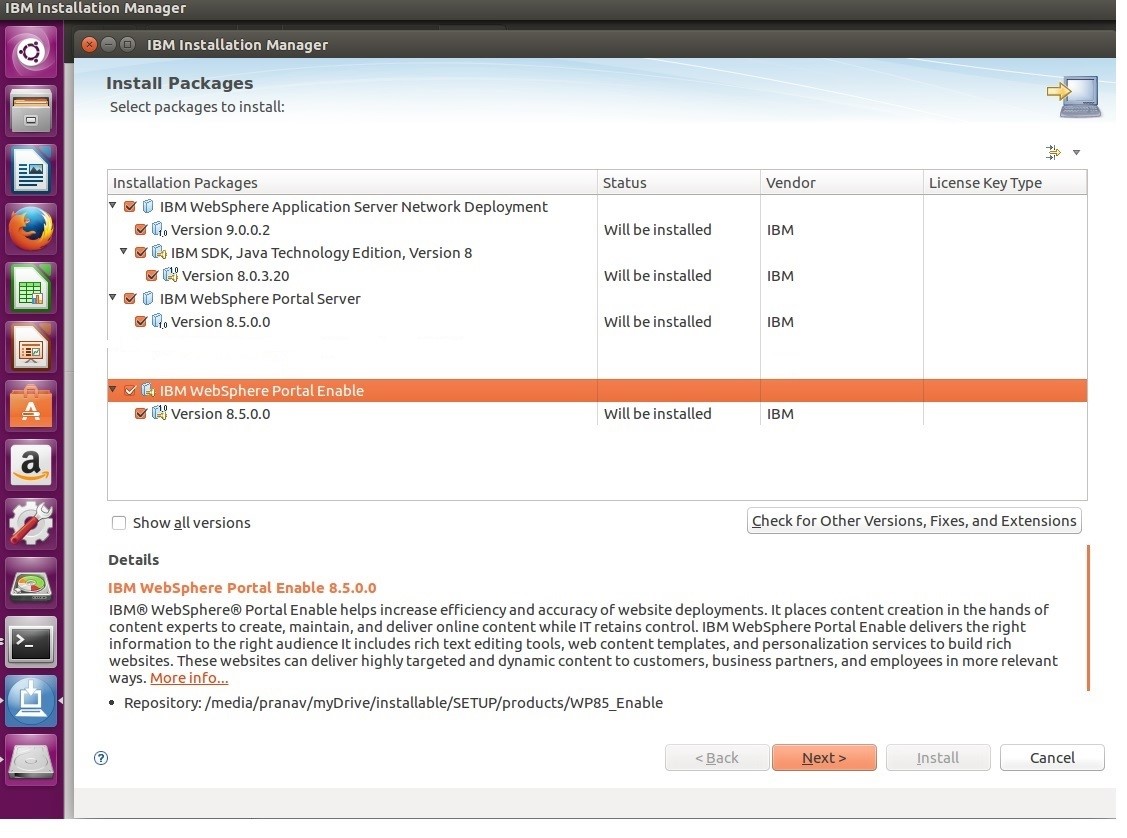
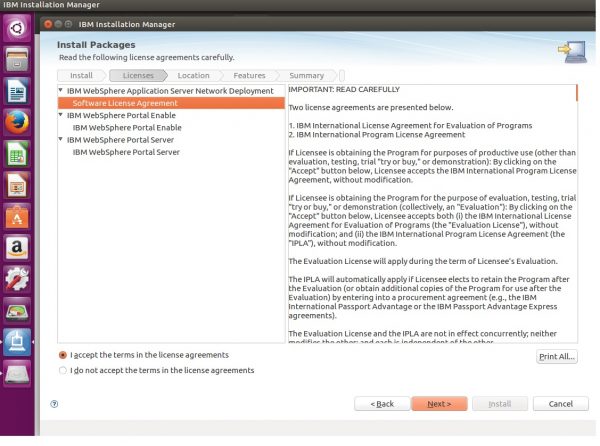
Click “next” and accept the agreement.
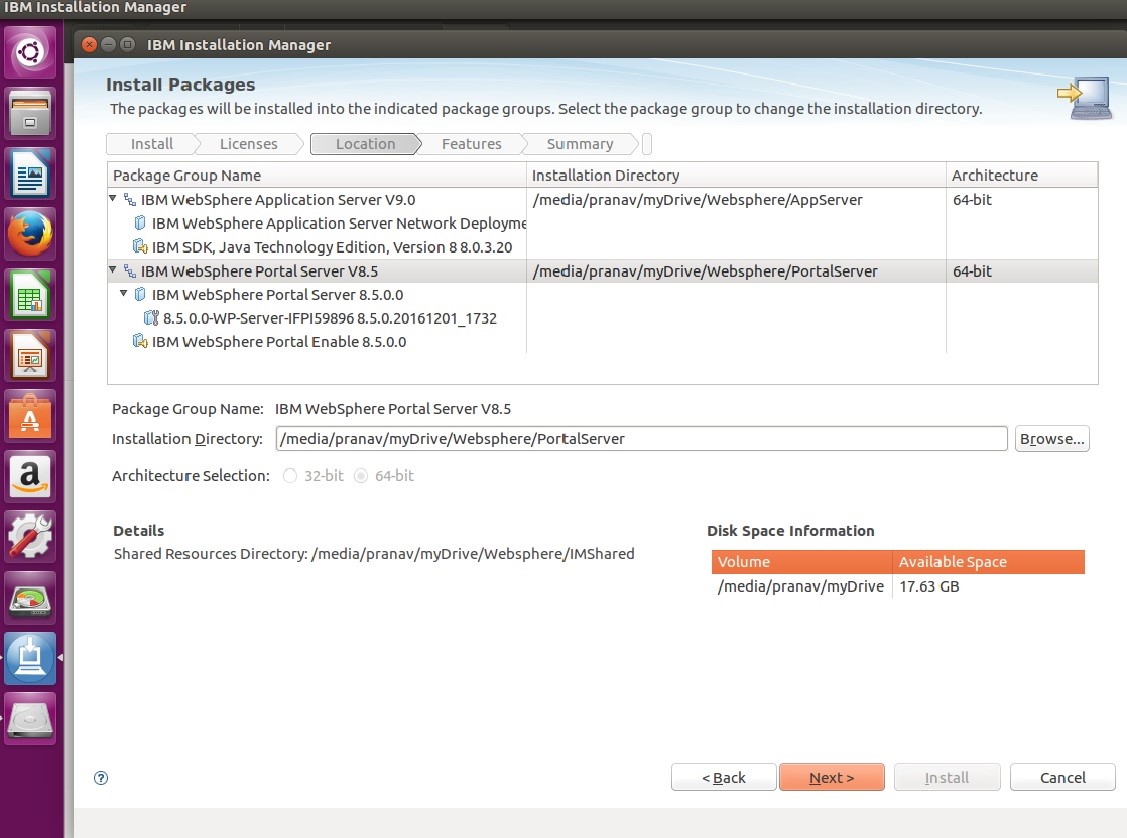
Select installation directory and architecture type and then click “next.”
Enter the configuration detail for WebSphere portal and then click “next.” If you want to change the context root and other configuration you can do it now in this step during installation.
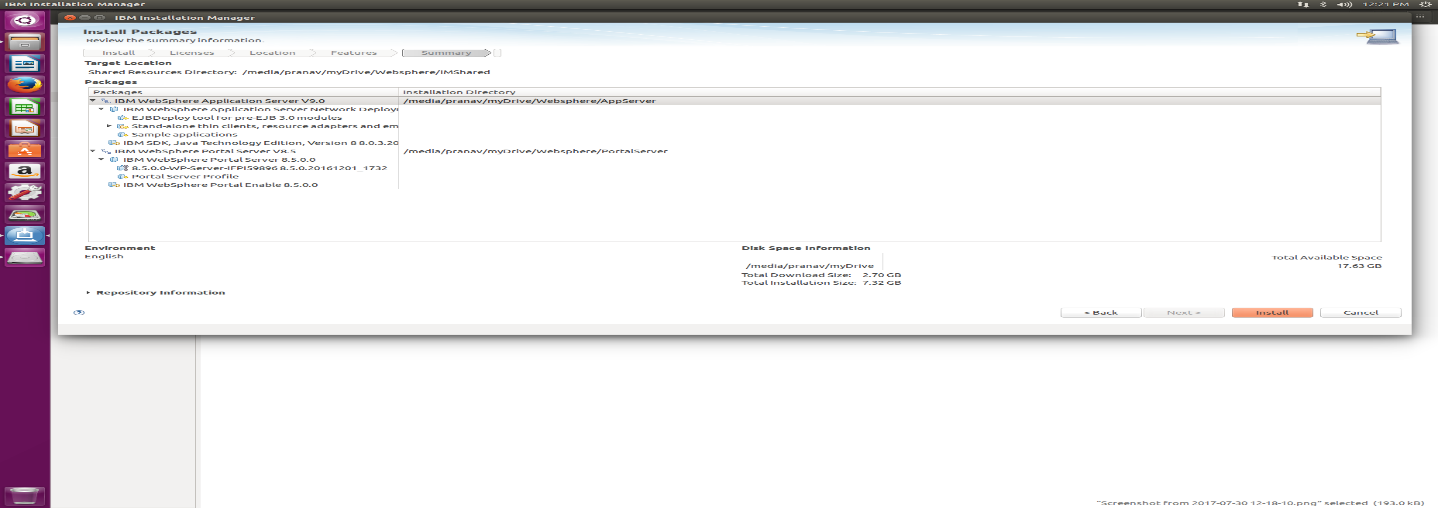
Click on install to start the installation.
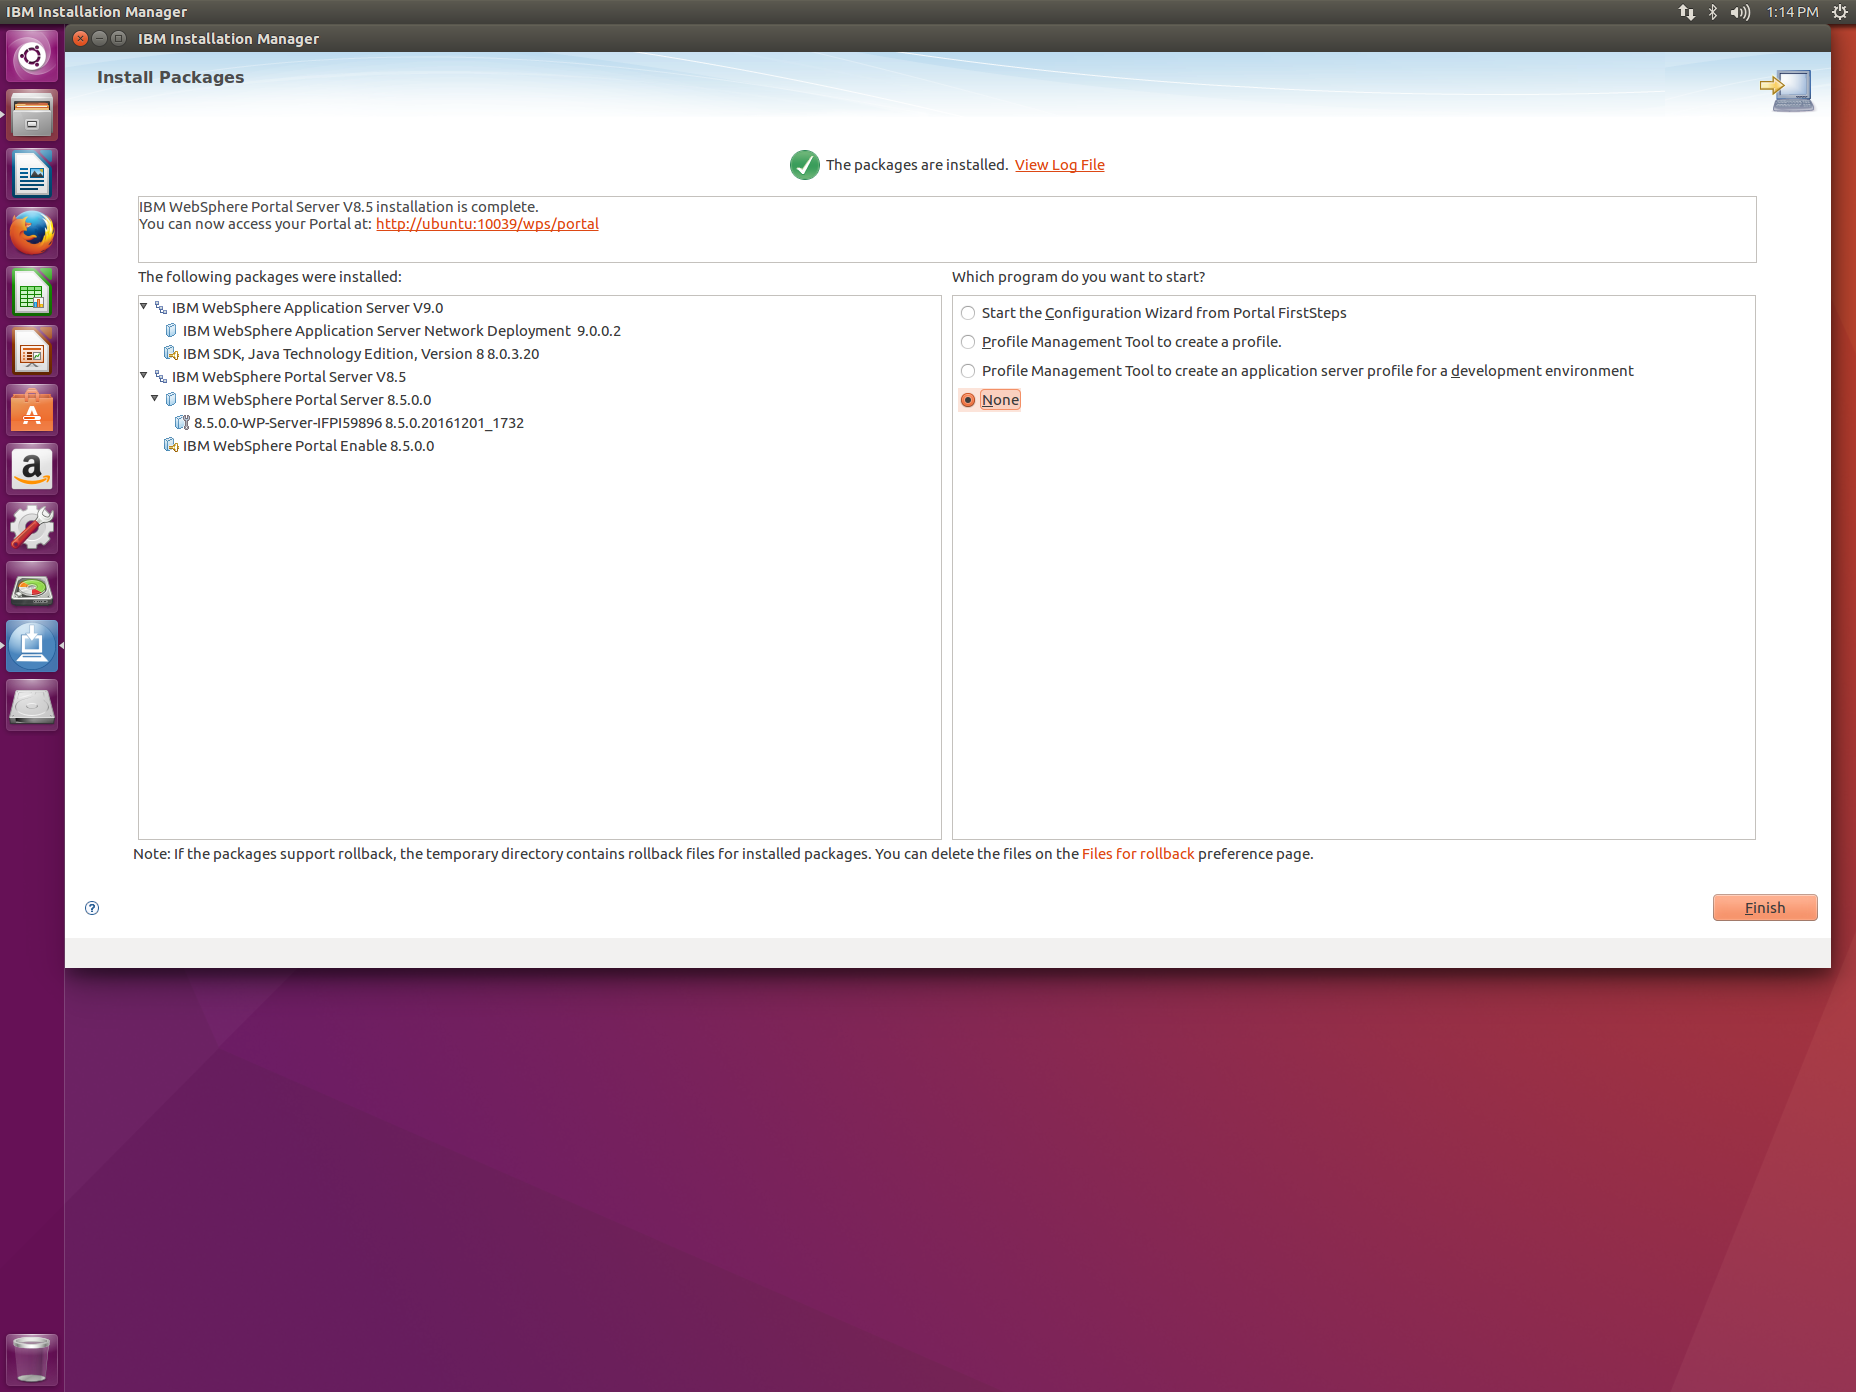
Once the installation is completed you will see the message for WebSphere portal 8.5 completion.
Select the None option for “Which program do you want to start?” and click Finish.
The next step in the installation is to update portal 8.5 to CF 13.
2. Update Portal 8.5 to CF13
Open the installation manager and click on update.
Select Portal 8.5 and click “next” to start the update to CF13.

Click Next to accept the license agreement and start the update process.

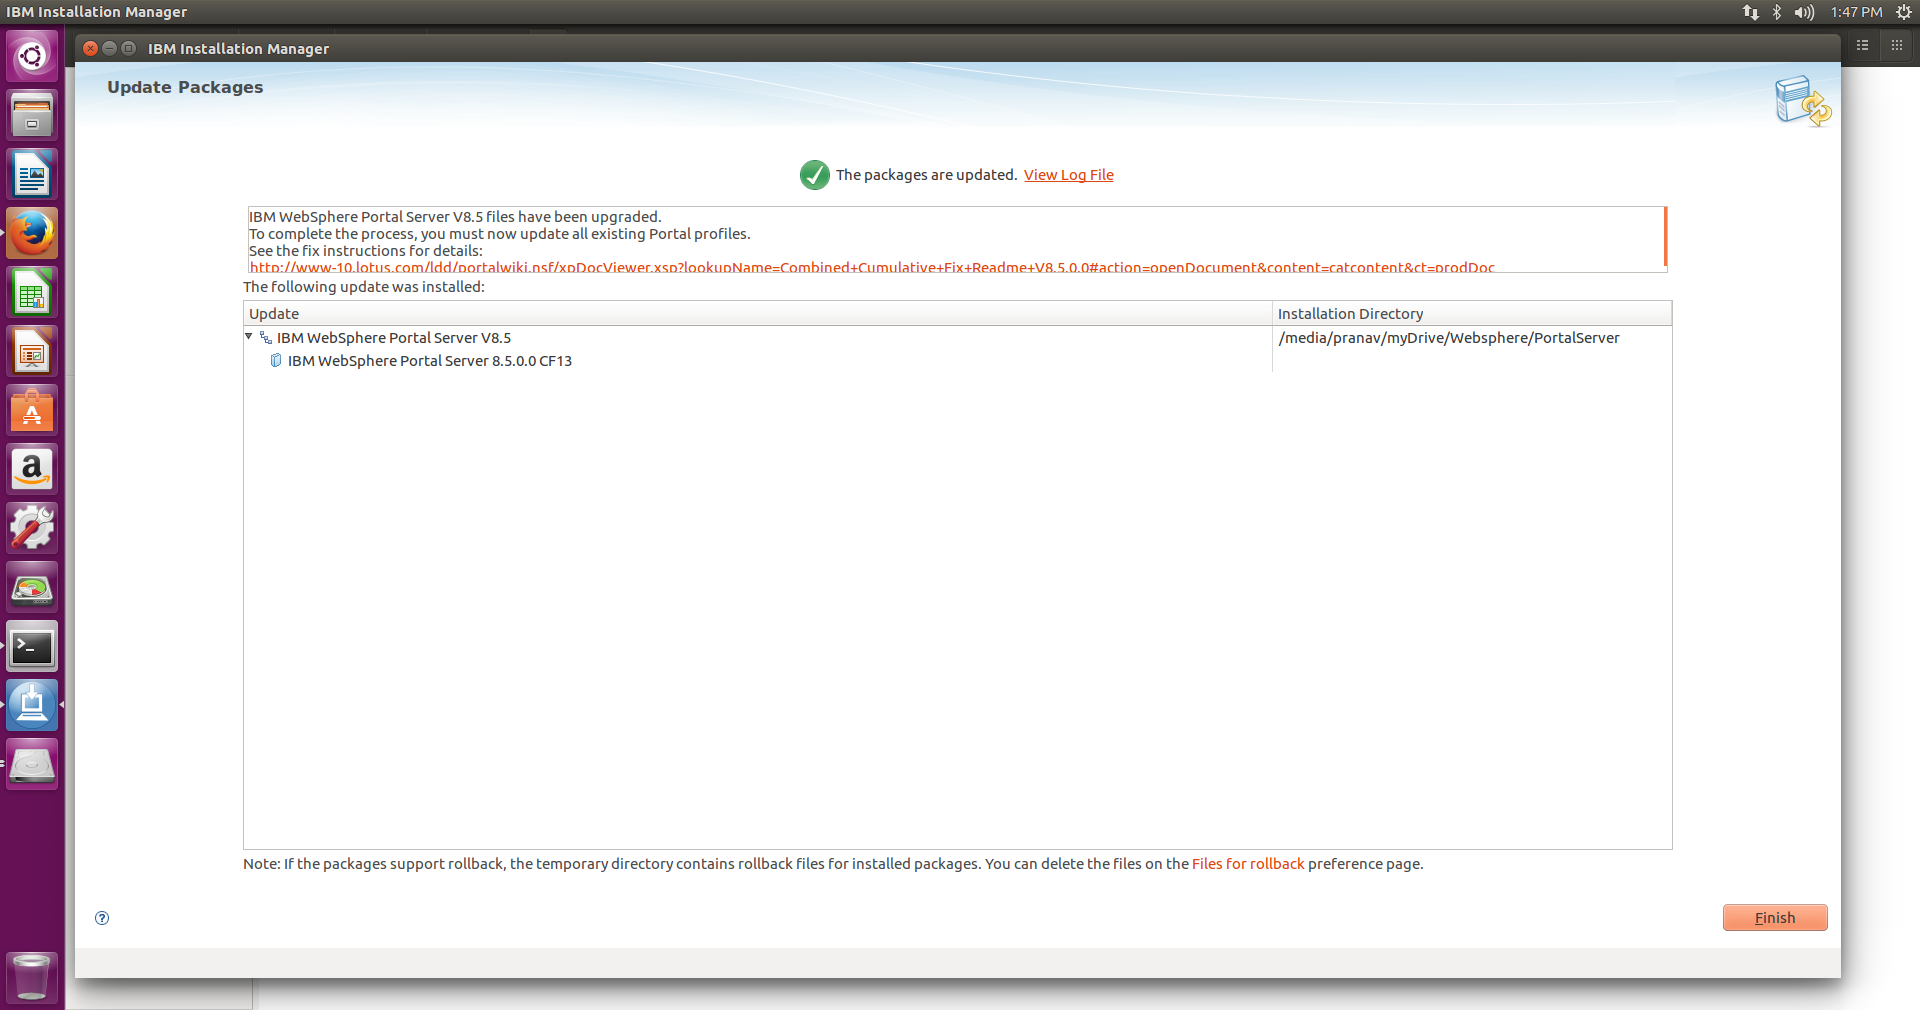
Once Portal 8.5 is updated with CF 13 you will see this screen:
Now, the third step is to update the portal profiles.
3. Portal script to upgrade the profile for CF update.
Next, update the profile.
Ensure the WebSphere Portal server is stopped.
Execute the following command from within the path of the profile to configure:
<profile_root>/PortalServer/bin/applyCF.sh -DPortalAdminPwd=<password> -DwasPassword=<password>
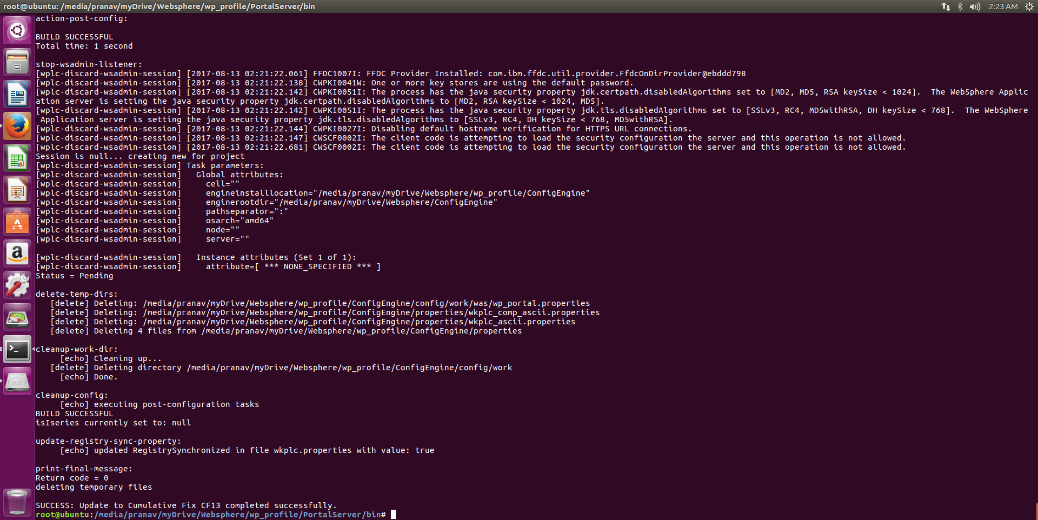
Note: If it fails make sure to check the wkplc.properties file to check all the parameters and password is correct.
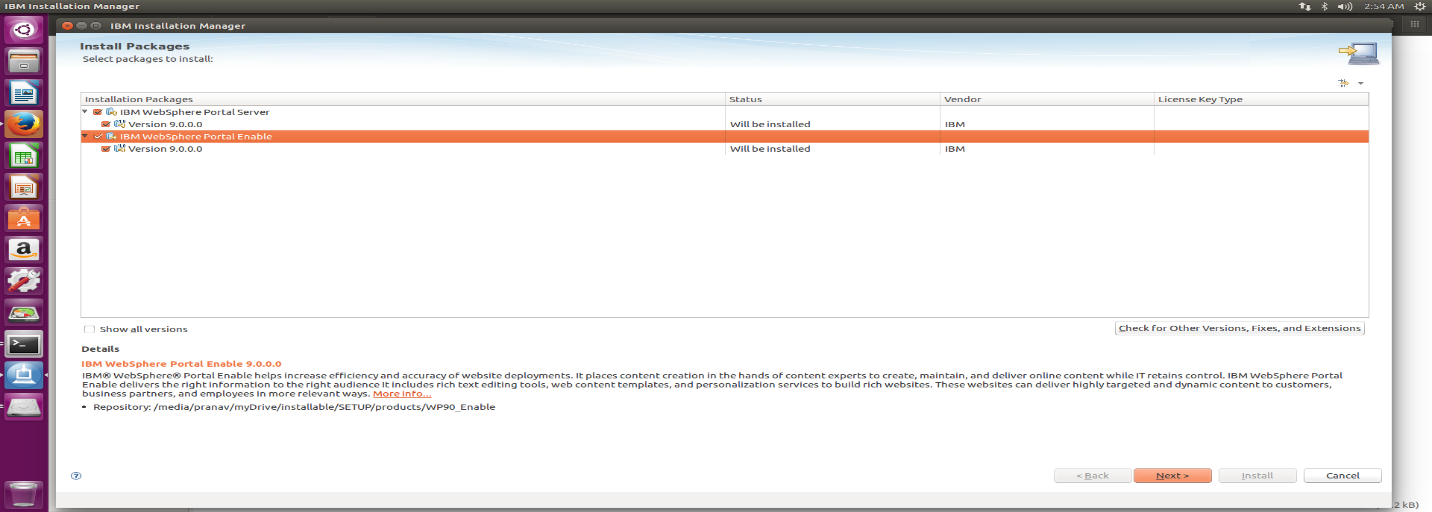
4. Install WebSphere Portal 9.
Click on install and select the product to be installed.
Click “next” to accept the agreement.

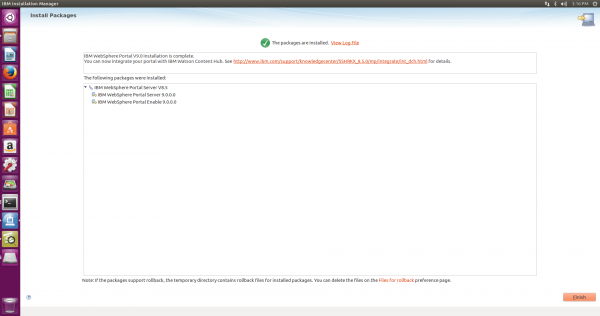
Once the installation is completed verify by logging into the portal admin console.
References:
https://www.ibm.com/support/knowledgecenter/SSHRKX_9.0.0/mp/dd/dd_enable9.html