This blog elucidates the steps to integrate a Message Queue with Business Process Management – Advanced V8.5.
1) Create a connection Factory with a WebSphere MQ Provider as shown below:
2) Select the scope of the configuration and click New.
3) Select the JMS resource provider as WebSphere MQ messaging provider as shown below:
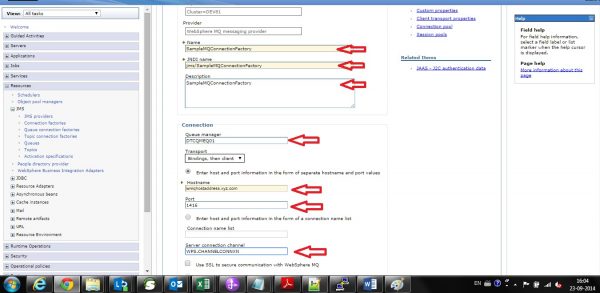
4) Provide the name and corresponding JNDI name for the Connection Factory as shown below:
Name – SampleMQConnectionFactory
JNDI – jms/SampleMQConnectionFactory
5) Click Next by selecting the option shown below,
6) A Message Queue Provider has the following details which is required to configure a Connection Factory and a Queue:
Queue Manager : DTCQMEQ01
Server : wmqhostaddress.xyz.com
Port : 1416
Channel Queue : WPS.CHANNELCONNXN
Queue Name : EFG.ABCDBK.FUNCTIONDER.TSP.OUTGOING
User Name : abc
Password : abc
7) Fill in the following details from the above mentioned queue details as shown below:
8) Skip the test connection, since we have not configured the J2C-JAAS alias for authentication.
9) If tested, you might get the following error,
A connection could not be made to WebSphere MQ for the following reason: JMSCMQ0001: WebSphere MQ call failed with compcode ‘2’ (‘MQCC_FAILED’) reason ‘2035’ (‘MQRC_NOT_AUTHORIZED’).
10) Go to Resources à JMS à Connection factories à SampleMQConnectionFactory and ensure that the following details are present,
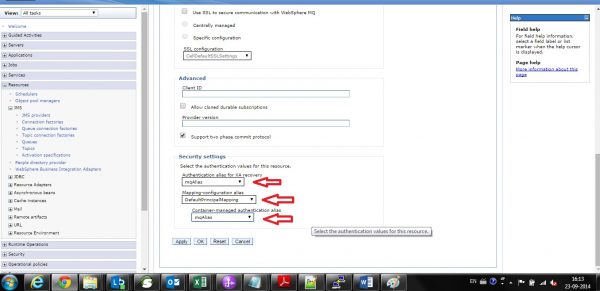
11) Upon scrolling down, you will see an empty Security Settings. If you have not added a JAAS-J2C authentication alias with user name – abc and password – abc, click on the “JAAS-J2C authentication data” link and add one.
12) After Saving, set the above JAAS alias to the Security Settings of the Connection factory created earlier as shown below,
13) Click Apply and Save. Thus you have successfully created a Connection Factory with WebSphere MQ messaging Provider.
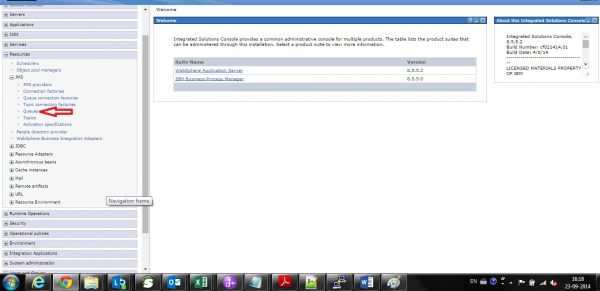
14) Create a Connection to the Queue by following the below steps,
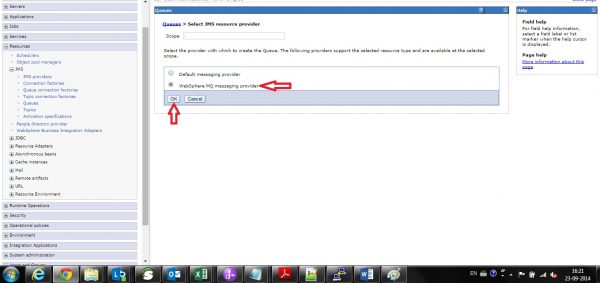
15) Select the scope and click new. Select the WebSphere MQ messaging provider as shown and click OK,
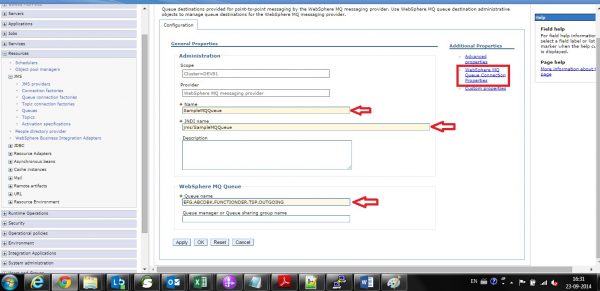
16) Provide Name, JNDI Name and the Queue Name as shown below,
Name : SampleMQQueue
JNDI Name : jms/SampleMQQueue
Queue Name : EFG.ABCDBK.FUNCTIONDER.TSP.OUTGOING
17) Click Apply and Save. You have successfully created an MQ.
18) Go to Resources à JMS à Queues à SampleMQQueue and ensure that the details are present. Click on the “WebSphere MQ Queue Connection Properties” on the right side as shown below and provide the correct port number of the Queue Manager.
19) Provide the port number of the Queue Manager as follows and the click apply and Save.
20) Bounce the server and proceed to development of BPEL and exposing the same using MQ Adapters with the above configured details.
JMS Adapter Import in IID –
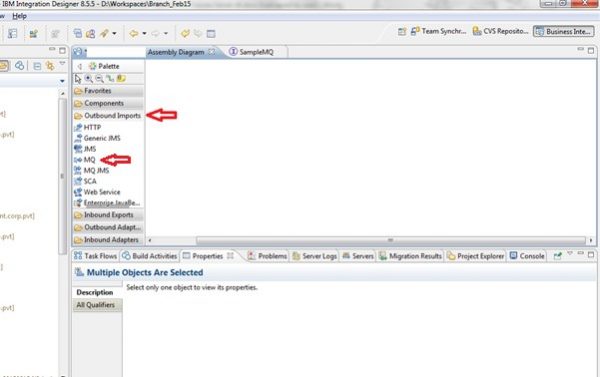
1)Select the outbound imports from the palette and drag the MQ to assembly diagram as shown:
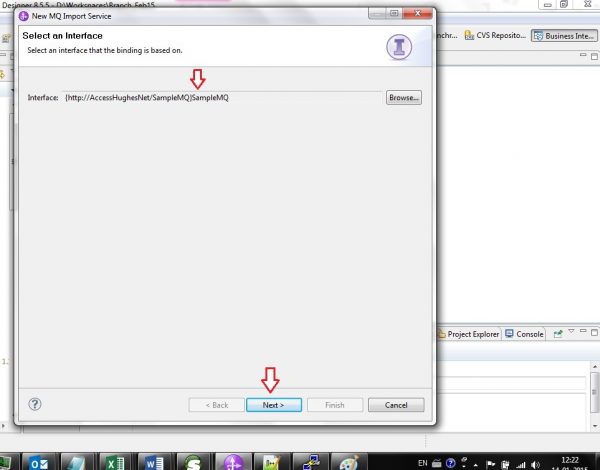
2) Select the interface of the JMS service as shown:
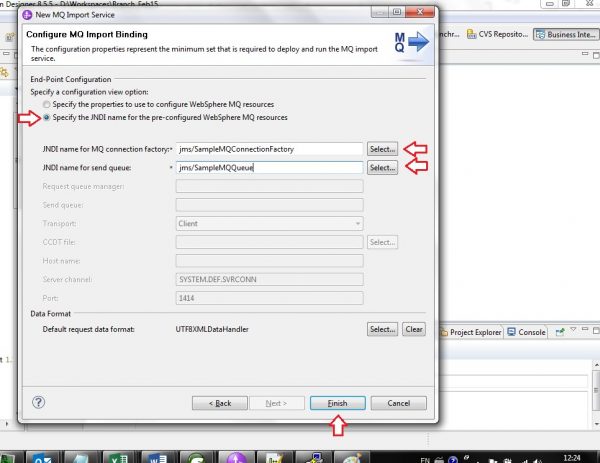
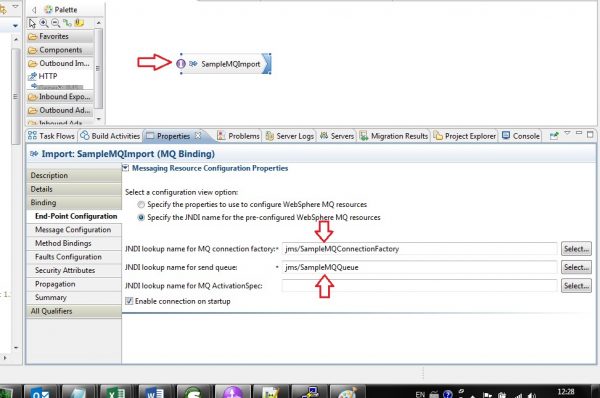
3) Provide the following configuration details:
JNDI MQ Connection Factory : jms/SampleMQConnectionFactory
JNDI Send Queue : jms/SampleMQQueue
J2C Authentication : mqAlias
4) You can see the MQ import with Connection details as shown:
PS –
- Alternatively, MQ custom properties can be configured for JMS resources and also with Client Channel Definition Table(CCDT) instead of hard coded values in the configuration.
- Activation specification is optional for import bindings, if we want to control our WMQ Resource Adapter connection properties then AS configuration is needed.


