
Kube Lens — The Visual IDE for Kubernetes
Kube Lens is a desktop Kubernetes IDE that gives you a single, visual control plane for clusters, resources, logs and metrics—so you spend less time wrestling with kubectl output and more time solving real problems. In this post I’ll walk through installing Lens, adding clusters, and the everyday workflows I actually use, the features that speed up debugging, and practical tips to get teams onboarded safely.
Prerequisites
A valid kubeconfig (~/.kube/config) with the cluster contexts you need (or point Lens at alternate kubeconfig files).
What is Lens (Lens IDE / Kube Lens)
Lens is a cross-platform desktop application that connects to one or many Kubernetes clusters and presents a curated, interactive UI for exploring workloads, nodes, pods, services, and configuration. Think of it as your cluster’s cockpit—visual, searchable, and stateful—without losing the ability to run kubectl commands when you need them.
Kube Lens features
Kube Lens shines by packaging common operational tasks into intuitive views:
- Multi-cluster visibility and quick context switching so you can compare clusters without copying kubeconfigs.
- Live metrics and health signals (CPU, memory, pod counts, events) visible on a cluster overview for fast triage.
- Built-in terminal scoped to the selected cluster/context so CLI power is always one click away.
- Log viewing, searching, tailing, and exporting right next to pod details — no more bouncing between tools.
- Port-forwarding and local access to cluster services for debugging apps in-situ.
- Helm integration for discovering, installing, and managing releases from the UI.
- CRD inspection and custom resource management so operators working with controllers and operators aren’t blind to their resources.
- Team and governance features (SSO, RBAC-aware views, CVE reporting) for secure enterprise use.
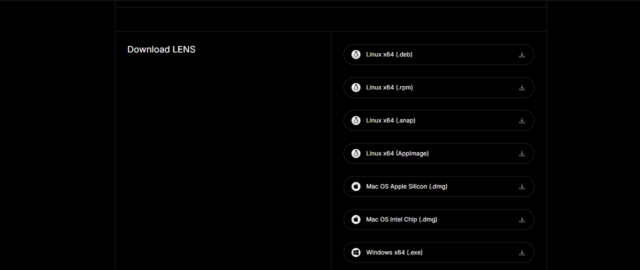
Install Lens (short how-to)
Kube Lens runs on macOS, Windows, and Linux. Download the installer from the Lens site,
After installing it, launch Lens and complete the initial setup, and create/sign in with a Lens ID (for syncing and team features)
Add your cluster(s)
- Lens automatically scans default kubeconfig locations (~/.kube/config).
- To add a cluster manually: go to the Catalog or Clusters view → Add Cluster → paste kubeconfig or point to a file.
- You can rename clusters and tag them (e.g., dev, staging, prod) for easier filtering.

Main UI walkthrough
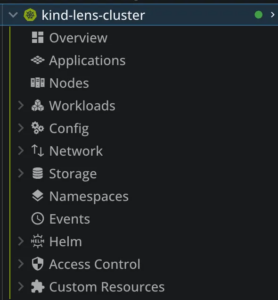
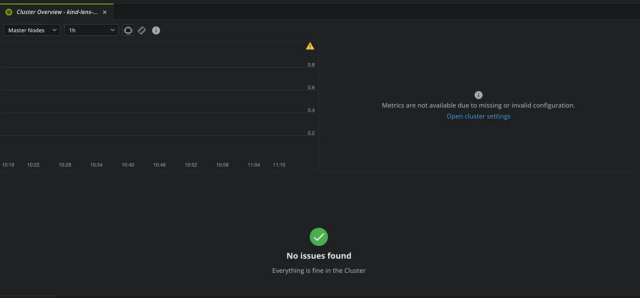
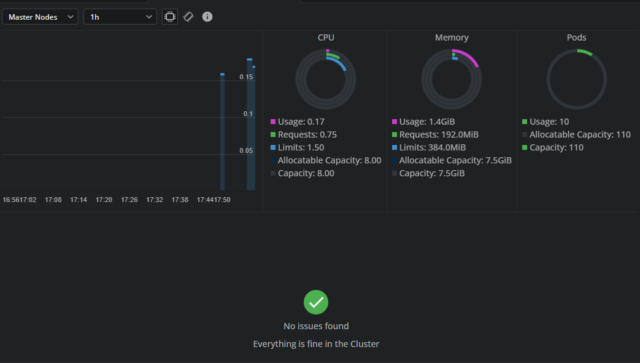
- Overview shows your cluster health assessment. This is where you get visibility into node status, resource utilization, and workload distribution
- Nodes show you data about your cluster nodes

- Workloads will let you explore your deployed resources
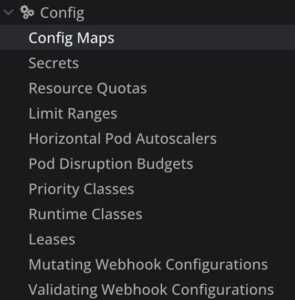
- Config will show you data about your configmaps, secrets, resource quotas, limit ranges and more
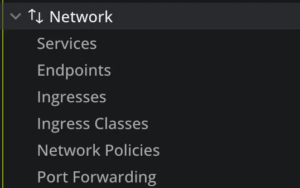
- In the Network you will see information about your services, ingresses, and others
And as you can see, there are other options present, so this would be a great time to stay a couple of minutes in the app, and explore all the things that you can do.
As soon as there are changes happening in your cluster, Lens picks them and propagates them immediately through the interface. Pod restarts, scaling operations, and configuration changes appear without manual refresh, providing live insight into cluster operations that static kubectl output cannot simply match.
Example:
I will start with a basic nginx deployment that shows pod lifecycle management:
---
apiVersion: apps/v1
kind: Deployment
metadata:
  name: nginx-deployment
  labels:
    app: nginx
spec:
  replicas: 3
  selector:
    matchLabels:
      app: nginx
  template:
    metadata:
      labels:
        app: nginx
    spec:
      containers:
      - name: nginx
        image: nginx:1.21
        ports:
        - containerPort: 80
        resources:
          requests:
            memory: "64Mi"
            cpu: "250m"
          limits:
            memory: "128Mi"
---
apiVersion: v1
kind: Service
metadata:
  name: nginx-service
spec:
  selector:
    app: nginx
  ports:
    - protocol: TCP
      port: 80
      targetPort: 80
  type: ClusterIP
---

apiVersion: v1
kind: ConfigMap
metadata:
  name: nginx-config
data:
  nginx.conf: |
    server {
        listen 80;
        location / {
            return 200 'Hello from Lens!\n';
            add_header Content-Type text/plain;
        }
Apply this using kubectl.
kubectl apply -f nginx_deployment.yaml
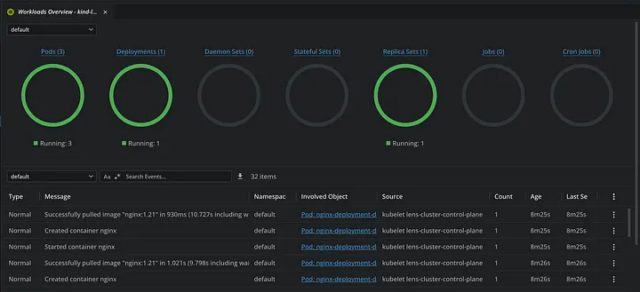
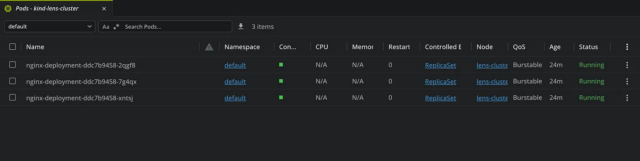
Now that we’ve created a couple of resources, we are ready to explore Lens.
Here are all the pods running:
By clicking on the 3 dots on the right side, you get a couple of options:
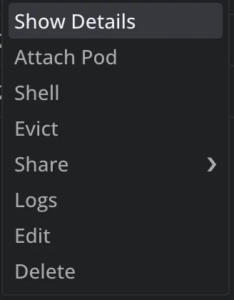
You can easily attach to a pod, open a shell, evict it, view the logs, edit it, and even delete it.
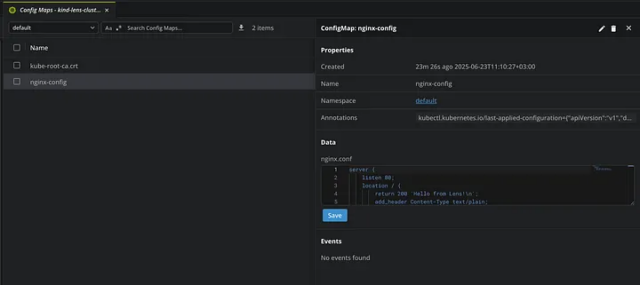
Here is the ConfigMap:
Port-Forward to Nginx
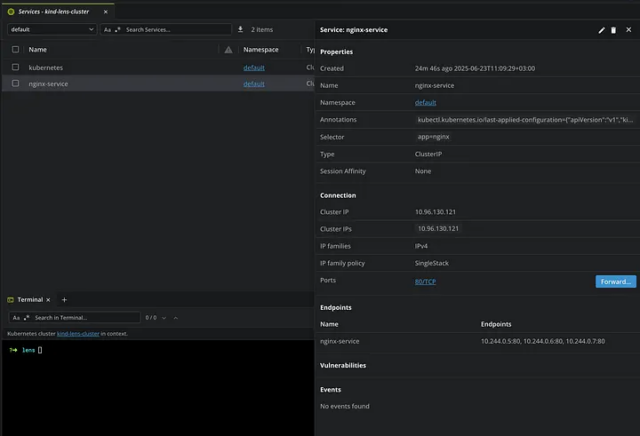
Just go to your Network tab, select Services, and then choose your service:
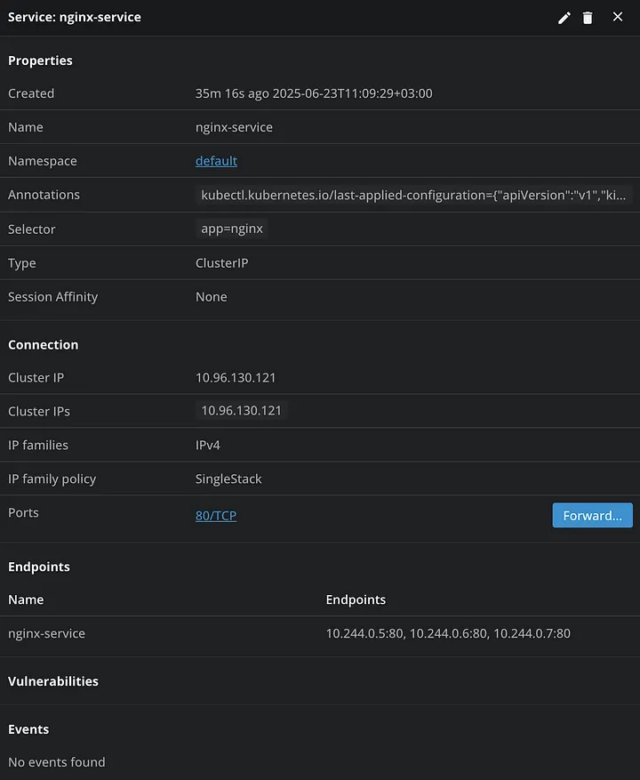
You will see an option to Forward it, so let’s click on it:
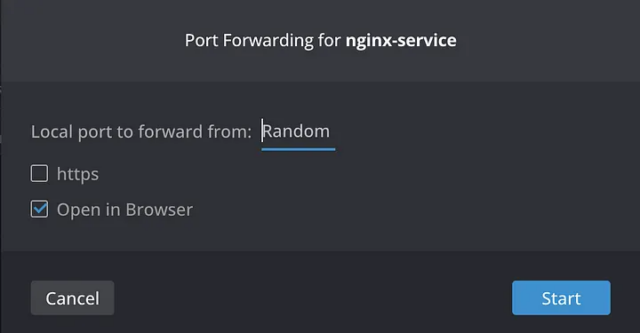
You can choose a local port to forward it to, or leave it as Random, have the option to directly open in your browser
Helm Deploy:
Lens provides a built-in Helm client to browse, install, manage, and even roll back Helm charts directly from its graphical user interface (GUI), simplifying deployment and management of Kubernetes applications. You can find available charts from repositories (like Bitnami, enabled by default), customize values.yaml, and install releases with a few clicks, seeing all your Helm deployments in the dedicated Helm tab.
- Access Helm: Click the “Helm” icon in Lens, then select “Charts” to see available options.
- Browse & Search: Find charts from repositories (Artifact Hub, Bitnami, etc.) or add custom ones.
- Install: Select a chart, choose a version, edit parameters in the
values.yamlsection, and click “Install”. - Manage Releases: View installed releases, check their details (applied values), and perform actions like rolling back.
Using built-in metrics and charts
- Lens integrates cluster metrics (where available) for nodes and workloads.
- Toggle charts in the details pane to get CPU/memory trends over time.
Tips and best practices
- Keep kubeconfigs minimal per cluster and use named contexts for clarity.
- Tag clusters (dev/stage/prod) and use color coding to reduce the risk of accidental changes.
- Use Lens for exploration and quick fixes; keep complex automation in CI/CD pipelines.
- For sensitive environments, restrict Lens access and avoid storing long-lived credentials locally.