This is my fourth blog post covering Windows 10 IoT Core.
Previous posts:
Part 1: https://blogs.perficient.com/microsoft/2016/01/windows-10-iot-editions-explained/
Part 2: https://blogs.perficient.com/microsoft/2016/01/iot-development-with-windows-10-and-raspberry-pi-what-you-need/
Part 3: https://blogs.perficient.com/microsoft/2016/01/iot-development-with-windows-10-and-raspberry-pi-setting-up/
So, you set up your development environment, assembled, connected and set up Raspberry Pi 2. Now you can create your first IoT application.
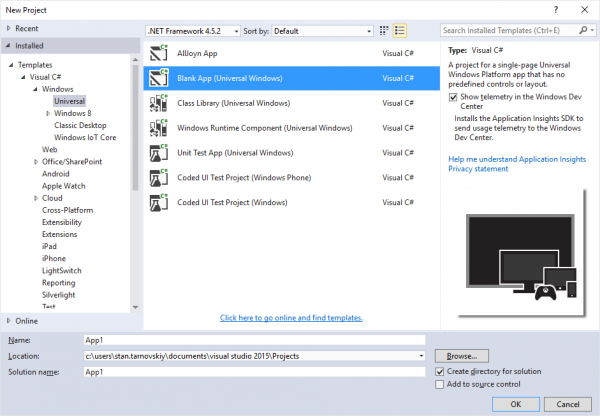
First, head to Visual Studio 2015 and create a project from “Blank App (Universal Windows)” (which is found under Window -> Universal). This selection would generate an application with UI (“headed” in Windows IoT terms) so make sure that your IoT board is plugged into display, keyboard and mouse (I plugged mine to 60″ TV!):


There is also a way to create headless (i.e. w/o UI, server applications) in Visual Studio to run on IoT boards. That template is called “Background Application (IoT)” and it’s located under Windows -> Windows IoT Core. We’ll explore this template later.
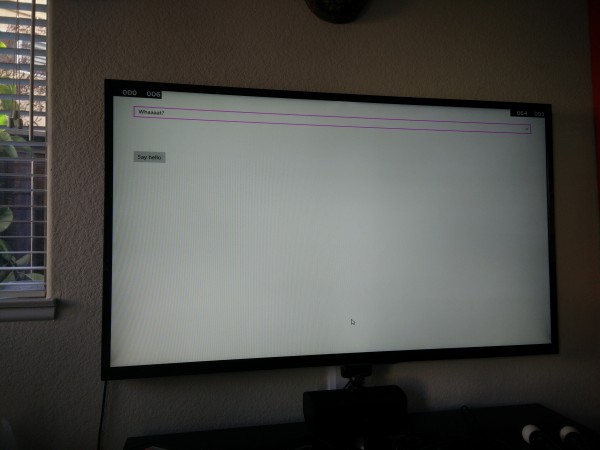
After you created the solution for your application, let’s head to MainPage.xaml and add some UI content. This is a Universal application and UI is defined in xaml file. Let’s add a button and a text field inside a grid:
<Grid Background=”{ThemeResource ApplicationPageBackgroundThemeBrush}”>
<StackPanel>
<TextBox x:Name=”txtHello” Margin=”50,50″ Text=”Whaaaat?”></TextBox>
<Button x:Name=”btnHello” Margin=”50″ Click=”btnHello_Click”>Say hello</Button>
</StackPanel>
</Grid>
And then go to MainPage.xaml.cs and add some code to button click even handler:
private void btnHello_Click(object sender, RoutedEventArgs e)
{
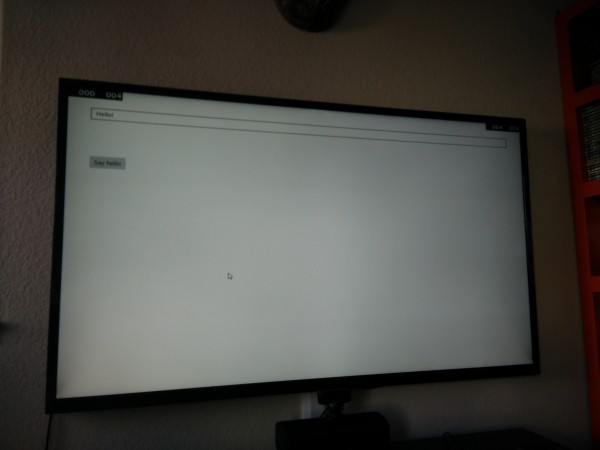
txtHello.Text = “Hello!”;
}
This is it. Your “hello world” application is done. And because it’s a Windows Universal application, it would run anywhere, including your development machine. Just press F5 and application would start up.
Try clicking the button and see the result.

Now let’s get this app running on Raspberry! In order to do that, go to project properties, Debug tab and make some changes there:
- Change platform from “x86” to “ARM”
- Change target device to “Remote Machine”
- Enter remote machine name (in my case that would be “winpie”)
- Set authentication mode to “Universal (Unencrypted protocol)”.