In this blog, let’s dive into creating a secure user login page with Next.js and integrating it with Optimizely’s Commerce APIs. Here are the steps you can follow:
Setting Up Optimizely Configured Commerce Project:
- First, ensure you have an Optimizely Configured Commerce project running on your local machine with the necessary APIs.
- The hosted Optimizely Configured Commerce website URL is: http://b2b.local.com
Optimizely Configured Login API’s:
- API Generate Token (POST): http://b2b.local.com/identity/connect/token
- Learn How to Set Up a Single Sign-On (SSO) Client in the Optimizely Configured Admin Site:
-
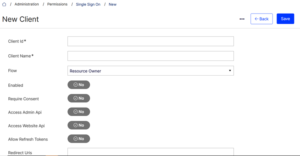
- Go to the Admin Console > Administration > Permissions > Single Sign On.
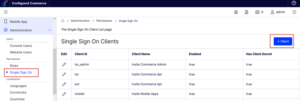
- Click + Client to add a new client.
-
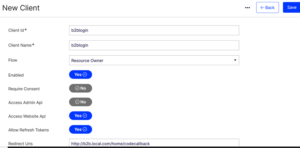
- Input any client ID for the Client ID
- Input any client name for the Client Name
- Choose “Resource Owner” under the Flow option.
- Set Enabled to “Yes”.
- Set Require Consent to “Yes”. This prompts an intermediary page for users to grant permission to the application.
- Set Access Website API to “Yes”.
- Set Allow Refresh Tokens to “Yes”.
- Enter http://b2b.local.com/home/codecallback for Redirect URLs.
- Set all Token Lifetime fields to 7200 (2 hours).
-
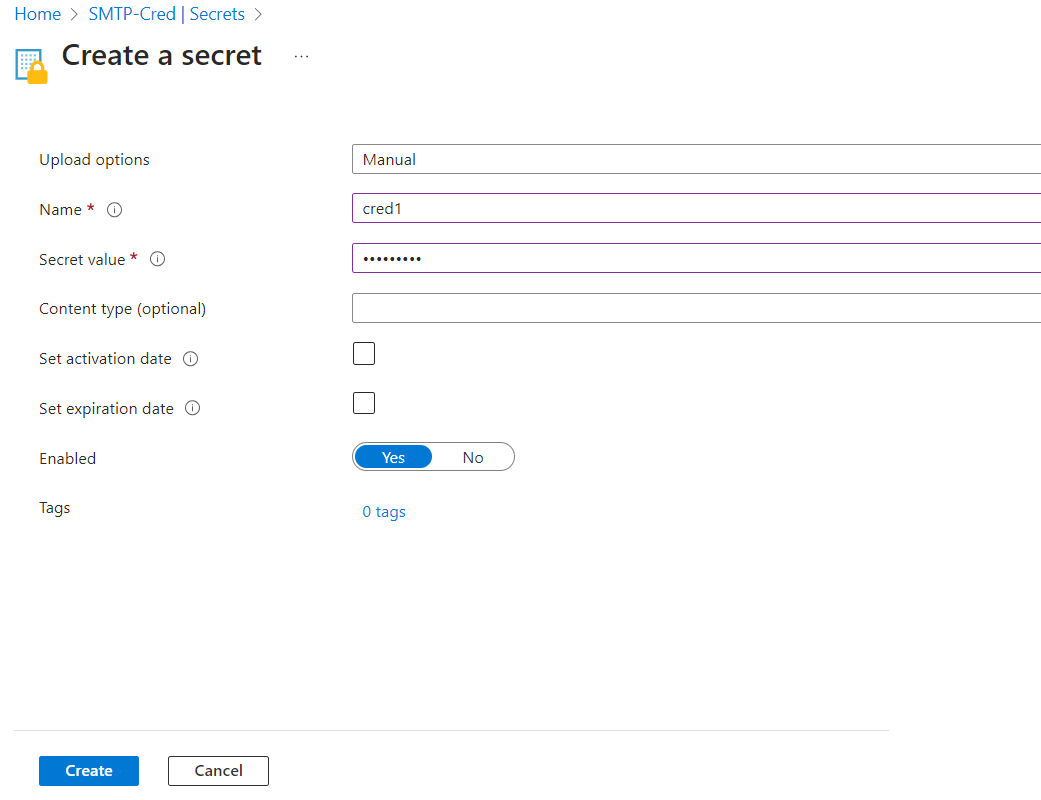
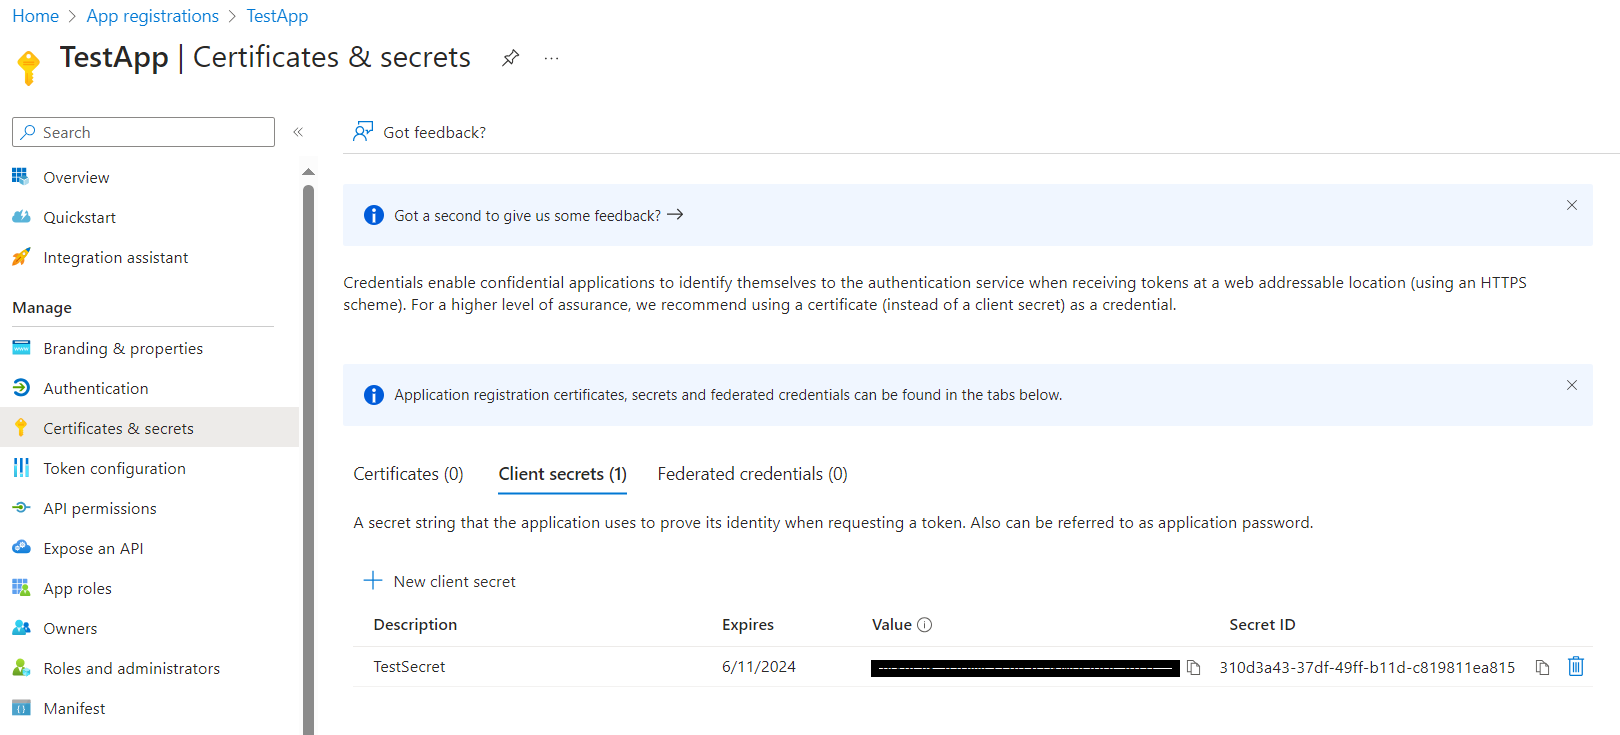
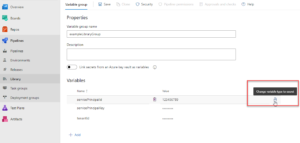
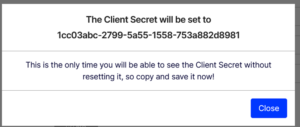
- Click three dot (…) top right corner and select Set Client Secret. Note the secret as it will be used to request an access token to access the Website API.
- Click three dot (…) top right corner and select Set Client Secret. Note the secret as it will be used to request an access token to access the Website API.
-
- Copy the Client Secret from above the popup to log in as the user.
- Click Save.
- Remember to restart the application after configuring SSO.
We required 2 fields to use in below Next.js login implementation.
- Client Name: b2blogin
- Client Secret: 1cc03abc-2799-5a55-1558-753a882d8981
- API Login (POST): http://b2b.local.com/api/v1/sessions
Create Next.js project in VS Code:
Here are the steps to create a Next.js project using Visual Studio Code (VS Code):
- Install Node.js and npm: Ensure you have Node.js installed on your machine. You can download it from the official Node.js website and follow the installation instructions.
- Install Visual Studio Code (VS Code): Download and install Visual Studio Code from the official website. https://code.visualstudio.com/docs/setup/windows
- Open VS Code: Launch Visual Studio Code on your computer.
- Open the Terminal in VS Code: Open the integrated terminal in VS Code. You can do this by clicking on the Terminal menu and selecting “New Terminal.”
- Create a new Next.js project: In the terminal, navigate to the directory where you want to create your Next.js project using the cd For example:
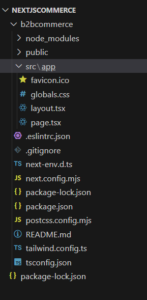
cd path/to/your/projects/folderThen, run the following command to create a new Next.js project:npx create-next-app project-nameReplace project-name with the desired name for your Next.js project.Project Name: b2bCommerce
- Navigate to the project directory: After the project is created, navigate to the project directory using the cd command:
cd project-name
- Open the project in VS Code: Once you are inside the project directory, open it in Visual Studio Code.
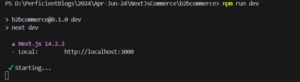
- Start the development server: In VS Code’s integrated terminal, start the development server for your Next.js project by running:
npm run devThis command will start the Next.js development server and open your project in the default web browser.
- Verify the setup: After the development server starts, verify that your Next.js project is running correctly by checking the displayed output in the terminal and accessing the project in your web browser at http://localhost:3000.
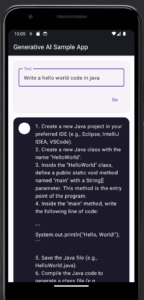
Default Home Page:

- Begin coding: You’re now ready to start coding your Next.js project in Visual Studio Code.
You can make changes to your project files, create new pages, components, styles, etc., and see the changes reflected in real-time in your browser while the development server is running.
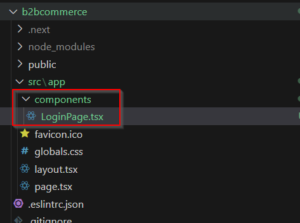
To create a new login page in your Next.js project, follow these steps:
- Create a New Component for the Login Page: In your Next.js project, create a new component for the login page. You can create a folder named components if it doesn’t already exist, and then create a file for your login page component, for example, tsx if you’re using TypeScript.
- Design the Login Form: Inside your tsx component, design the login form using HTML elements and React components. Here’s a basic example:
// components/LoginPage.tsx import React, { useState } from ‘react’;return (<div className=”min-h-screen flex items-center justify-center bg-gray-100″><div className=”bg-white p-8 shadow-md rounded-lg w-96″><h1 className=”text-2xl font-semibold mb-4″>Login</h1><form onSubmit={handleSubmit}><label htmlFor=”username” className=”block mb-2″>Username:</label><inputtype=”text”id=”username”name=”username”value={formData.username}onChange={handleInputChange}className=”w-full border border-gray-300 rounded-md px-3 py-2 mb-4″/><label htmlFor=”password” className=”block mb-2″>Password:</label><inputtype=”password”id=”password”name=”password”value={formData.password}onChange={handleInputChange}className=”w-full border border-gray-300 rounded-md px-3 py-2 mb-4″/><button type=”submit” className=”w-full bg-blue-500 text-white py-2 rounded-md hover:bg-blue-600″>Login</button></form></div></div>);};export default LoginPage;
- Handle Form Submission: Add state and event handling to your login form component to handle form submission. You can use React’s state and event handling hooks like useState and useEffect. Here’s an example of handling form submission and logging the form data to the console:
// components/LoginPage.tsx”use client”import React, { useState } from ‘react’;const LoginPage = () => {const [formData, setFormData] = useState({username: ”,password: ”,});const handleInputChange = (e:any) => {const { name, value } = e.target;setFormData((prevData) => ({…prevData,[name]: value,}));};const handleSubmit = (e:any) => {e.preventDefault();console.log(formData); // You can handle API calls or authentication logic here};return (<div className=”min-h-screen flex items-center justify-center bg-gray-100″><div className=”bg-white p-8 shadow-md rounded-lg w-96″><h1 className=”text-2xl font-semibold mb-4″>Login</h1><form onSubmit={handleSubmit}><label htmlFor=”username” className=”block mb-2″>Username:</label><inputtype=”text”id=”username”name=”username”value={formData.username}onChange={handleInputChange}className=”w-full border border-gray-300 rounded-md px-3 py-2 mb-4″
/>
<label htmlFor=”password” className=”block mb-2″>Password:</label>
<input
type=”password”
id=”password”
name=”password”
value={formData.password}
onChange={handleInputChange}
className=”w-full border border-gray-300 rounded-md px-3 py-2 mb-4″
/>
<button type=”submit” className=”w-full bg-blue-500 text-white py-2 rounded-md hover:bg-blue-600″>
Login
</button>
</form>
</div>
</div>
);
};
export default LoginPage;
- Include the Login Page in Your Application: You can include the LoginPage component in your application by importing and rendering it in your desired page or layout component. Create new folder “login” under “app” folder. Create new “page.tsx” file under “login” folder. For example, in your app/login/page.tsx:
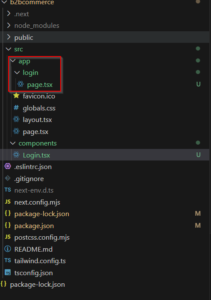
app/login/page.tsximport LoginPage from “@/components/Login”;const Login = () => {return (<div><LoginPage /></div>);};export default Login;
- Test Your Login Page: Run your Next.js development server (npm run dev) and navigate to the login page in your browser (http://localhost:3000/login or the appropriate route you’ve defined).

Integrate Optimizely Configured Commerce Login API’s:
To integrate APIs http://sensi.local.com/identity/connect/token and http://sensi.local.com/api/v1/sessions into your LoginPage component’s handleSubmit method, follow these steps:
- Import React Hooks: Ensure you have imported the necessary React Hooks at the top of your file:
“use client”import React, { useState } from ‘react’;
- Update handleSubmit Method: Modify the handleSubmit method to include API calls to obtain an access token and handle the login request.
- In below code,
- The form is submitted without any validation or authentication logic. It logs the form data to the console.
- Adds validation checks before submitting the form. It checks if the username and password are provided and sets an error message accordingly. It then proceeds to authenticate the user by sending a request to an authentication API (http://b2b.local.com/identity/connect/token).
-
- Constructs a params object with the necessary credentials and sends a POST request to the authentication endpoint.
- It handles different scenarios such as successful authentication, failed token generation, and failed login requests. Depending on the response from the server, it updates the loginError state to display appropriate error messages or send session API.
- Sends a POST request to the login endpoint (http://b2b.local.com/api/v1/sessions). with the loginData in JSON format and includes the access token in the authorization header.
- If the login request is successful, processes the success response, such as displaying an alert for successful login or setting an error if the authentication fails.
Here’s the updated handleSubmit method:
- Add Error Handling: Ensure you handle errors appropriately, displaying error messages to the user if any API calls fail.
- Result of Login Page: After added username and password, but it is throwing error issue.
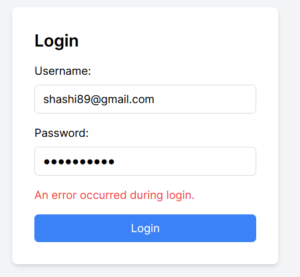
See CORS issue:-
Cross-Origin Request Blocked: The Same Origin Policy disallows reading the remote resource at ,x. (Reason: CORS header ‘Access-Control-Allow-Origin’ missing). Status code: 400.Cross-Origin Request Blocked: The Same Origin Policy disallows reading the remote resource at http://b2b.local.com/api/v1/sessions. (Reason: CORS request did not succeed). Status code: (null).Solution for CORS Issue:
- Go to Optimizely Admin – http://b2b.local.com/admin
- Go to Administration>Settings
- Search “CORS Origin”
- Enter http://localhost:3000 and Save button.

- Restart Website/application pool.
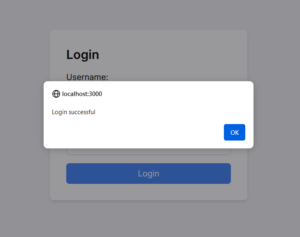
Final Result of Login Page: Successful login.
Conclusion:
In conclusion, this blog detailed the process of creating a user login page using Next.js and integrating it with Optimizely’s Commerce APIs. The steps included setting up an Optimizely Configured Commerce project locally with running APIs, creating a Next.js project in Visual Studio Code, designing the login form component, handling form submission, and integrating Optimizely’s APIs for authentication.
The blog also addressed common issues such as CORS (Cross-Origin Resource Sharing) errors and provided solutions, including configuring CORS settings in Optimizely’s admin panel. After resolving the CORS issue, the final result was a successful login page implementation.
Overall, the blog serves as a comprehensive guide for developers looking to build a secure and functional user login page in a Next.js application integrated with Optimizely’s Commerce APIs. If any issue, then please contact me.
]]>