
Publish a non-Git local project as a Git repository.
Share Project is a step in the process of configuring Git for your new Katalon Studio project.
- In the main toolbar, select Git > Share Project.

- The Katalon project generates .git folder and gitignore files.
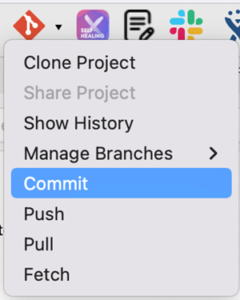
Commit
Users can view all current changes and choose which ones are saved in the local branch by using the Commit option. Refer to this Git document for more information on the commit command: Commit.
- In the main toolbar, navigate to Git > Commit.
- The Git Staging tab is displayed for configuration.
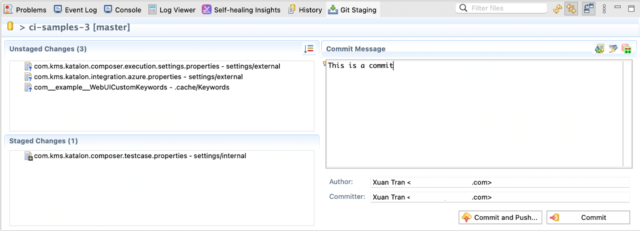
- Select the changes to be committed from the Unstaged Changes list, then right-click on them and select Add to Index. Selected changes are added to the list of Staged Changes.
- Fill out the Commit Message with your comments, then click Commit to save your staged changes to the local branch.
Fetch
Retrieve all information about changes made in remote branches. Refer to the Git documentation for more information on the fetch command: Fetch.
In the main toolbar, navigate to Git > Fetch.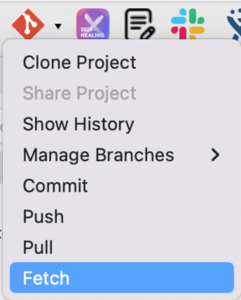
Remote branches, tags, and changes are automatically fetched.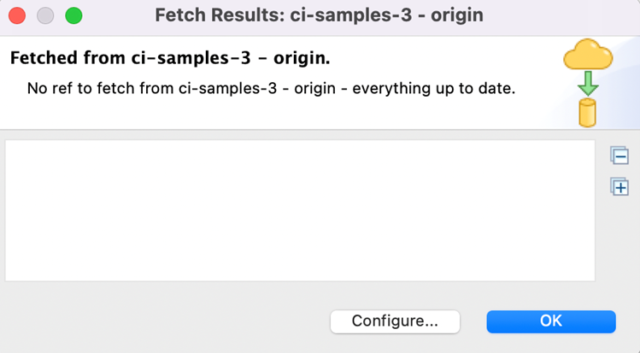
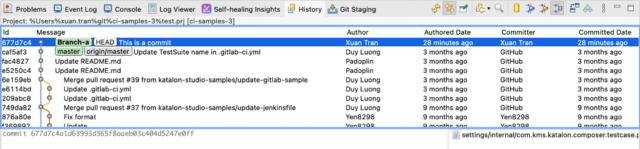
In the main toolbar, click History.


Details regarding all the branches and tags you’ve just fetched are displayed.
Pull
Changes from a remote repository should be incorporated into the current branch. Refer to the Git documentation for more information on the pull command: git pull.
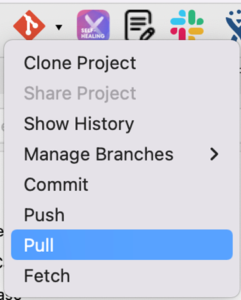
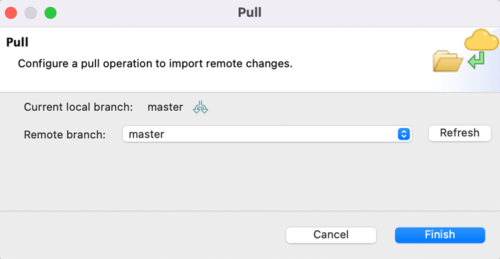
- In the main toolbar, select Git > Pull. The Pull dialogue box opens.
- In the Pull dialog, select the remote branch to be pulled into your local branch. Click Finish.
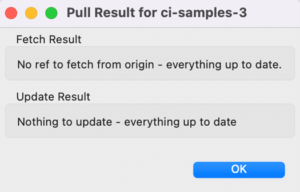
- The Pull Result dialog displays all data about pulling requests on the selected branch.
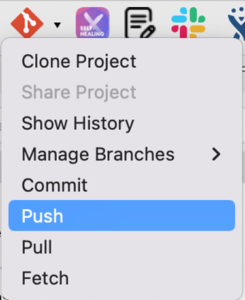
Push
Using the local branch, update the remote branch. Git documentation: Git Push contains more information on the push command.
You must first commit your changes before proceeding with any push.
- Select Git > Push from the main toolbar.
- The Push to Branch dialogue box appears. Select the branch to be updated from the Remote branch list (All remote branches in your Git repository are listed here).
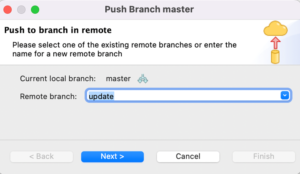
After you’ve finished selecting your remote branch, click Next. The Push Confirmation dialogue is displayed.
If you enter a name other than the ones listed, a new remote branch with that name is created.
The Push Confirmation dialogue displays information about your commit.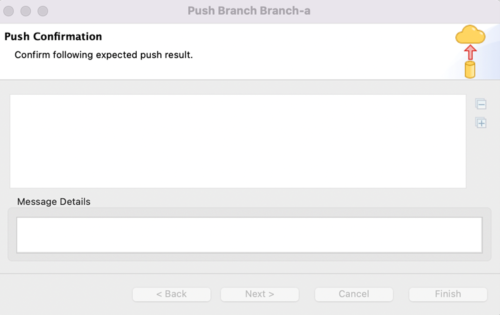
Click on Finish to push your commits to the remote repository.
Conclusion:
We now have an understanding of using Git commands using Katalon.