
The Automate Everything series was written by Rebekah Williamson and Taylon Hammons
In a work from home world, companies are moving toward paperless operations. The process of printing forms, delivering them to clients, and scanning them back in is a thing of the past. Save paper, time, and money by shifting to an all-digital approach. By leveraging Microsoft’s Power Platform and Adobe Sign, electronic document workflows and approval processes are easily automated. This integration allows your team to seamlessly create interactive forms, capture signatures, and connect with your organization’s data all in one place. This 3-part series will guide you on creating and managing agreements/contracts and gather legally binding signatures via Power Apps and Adobe Sign.
The first part of this series shows how to generate an Adobe Agreement using a Word Template. The second and third parts of the series discuss how to create, manage, and send Agreements for signature using Power Apps and Power Virtual Agent.
Prepare Your Template
First make a Word Template (.DOCX) to be converted into an Agreement Template (PDF).
- In Microsoft Word, select File > New
- Search Modern Angles Letterhead > Select the template > Select Create
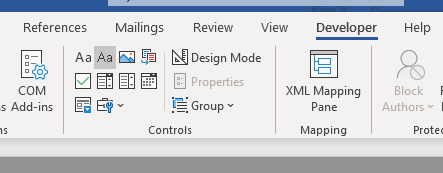
- Next, insert Content Controls which allows you to add content dynamically to your document. To insert controls, go to the Developer tab. If you see the Developer tab, skip to step 5. If you do not see the Developer tab, right click on the ribbon, and select Customize the Ribbon…
- In the Customize Ribbon tab, select the Developer tab and select OK
- To insert custom content control, insert an Agreement ID text line under the email line.
- From the Developer tab, select Plain text control
You should see a content control area that looks like this:
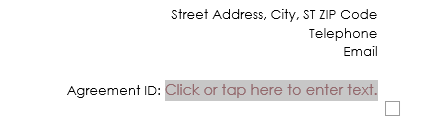
7. Select Design Mode in the Developer Tab to edit your prompt text to [Agreement ID].
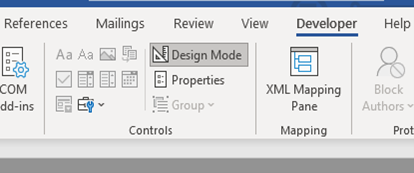
8. To exit Design Mode, select the Design Mode button in the ribbon.
9. Select [Agreement ID] > Properties.
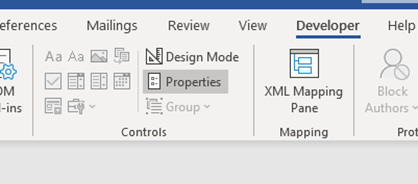
10. Set your Title to Agreement ID in the Content Control Properties then select OK.
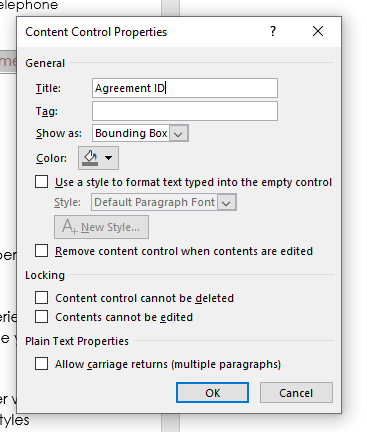
11. Repeat Step 10 for all content control properties you wish to have access to in Power Automate.
12. Save your file as a .DOCX file. In this example, we save it to a SharePoint site.
Prepare Your Virtual Agent Bot
To gather the input needed to generate the Agreement document, use a Power Virtual Agent bot.
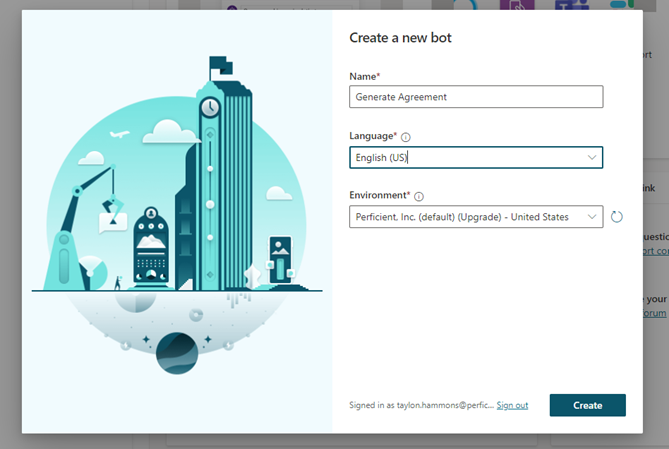
- Go to https://powervirtualagents.microsoft.com/en-us/ > Select Create a new bot > Select Name, Language, and Environment

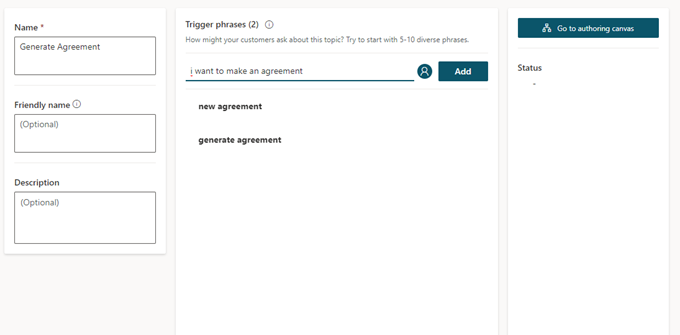
2. Create a New Topic named Generate Agreement Document > Add Trigger Phrases such as “I want to make an agreement.”
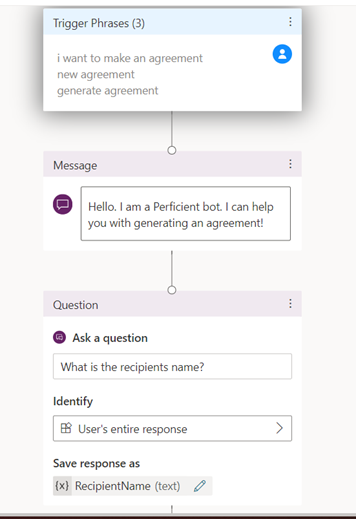
3. Select Go to authoring canvas > Write your Welcome message
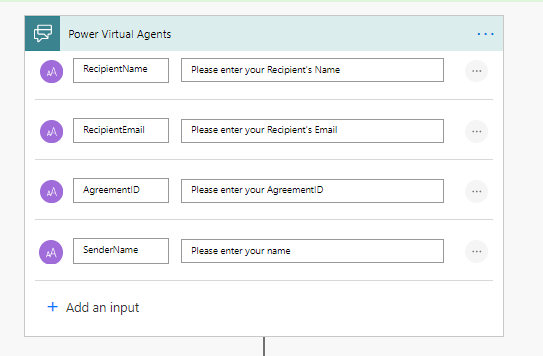
4. Select Add an action > Select Ask a Question > Type What is your name? > Set Identify to User’s entire response > Set Save Response as to SenderName
5. Select Add an action > Select Ask a Question > Type What is the recipient’s name? > Set Identify to User’s entire response > Set Save Response as to RecipientName
6. Select Add an action > Select Ask a Question > Type What is the recipient’s email? > Set Identify to Email > Set Save Response as to RecipientEmail
7. Select Add an action > Select Ask a Question > Type What is the Agreement ID? > Set Identify to User’s entire response > Set Save Response as to AgreementID

Create Your Power Automate Flow
- Select Add an action > Select Create a flow > Name your flow
- Set the inputs to match your Virtual Agent bot.
3. Set Agreement ID to the AgreementID variable
4. Repeat Step 10 for Recipient Name, Recipient Email, and Your Name
5. Select Add an action > Select Populate a Microsoft Word template > Set Location, Document Library, File,
6. Set Agreement ID, Recipient Name, and Your Name to the variables gathered from the Virtual Agent bot

7. Select Add an action > Search SharePoint > Select Create file > Set Site Address, Folder path, File Name, and Document ID

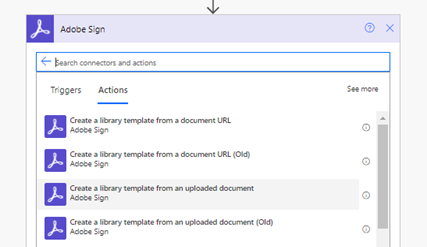
8. Select Add an Action > Search Adobe Sign > Select Create a library template from uploaded document > Set the Template Name, Template Type, Sharing Mode, and Document ID
Connect Your Power Automate Flow
Connect your Power Automate Flow to your Virtual Agent Bot.
- Within Power Virtual Agents, Select Call an Action > Select your Flow > Save
The flow is now set up to generate Adobe Agreements when the Virtual Bot is called. Test your bot to ensure functionality and enjoy the ease of automation through Power Automate!