
PowerApps provides different screen types for canvas app development, but a pop-up or dialog type of screen is not readily available. Pop-ups help show information or receive input from a user and help keep the user from navigating to another page. In this blog, I have provided the steps to create a pop-up screen and make it functional using different controls.
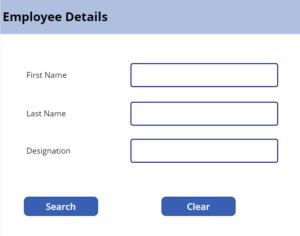
Step 1: Add a new screen with required labels, textboxes, and button controls as shown below:
Step 2: Set a local variable as shown below in the “OnSelect” event. This will ensure that any control with a visible property with the value “showDialog” will display.

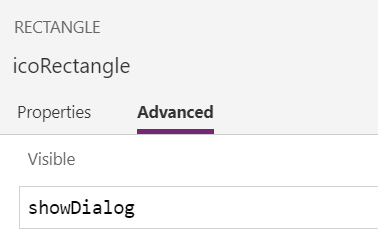
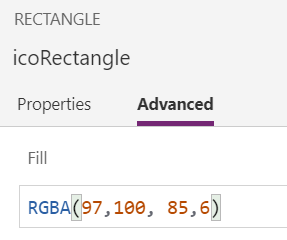
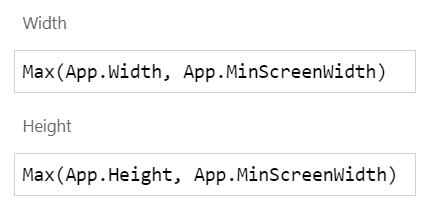
Step 3: Add the “rectangle” icon from the insert section on the screen, set its visible property to “showDialog,” and set the fill, width, and height of the property’s value like the image below.
The specified RGBA fill value will show a grey screen that will display a disabled look and feel of the screen. This will restrict the user from selecting the background when the pop-up is visible. If you do not restrict the user from background selection, the user can select and make changes to the background screen even though the pop-up is visible.
Step 4: Add another “rectangle” icon to show the pop-up on the same screen within the “OnSelect” event of the search button, set its visible property to “showDialog,” and set a value of “1113” for width and “526” for height.
Step 5: Add the gallery control on the previously created rectangle icon and assign the data source. Add required controls like labels, text boxes, buttons, etc., and set the visible property as “showDialog” to each control located in the pop-up. This will ensure that the controls located on the pop-up are only visible when the pop-up is visible when clicking the button.
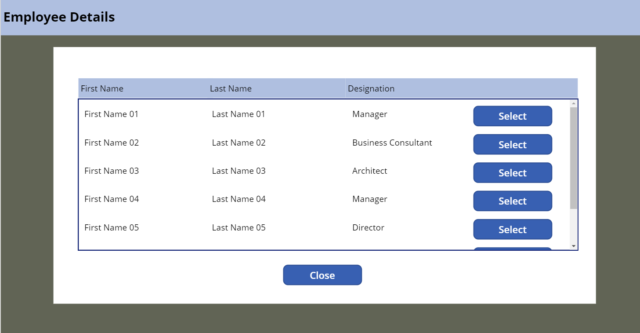
Step 6: Set the below property in the “OnSelect” event of the close button. This will close the pop-up.
![]()
Step 7: There is a “select” button on each row of the gallery. Select the specifically associated row to close the pop-up. Set the property as it is below in the “OnSelect” event:
![]()
This will save the selected item in the local variable as “selectedUser.” The pop-up will close and display as “showDialog” as long as the value is set as “false,” The selected row details will prefill in textboxes.
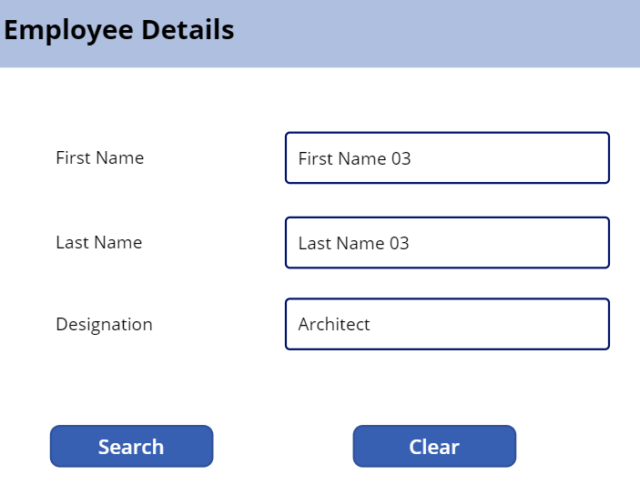
Step 8: To bind the selected user details in the textbox, the default property of the textbox should be set as below:

Step 9: To clear the gallery selected data from textboxes, set the “OnSelect” event as below. This will clear the data from textboxes.

The Power of PowerApps
Although PowerApps don’t have any pop-up screen readily available for the users, following the above steps will help you create one on your own. For more information on these types of processes, contact our experts today.
Reference Links: