
One of the reasons companies choose, OneStream XF, is because the product is a platform and included in the platform are various engines with one of those engines being the stage integration engine. With the appropriate requirements and design, the dimension library and stage integration engine can be leveraged by a company to create a standard chart of accounts “CoA” that may not exist for a variety of reasons one of which is due to acquisitions that have resulted in multiple ERP’s. Once the standard CoA is created in the OneStream XF dimension library, the stage integration engine and transform rules can be used to map the ERP data to the standard CoA. The Quick Tip in this blog will focus on how to create One-To-One transformation rules using Excel that can then be imported into OneStream.
So why Excel and One-To-One transformation rules? A common scenario I have encountered in my career is that when Company A acquires Company B a member of the acquisition or consolidation team will specify using Excel which accounts from the acquired companies’ ERP equals which account in the standard CoA. Instead of rekeying the transformation rules into OneStream, the source to target mapping provided can be uploaded to OneStream reducing development time and improving accuracy. To begin the Quick Tip, I will start by demonstrating how to extract transformation rules from OneStream application, GolfStream.
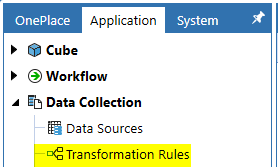
After logging into the application, select “Application” -> “Data Collection” -> “Transformation Rules“.
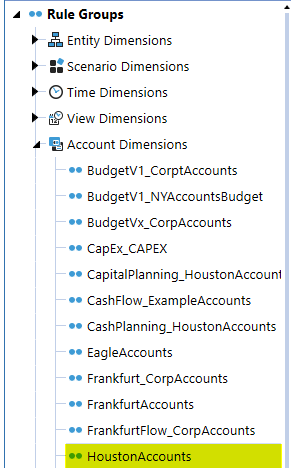
With Rule Groups displayed, select “HoustonAccounts” after expanding “Account Dimensions”.
From the Transformation Rules Toolbar, select the “Export selected group to a TRX file” ![]() icon.
icon.

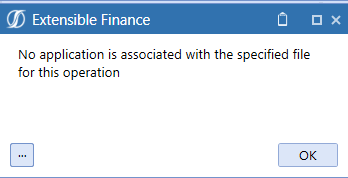
Depending on the file associations on your computer, you may receive a dialog box with “No application is associated with the specified file for this operation”. If this is the circumstance, create a file association for extension “TRX” to Notepad or your preferred text editor. If you are unfamiliar with this process, access OneStream support and specifically KB0010896 for the steps. With the file association created, the extract will open in a text editor an example of which is the second image. Note, the extract will include all transformation rule types: Composite, Range, List, and Mask in addition to One-To-One; however, the focus will be on One-To-One for this Quick Tip, and rules which are not One-To-One have been deleted from the export.
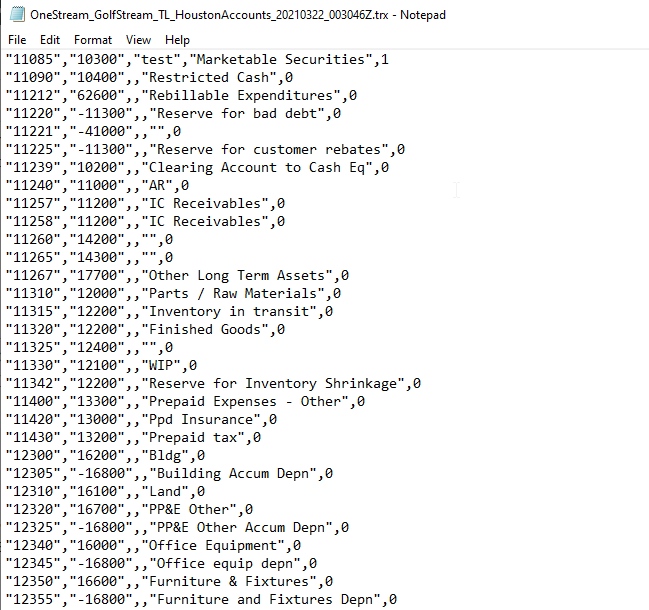
Comparing the first row exported to the first row in the One-To-One OneStream transformation rules, we can determine that the first “1” value prior to the comma is the Source Value, the next value “2” is the Target Value, the fourth value “4” is the Description, and the fifth value “5” is the Order. With the output format determined, the next step will be to replicate this format using Excel. Note, the third column “3” in the export file and Flip Sign will be discussed during the creation of the format in Excel.


To begin the creation of the format in Excel, I imported the export “TRX” file into Excel using standard functionality as the TRX file is a comma-delimited file. Once this was done, I inserted a blank row as row 1 and then keyed headers for the columns. Note, the third column in the export is not used for One-To-One transformation rules and is labeled as such.

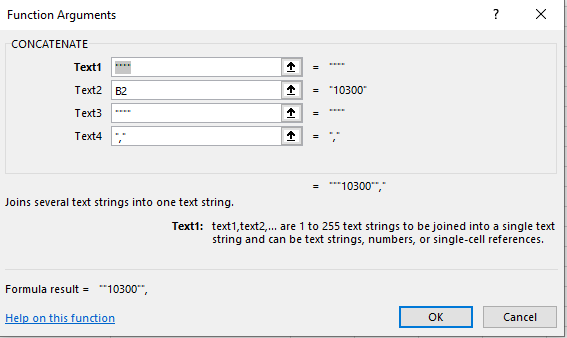
In column F, the process of creating the format will occur using the Concatenate function. First, the source value format will be specified which is the formula “=CONCATENATE(“”””,A2,””””,”,”)”


Next the Target Value format will be created in Column G with formula “=CONCATENATE(“”””,B2,””””,”,”)“.


Modern Accounting: How to Overcome Financial Close Challenges
Improvements in each of the following period-close core tasks can provide transformative change and are reviewed in this guide include closing the books and external reporting, periodic reconciliations, and managing the period-close process.
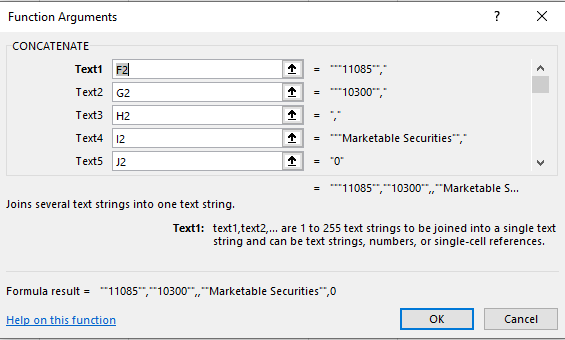
In columns H, I, and J, the next three columns will be created which are formulas: “=CONCATENATE(“,”)“, “=CONCATENATE(“”””,D2,””””,”,”)“, and “=+E2” respectfully. The next three images also display the formulas for columns H, I, and J.


With the formulas “format” for each column created, the last step prior to addressing “Flip Sign” is to combine the formulas in cells F1 to J1 in cell K1 which is the formula, “=CONCATENATE(F2,G2,H2,I2,J2)“.

With the format created for circumstances when Flip Sign is not needed, I will now address Flip Sign which typically applies to accounts classified in OneStream as a liability or revenue accounts that should be flipped from ledger signs “credits / negative numbers” to reporting signs “positive numbers“. To facilitate this example, I have moved SourceValue “11220” to row 3 and deleted the other imported rows.


For “Row 3“, the first step will be to copy the formulas from F2 to K2 down to F3 to K3 using standard Excel functionality.

To indicate Flip Sign is needed, the addition of a single hyphen is required before the Target Value which results in the following updated formula “=CONCATENATE(“”””,”
“,B3,””””,”,”)“.


With the formulas “format” created in columns F to J and then combined in column K, copy the contents of cells K2 and K3 to Notepad.
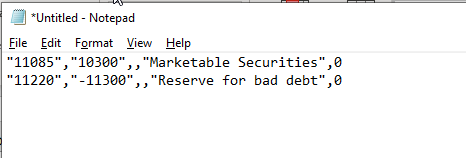
After the contents are copied to Notepad, save the file with your preferred name and a TRX extension enclosing the filename and extension in double-quotes when using Notepad. Once this is done, “Save” the file.

Return to “Application” -> “Data Collection” -> “Transformation Rules” to begin the import process.
From the Transformation Rules Toolbar, select the “Import a TRX file into the selected group” ![]() icon. Note prior to this step the existing Transformation Rules were deleted from the group.
icon. Note prior to this step the existing Transformation Rules were deleted from the group.
![]()
After the “Select Trx File” file dialog box renders, select the “Ellipsis” ![]() icon.
icon.
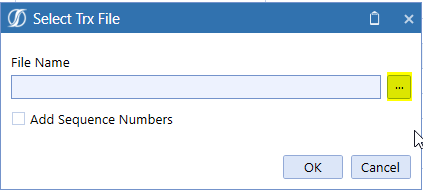
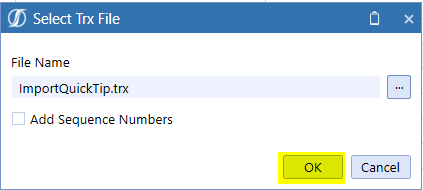
Navigate to and select the file, ImportQuickTip.trx, previously created. Once this is done, select “OK“.
Select “OK” after the files is imported successfully.
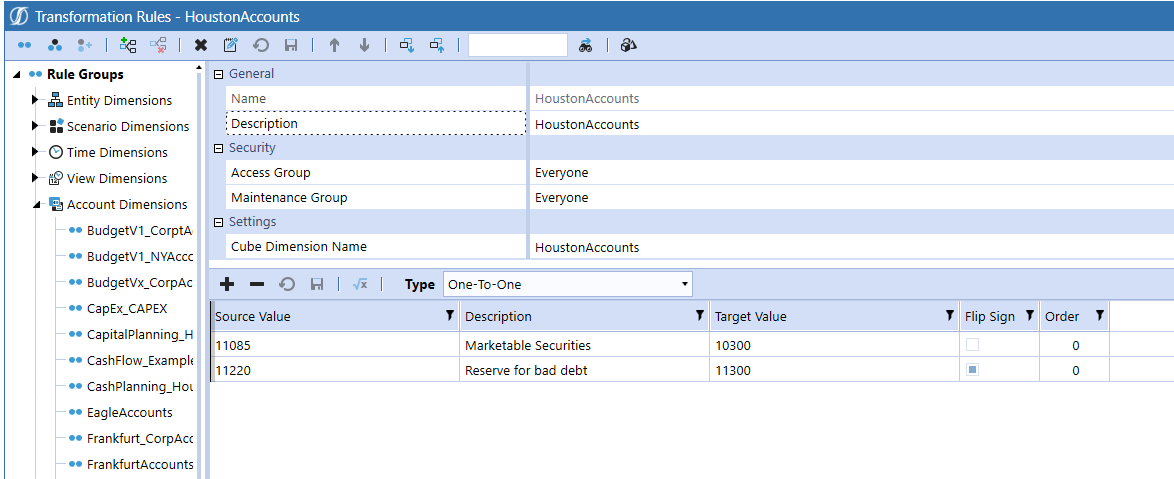
The HoustonAccounts group will now display the One-To-One Transformation Rules which were imported.
I hope this blog was helpful and thank you for your time in reading. Should you have any questions, feel free to either post a comment or email me at terry.ledet@perficient.com.