
Co-authored with Marco Rossodivita
In this second installment of our two-part series, we will discuss the steps for creating a connection from Oracle Financials to an ARCS application using the new Custom connection feature. If you haven’t read part 1, you can access the link here: Oracle Financials and ARCS: A Two-Part Journey into the World of Data Integrations.
Oracle has introduced a new feature in Data Management where users can create customized connections to its ERP systems. We will focus on creating a connection to a sub-ledger in Oracle Financials using this new Custom feature.
It is important to note, at the time of writing this blog, only BI Publisher reports can be used as templates to create the connection to sub-ledger data within Oracle Financials. That being said, let’s begin by scheduling our BI Publisher report that will be used as our template.
Scheduling a BI Publisher Report
Scheduling a BI Publisher report is initiated within Oracle Financials from Tools > Scheduled Processes.
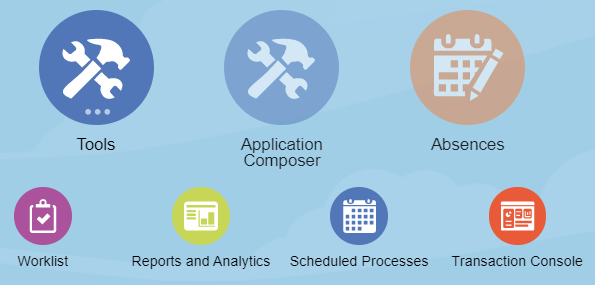
For this example, we are going to schedule the BI Publisher report “Payables Trial Balance Report” which will be used to generate a template to import data from the Payables sub-ledger into Data Management. From the Overview window, select the Schedule New Process button.
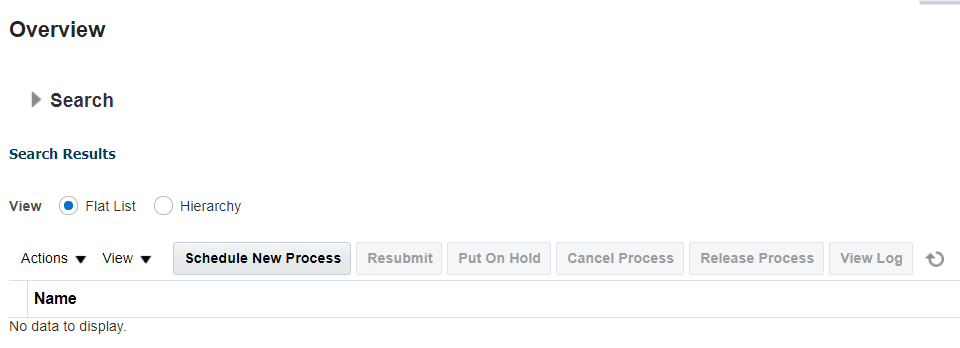
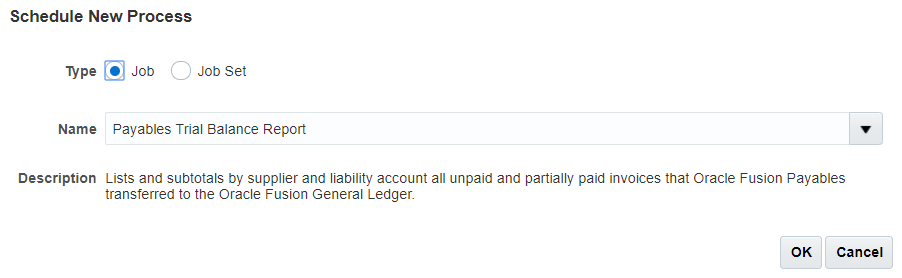
The Schedule New Process dialog box displays. NOTE: It has been assumed that you have already identified which report to use for your template(s). In the Name text field, enter the name of the report. For this example, Payables Trial Balance Report, then click the Enter key on your keyboard. After a brief moment, the report has been located and its description displays. Click OK.
The Process Details dialog box displays. Make the applicable Parameter selections, then click Submit.

Saving the Log File
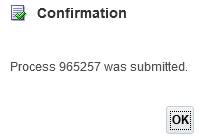
After the report has been submitted, a confirmation dialog box displays with the Process ID. Click OK to return to the Overview page.
From the Overview page you can view the status of your submission. After it displays a status of Succeeded, you can view the log file that is generated for the process at the bottom of the screen. Open and save the log file as it contains useful information that is needed during the Data Management configuration.
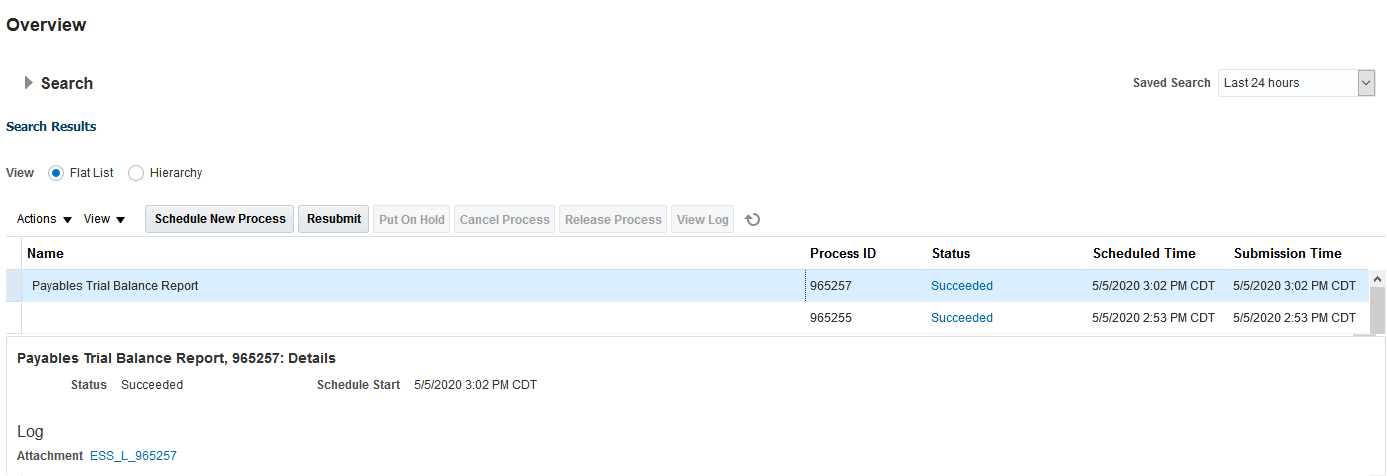
Log File:

Download and Save CSV Report
The next step is to republish the report you just ran in order to generate a CSV file. This CSV file will be used to create the template in Data Management. To republish the report, from the bottom of the Overview page under the Output section, click the Republish button.
From the dialog box, click on the Gear icon then select Export. From the list of output options, select CSV.
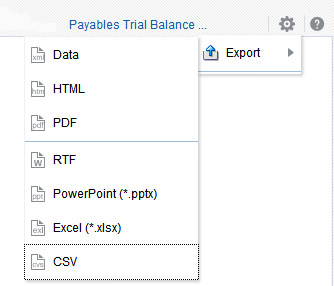
NOTE: In instances where CSV is not an export option, you will need to work with the admin to update the report and make CSV a selectable option.
The report is created as a CSV file which you are then able to save to an applicable folder to access at a later time.
Identify Parameters
Next, resubmit the report you just ran in order to capture the Parameters. These parameters will be entered in Data Management so each time Data Management runs the report it will know what parameters to supply.
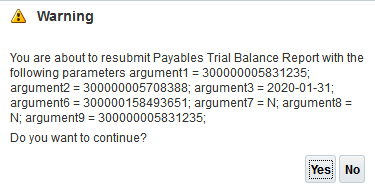
From the Overview page, select the report you just ran, and click the Resubmit button.
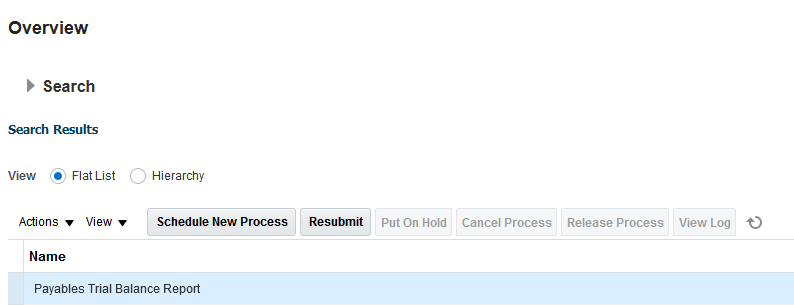
A warning message displays indicating you are about to resubmit the report with the following parameters. Using your mouse or touch pad, copy the parameters in the dialog box and save them to Notepad (or an equivalent source).

The CSV file of the report, and the applicable parameters captured, will become the template for the Data Source you create in Data Management.
NOTE: The following information outlines the steps used in creating a Custom Integration within Data Management. It is assumed the reader understands Data Management and how to configure each of its components.
Create a Target Application in Data Management
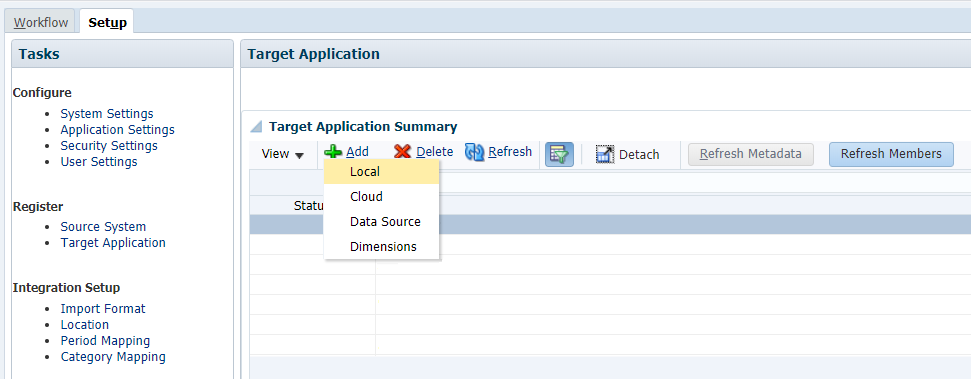
Open Data Management and select the Setup tab, and then select Target Application. To create a Target Application, click the Add button. A drop-down list displays for you to select the application type.
There are four available Target Application options:
- Local – This application type refers to a local or on-prem EPM application.
- Cloud – This application type refers to another cloud service instance such as Planning, FCC, etc.
- Data Source – This application type refers to a generic source or target application.
- Dimensions – This application type is used for loading metadata such as Account, Entity, Custom, Scenario, and Versionn

Guide to Oracle Cloud: 5 Steps to Ensure a Successful Move to the Cloud
Explore key considerations, integrating the cloud with legacy applications and challenges of current cloud implementations.
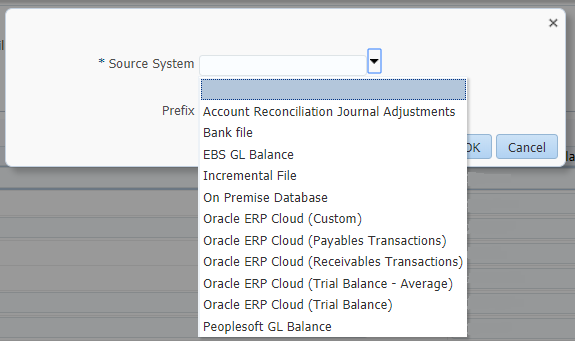
For this example, select Data Source.
From the open dialog box, select a Source System. Oracle has pre-defined connections created for such items as Account Reconciliation Journal Adjustments from within Transaction Matching, Bank files such as BAI and SWIFT, and connections to the Payables and Receivables sub-ledgers and Trial Balance within Oracle Financials. Select Oracle ERP Cloud (Custom).
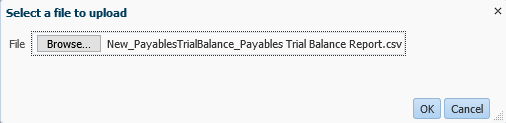
A new dialog box displays called Select. From this dialog box, upload the BI Publisher report CSV file you saved in the earlier steps. Expand the Home folder and locate the folder you would like to save your CSV file to.
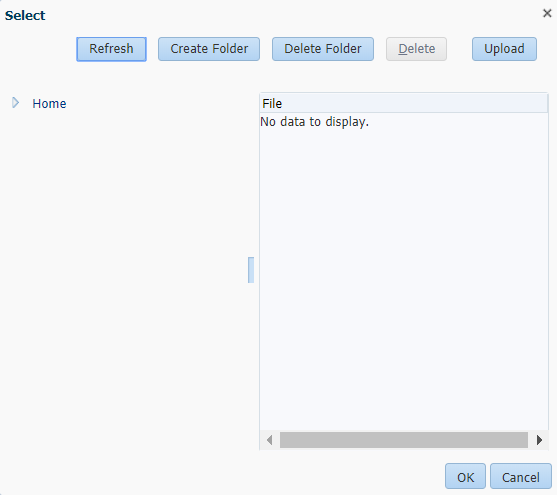
Next, click the Upload button and navigate to the file folder where you saved the CSV file. Select the file, click OK.
You are returned to the Select dialog box. After you have uploaded the CSV file to the applicable folder, select the file so that it is highlighted, then click the OK button. The Data Source name will be the same as the template file uploaded.
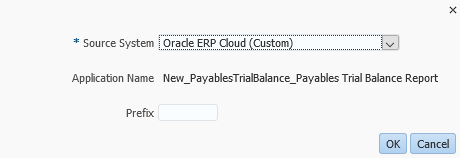
Optional: You can provide a Prefix to be used for the target application.
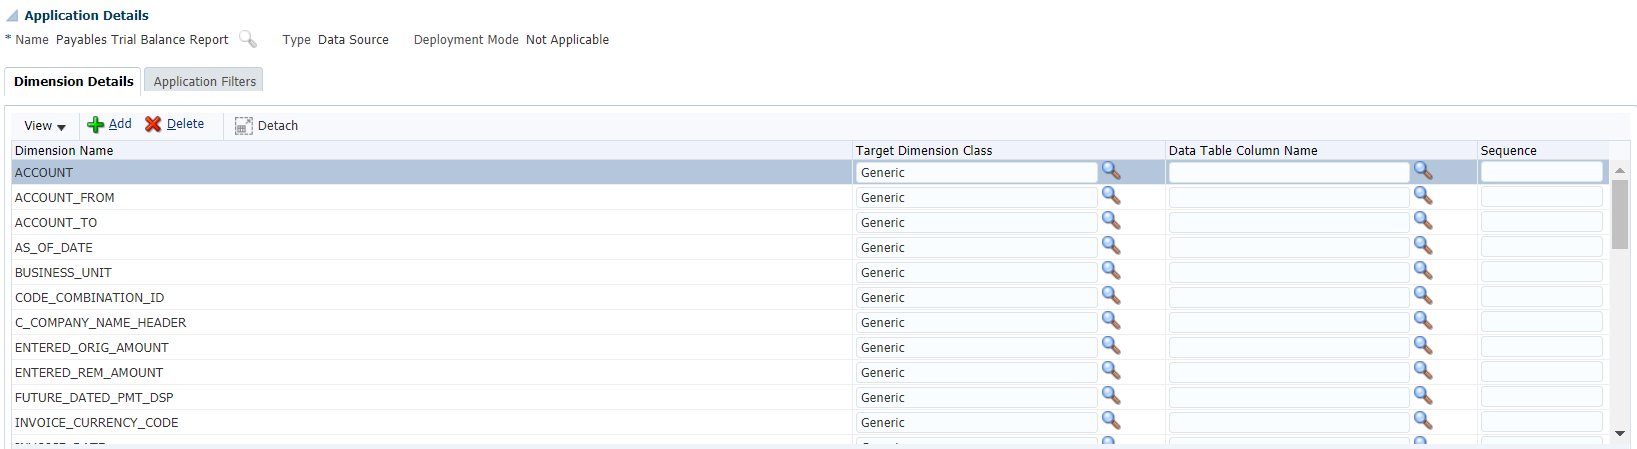
By loading the CSV file to the Target Application, Data Management assigns each column header in the CSV file as a dimension.
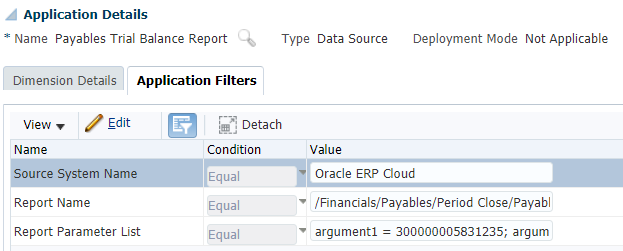
Now that Data Management knows what columns of data to expect, we must also provide the correct Parameters for Data Management to provide to Oracle Financials when running the report. Click the Application Filters tab from the Application Details section.
Three fields must be populated:
- Source System Name: Name of the ERP Source System created in the first step.
- Report Name: Path and name of the BI Publisher Report. This name can be found on the Log file of the Oracle ERP Schedule Process execution.
- Report Parameter List: Parameters copied when we rescheduled the report within Oracle Financials.
NOTE: Some Parameters are usually the same across ERP instances. Some others are not. Period parameters can be defined using the START_PERIODKEY and END_PERIODKEY functions.
TIP: In addition, not all parameters are needed. If you find that a parameter is a dynamic filter, it can be removed. During our implementation we realized the very first time we switched Oracle Financial environments (from DEV to TEST), the error message we received during a failed execution did not make any sense. Our conclusion was that the report execution was trying to use an ID for a filter that is different between the two environments and very likely not for the same query. We identified this to be for argument 6. When we removed this parameter from our Report Parameter List, the report ran successfully.
The following parameters were entered into the Report Parameter List above:
argument1 = 300000005831235; argument2 = 300000005708388; argument3 = $END_PERIODKEY[YYYY-MM-dd]$; argument7 = N; argument8 = Y; argument9 = 300000005831235;
Notice we substituted argument 3 to utilize dynamic Start and End dates for the Period instead of a hardcoded date. When Data Management executes the report it will use the Period (e.g. Jan-20) selected in the POV to determine the month to use for the report.
![]()
Create an Import Format Using the Custom Data Source
The Import Format is used to identify each field (column) in the data file and connects the GL Balance cube created in the Target Application configuration step to the ARCS application. Click the Add button to add a new Import Format.
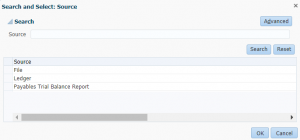
In the Details section, enter in a Name for the Import Format. Then click the Search button to select a Source.

In this example, our Target Application is Payables Trial Balance Report. Select Payables Trial Balance Report and click OK.
By selecting Payables Trial Balance Report, the fields applicable to a source type of File are removed. Lastly, select Account Reconciliation Manager for the Target.
In our example, no specific Mappings are required for this Import Format. Next, create a Location. Click the Save button when you are done with your selections.
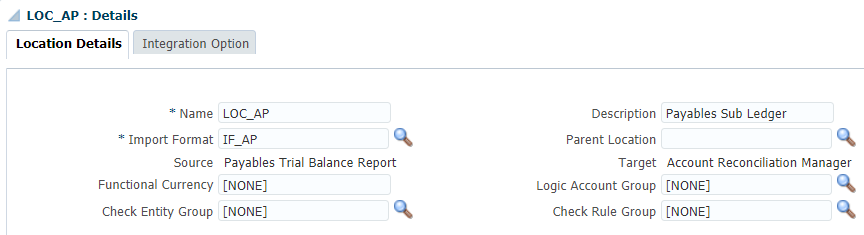
Location
Locations define a set of staging tables used to house the data imported from the source system. Each location is assigned an Import Format which aligns each field of the source data records to fields in the staging table. The selected import format defines the Source and Target for the data; in our example, Ledger and the ARCS application respectively. Click the Add button to add a new Location.
Enter a Name for the Location. Click the Search button to locate the Import Format created in the prior step. Click the Save button when you are done with your selections.
Data Load Rule
Begin by selecting the Location name in the POV bar located at the bottom of the window.
![]()
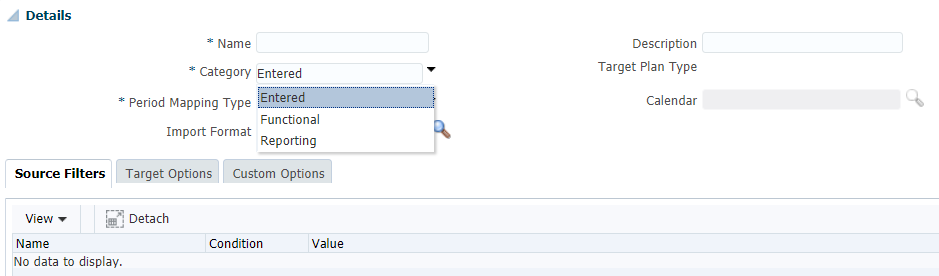
Next, click the Add button to add a new Data Load Rule. Enter a Name and select the Category. Since we are connecting to ARCS, the category corresponds to the Currency Buckets you have created in your ARCS application.
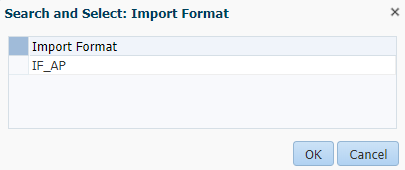
Click the Search icon to select the Import Format created in the previous step. Select IF_AP then click OK.
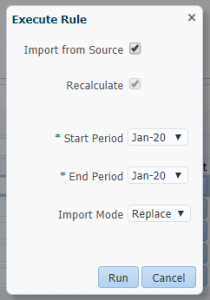
After creating the Data Load Rule for the AP (Payables) Location, you can import the data by clicking the Execute button. Make your selections, then click the Run button.
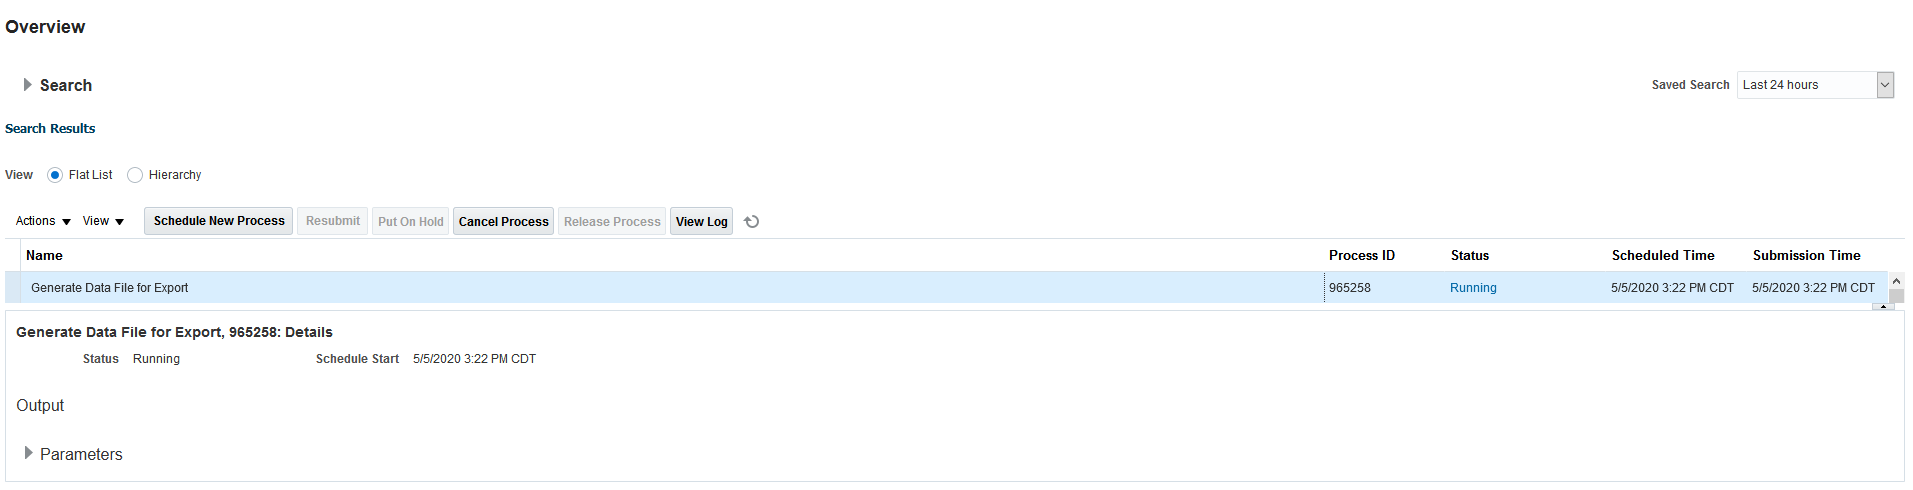
A dialog box displays indicating that the job has been submitted. You can view its process from the Process Details screen.

In conjunction, from Oracle Financials, a “Generate Data File for Export” is generated. This process is a wrapper that executes the defined BI Publisher report.
After the Generate Data File for Export is executed, another process uploads the resulting file to Data Management.

After the data load has completed successfully, as indicated by the green check marks, you can view the data from the Data Load Workbench screen.

You can continue to create additional custom connections by repeating the same steps above and selecting different reports to run from Oracle Financials.
This concludes our second installment of our two-part exploration into the world of data integrations using Data Management.
Hi there. Do you see any reason, why you couldn’t just run an SLA Trial Balance report from Oracle Cloud Financials as the source for the Subledger balances? This would include all subledgers in one report: Payables, Receivables, Assets, Cash, Cost. I’m wondering if this would simply the data export by sending one source file with all subledgers combined?
When we tried to use the SLA trial balance report, the report generated was too big and it was hitting the Oracle Cloud limit of 5Gb per output file.
Hitting this limit means that the Data Import will report a failure and it won’t continue.
So we decided to go with other, smaller, .xdo reports.
Hope this helps.
We are in the process of implementing ARCS — in the early stages. Are the SLA reports you refer to for loading to ARCS standard reports? The article mentions the Payables Trial Balance Report. What reports are you using to get SLA data for AR, Cost (Inventory), Fixed Assets – do all of these reports include ending balances by account? Thank you for any information you can provide!
We are in the process of implementing ARCS What reports are you using to get SLA data for AR, Cost (Inventory), Fixed Assets , Payables and receivables – do all of these reports include ending balances by account? Thank you for any information you can provide!
The SLA reports we used did not include ending balances but we were able to calculate that within the integration. I would confirm with your accounting team on the reports they currently use when reconciling their data, but as a starting point we found the following standard reports useful:
AR – Receivables Aging GL Account report
AP – Payables Trial Balance report
Fixed Assets – Reserve Detail report and the Cost Detail report. Need to use both reports to satisfy several different accounts.
Inventory – Account Analysis report (this was customized by the client)
Ensure that the report output can generate a CSV file. You may have to modify some reports if they do not provide a CSV format.
Can you drill on the subsystem data when working on Balance Comparisons in ARCS?
Hi,
can you pass multi values for the same parameter?