
In a previous blog, we covered the considerations we need to take into account when installing EPM 11.2 onto a Windows 2019 Server. We are now ready to use the unzipped software to actually lay down the binaries onto the Windows Server 2019 system we have prepared. In this installation, we are installing the software onto a single server. In most Planning installations, we would use at least three servers for EPM as well as a separate server for the Oracle or SQL Server database. These would be a Planning server for the planning application, a Foundation server for Foundation and other applications and an Essbase server. Depending on the number of users and size and the number of Planning applications, the server requirements will vary both in the number of servers, CPU’s, Memory and Disk Space.
In this example, we will be using the “Oracle Hyperion Planning Plus 11.2.0.0.0” downloaded in the previous blog to install a development environment consisting of a single server.
- Log in with Installation Account
- Unzipping the software
- Starting the installation
- Verifying that all Pre-requisites are meet
- Choosing the necessary software
- Completing the installation.
Log in with Installation Account
In an earlier blog, we talked about the Installation account and its requirements. Now we need to use the created and provisioned Installation account to install the software.
Unzipping the Software
Navigate to the directory containing the download of the .zip files from edelivery.
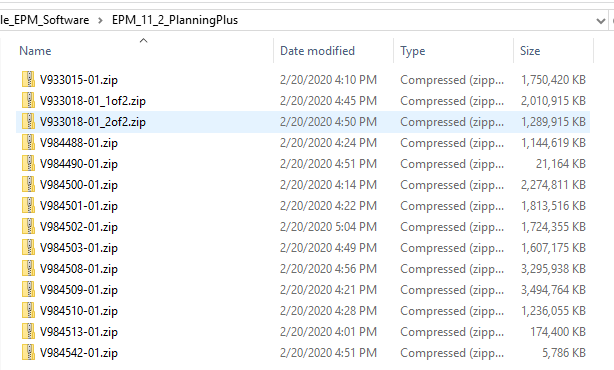
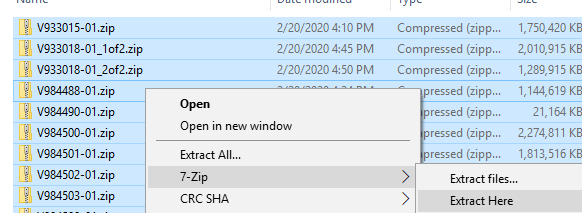
Select all files, Right Click and select “Extract Here”
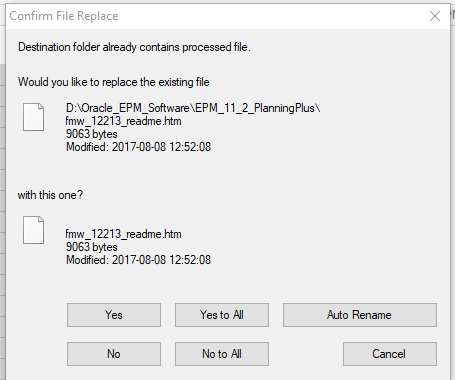
During the unzipping, when prompted to overwrite files, choose “Yes to All”
Now we have software unzipped we can start the actual installation.
Starting the Installation
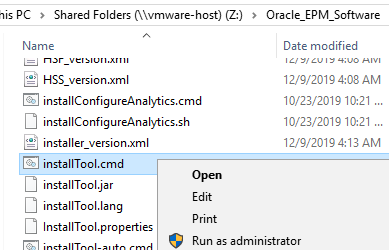
Navigate to the directory where the software was unzipped, right-click on installTool.cmd and select Run as Administrator
The Oracle splash screen will popup
and after the software loads, you will be prompted to select a language
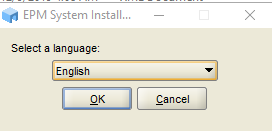
Click on OK and the Pre-requisite check screen will appear
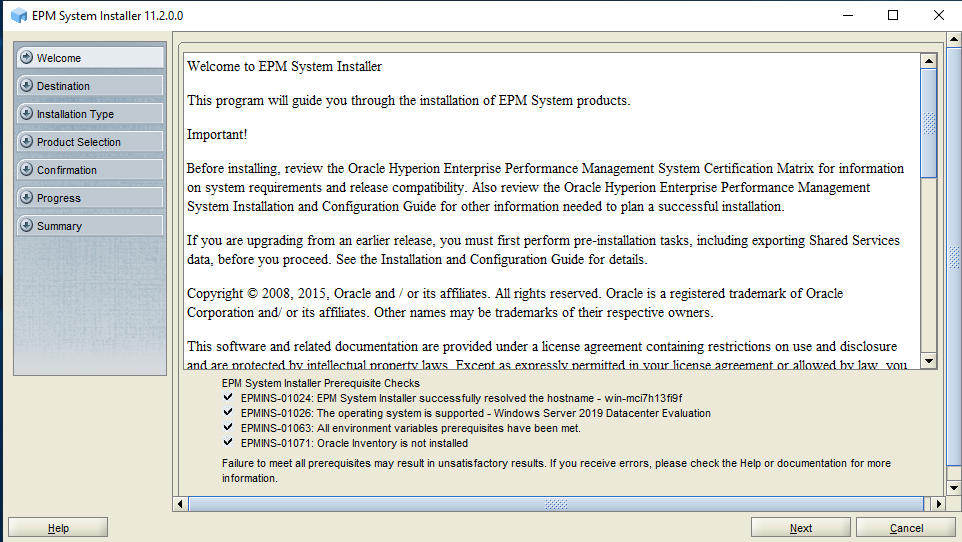
Verifying that all Pre-requisites are meet

The Pre-requisite screen will verify you have a valid system for installation. In this example, the pre-checks worked and all requirements have been met.

Choosing the installation Directory
In most cases, the installation will be on a drive other than the OS drive. Rather than C: most installs will be on a separate D: or E: drive. In this case, we will leave the installation directory set to C:\Oracle\Middleware. This is the location the software will be installed.
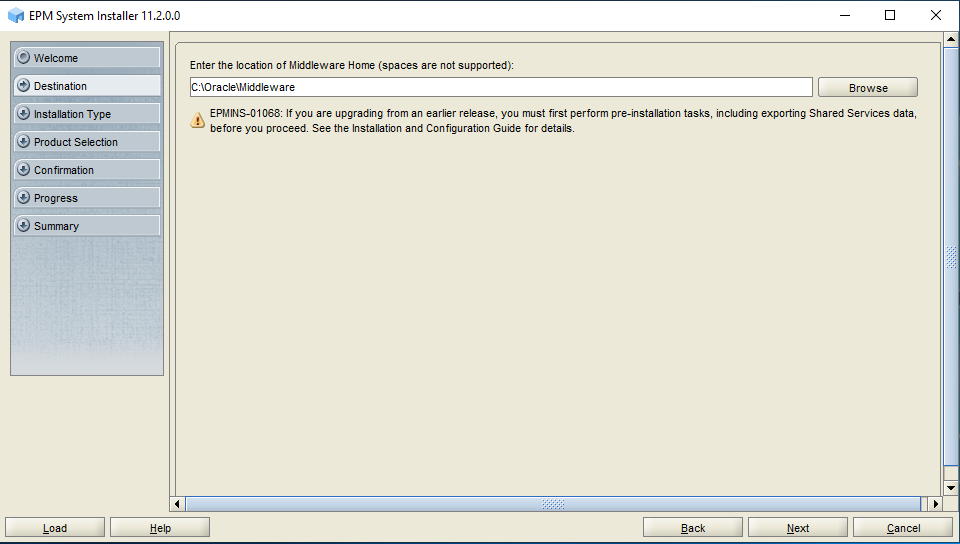
Since 11.2 is an out of place upgrade, for now, we will Click on “Next”
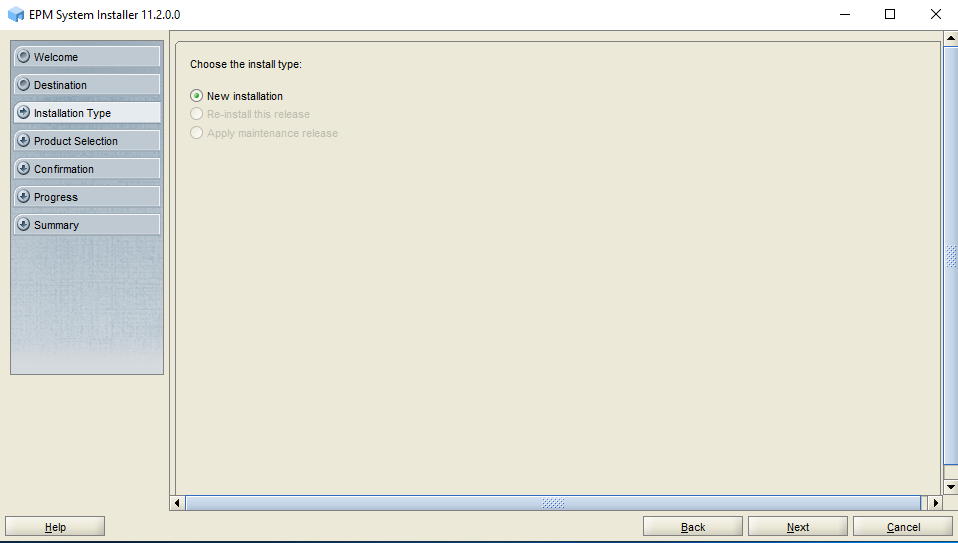
This is a “New installation” so leave this option checked and click “Next”
Choosing the necessary software
Now we have the list of available software. Note that if any of the software is not available it will be “grayed out”
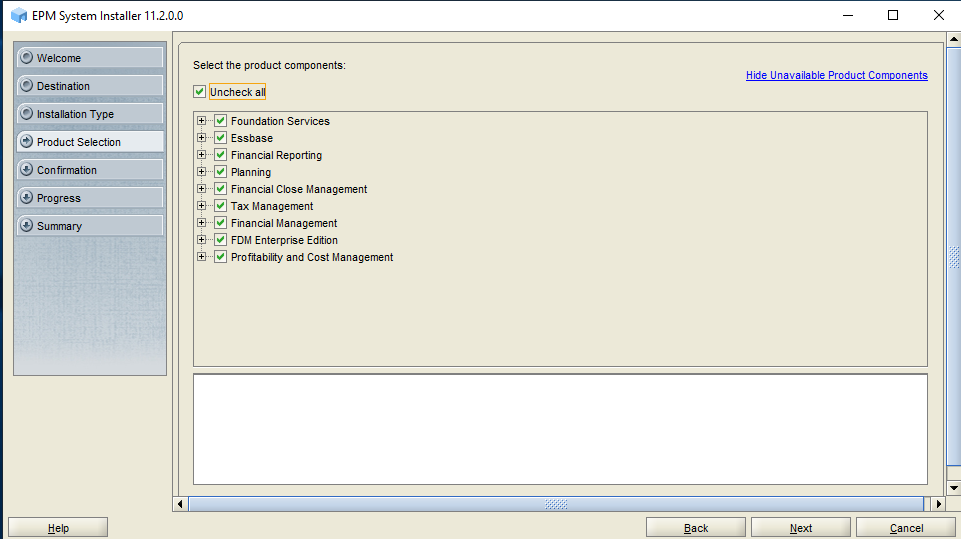
In this case, we will be picking and choosing what we need. First click on the Uncheck all
![]()
After “Unchecking all” you will need to deliberately select all of the necessary software. I start by checking Planning, which will also check any required software such as Foundation and Essbase. The following list is a basic installation. Normally in the Development installation, the Sample software is chosen so that it can be used to test the installation after configuration.
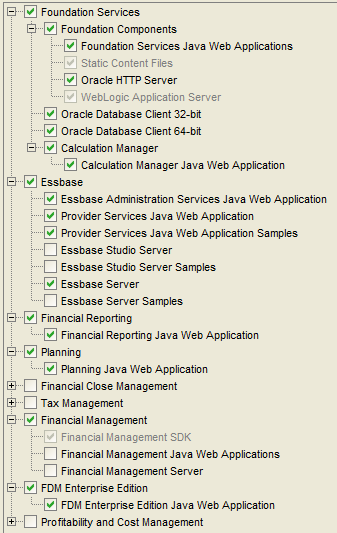
Click on “Next” to continue
On the Review page, verify the software you are installing. Note that with FDM Enterprise Edition you also get ODI 12 installed.
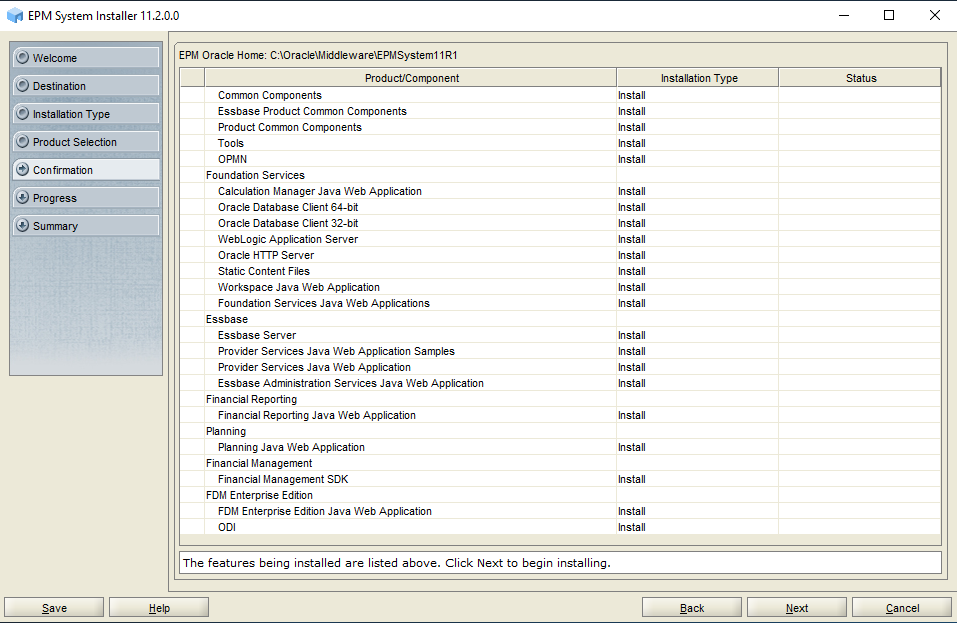
After a thorough review click on “Next”. The installation will start with a progress bar displayed at the bottom of the screen.
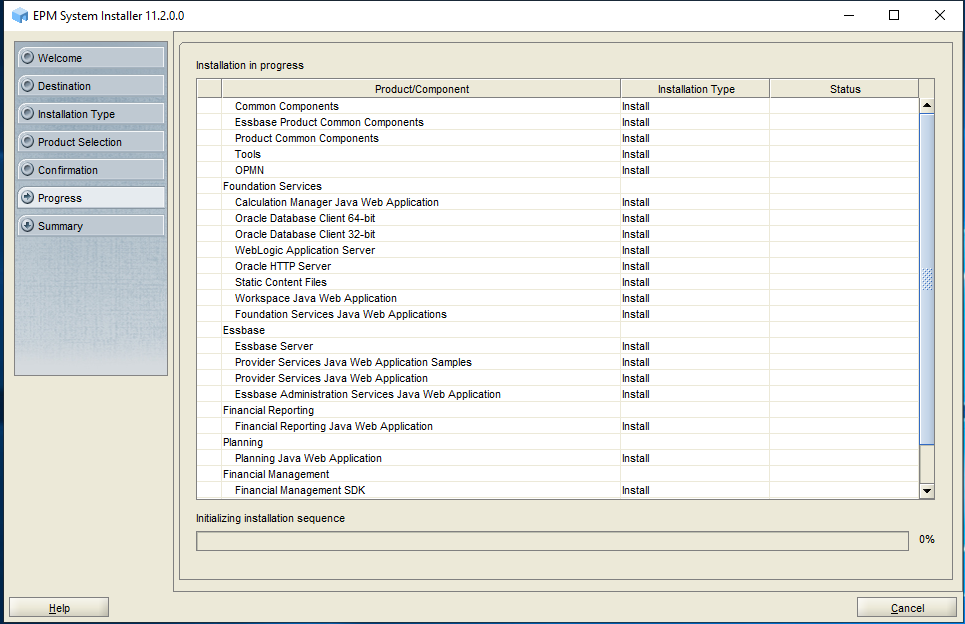
Keep an eye on the status bar as the software is installed.

Note in this example WebLogic is installing and the overall installation is at 7%. If the Anti-virus software was not disabled/ turned off the installation process could take a significant amount of time.
Completing the Installation
Now the software is completely installed and is ready for configuration. Click on “Finished”

Now the software is installed onto the server we are ready to configure the software for use.
We have so far covered
- Oracle EPM On-Premises Release 11.2
- Downloading the New Oracle EPM 11.2 Software
- What to consider before installing the new Oracle EPM 11.2 Software
- EPM 11.2 Installing Oracle EPM 11.2 onto Windows 2019
Stay tuned for upcoming blogs in a series covering:
- Configuring Oracle EPM 11.2
- Migrating from 11.1.2.4 to Oracle EPM 11.2 Planning, HFM, FDMEE & RAA