
I was recently asked to setup an eCommerce Windows site environment that can be managed from a centralized location and comply with the Payment Card Industry Data Security Standard (PCI DSS).
Active Directory is the solution from where Windows servers can be controlled and managed using Domain Users and Group Policies. However, an additional layer of security, two-factor authentication (2FA) was required to meet the PCI DSS, so a user would need to enter credentials into the Windows virtual machine and then authenticate himself again using either a phone call or SMS system.
To achieve this requirement, I started exploring features offered by Azure.
Active Directory Setup Using Azure
Azure does offer on-premises Active Directory to an extent, so that along with newly created users in Azure, all existing users in the on-premises domain should be able to use Azure resources with same credentials using the single sign-on (SSO) feature.
The Azure account access given to me to set up the environment had limited access to the Azure Active Directory blade, so I could not create a new custom domain inside the provided account where the directory had already been created.
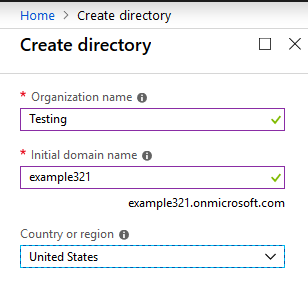
I had to create a new directory with a new name of “example321.onmicrosoft.com,” using the following steps:
- Go to Azure Active Directory under Marketplace
- Enter all requested information and click Finish
Directory creation takes 20 to 30 minutes, so once you have started the process of creating the directory, you will have enough time to prepare for the next steps. Once the directory has been created, you will need to attach a valid subscription. You will not be able to create a resource inside the directory until a subscription has been attached.
I had a subscription to the old directory and wanted to use it for the new one, so I changed directory using the following steps:
- From the old directory, go to Subscription
- Select the subscription you want to move to the new directory
- Click on Change directory
- Provide the details of the new directory and proceed

Now that the subscription had been attached, my next step was to create resources (e.g. virtual network, machines) and add them to Azure Active Directory.
I created the environment, but when I tried to add a virtual machine (VM) to the domain, it said no domain service exists. After further investigation, I realized that I needed to configure the Azure Active Directory domain service, which will allow the server to add into the domain.
How to Set Up Azure Active Directory Domain Service
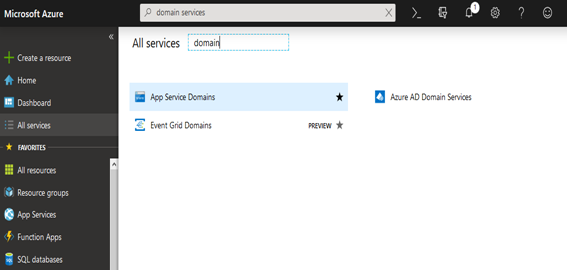
- Select All Services and search for the domain
- You will get list of services, including Azure AD domain services
- Select Azure AD domain services
Note: Only one domain service can be created per Azure Active Directory.
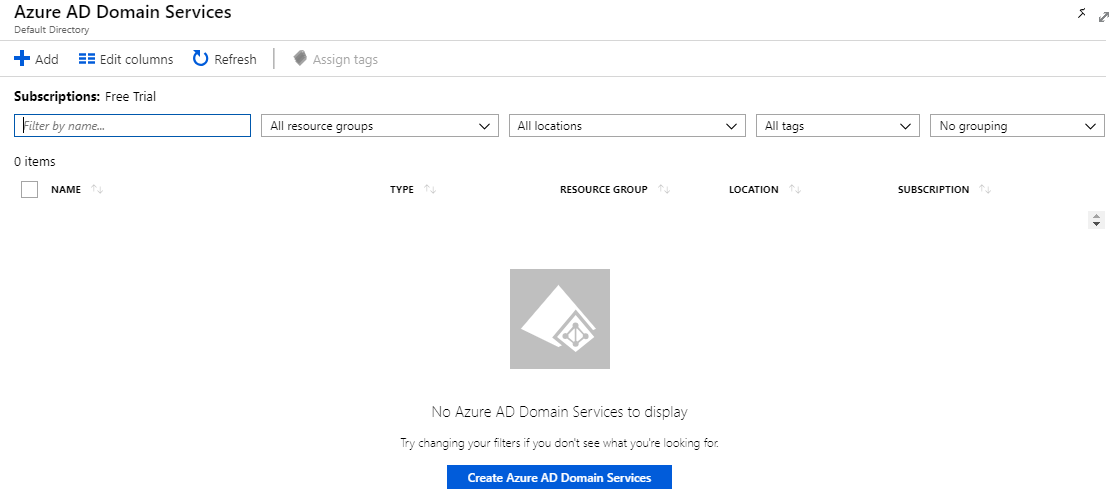
- Click on Create Azure AD Domain Services.

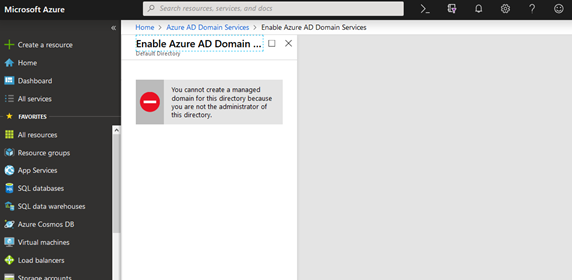
You need to be a global administrator to create domain services.
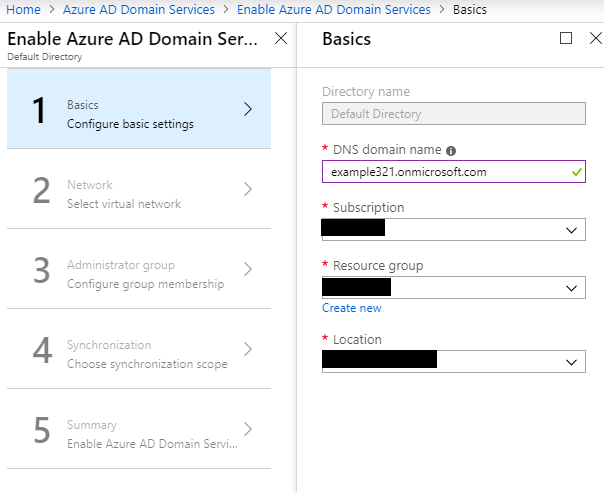
- Now you can create the DNS name for the domain, which can either be:
- An inbuilt domain name from Microsoft, which will have a suffix of onmicrosoft.com. You can add any prefix you would like for the domain. In my case, I used “example321.onmicrosoft.com.”
- A custom domain, which will allow you to create the domain of your choice without using the Microsoft inbuilt domain. For example, I could use “example321.com.”
- However, there is some limitation with custom domain prefix length. It cannot be longer than 15 characters.

The subnet for the domain services should be completely dedicated to it and have a minimum of five IPs available.
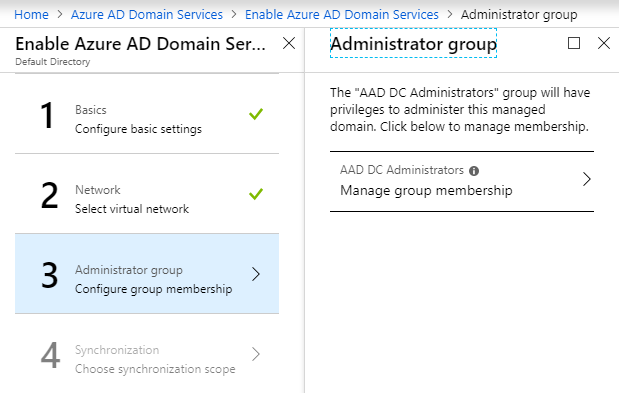
- During the setup of the step above, the Administrator group is created with the name “AAD DC Administrators.” When the VMs are added to this managed domain, this group will be added to the local administrator group automatically.
Azure domain service does not allow you to use the Domain/Enterprise administrator group. Instead, those groups are reserved by the Azure itself. We can use AAD DC administrative group to do some administrative tasks like joining VMs to the managed domain, managing group policies, etc.
To add members to this group, you can specify whom you’d like to add in Add members section. Those users will automatically become local admins on domain-joined VMs.
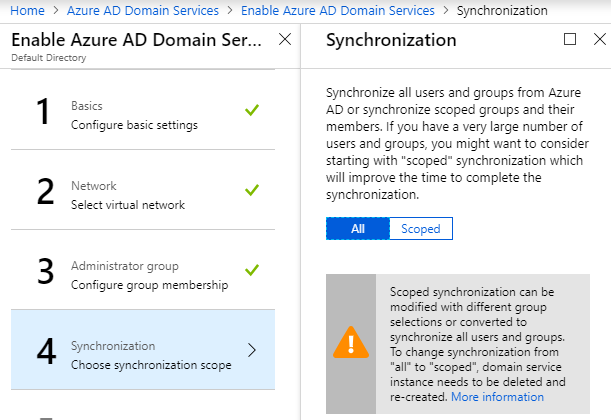
Select the kind of synchronization needed by the organization. In my case, I needed to have all groups and users synced, so I selected “All.”
The next step is to review the summary of all the steps you have chosen and click OK to start the creation process.
Multi-Factor Authentication (MFA) Setup for Users:
Go to the Azure Active Directory blade and click on the Multi-Factor Authentication tab. It will open a new tab in the browser with list of users and their current MFA status.
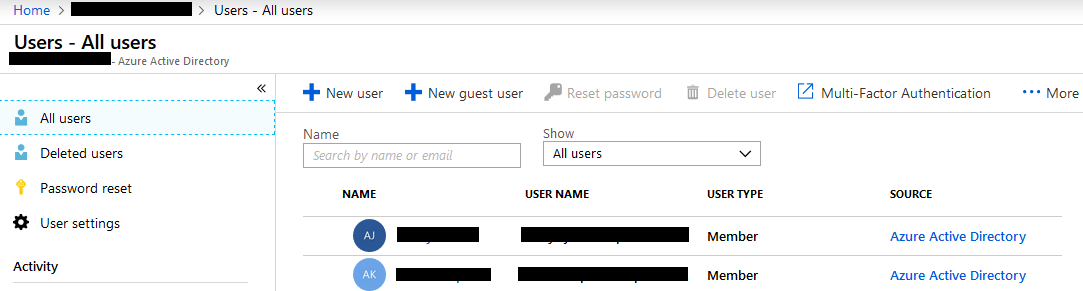
Select the user you want to enable MFA for.
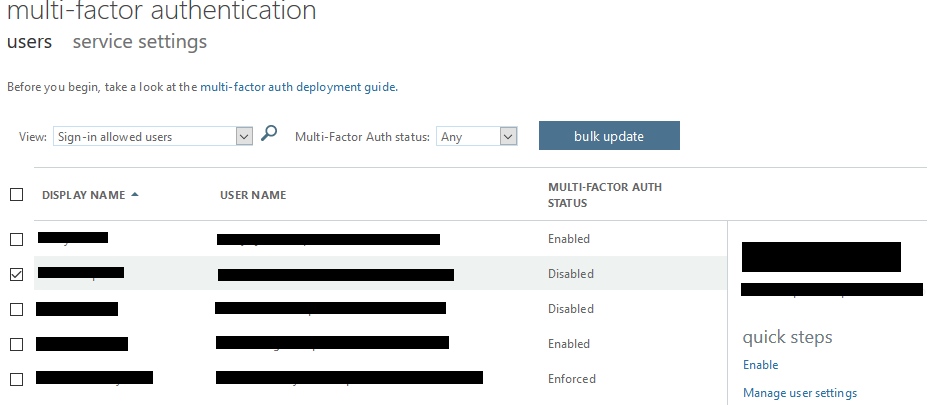
On the right side, you will see an Enable option. Click on that to Configure MFA for the user and a pop-up window will appear below.
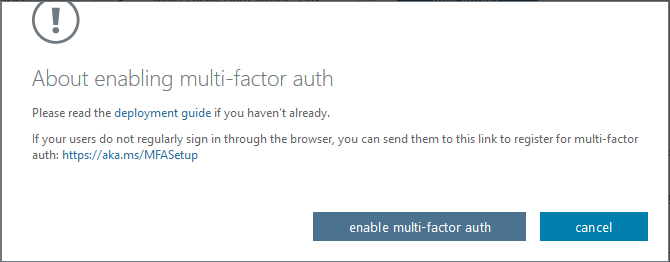
Click on “enable multi-factor auth” to enable it.
The user can select from several different verification methods by going to https://aka.ms/MFASetup. They can receive a call from Microsoft, a text message code from Microsoft, or an approval message on the Microsoft Authenticator app.
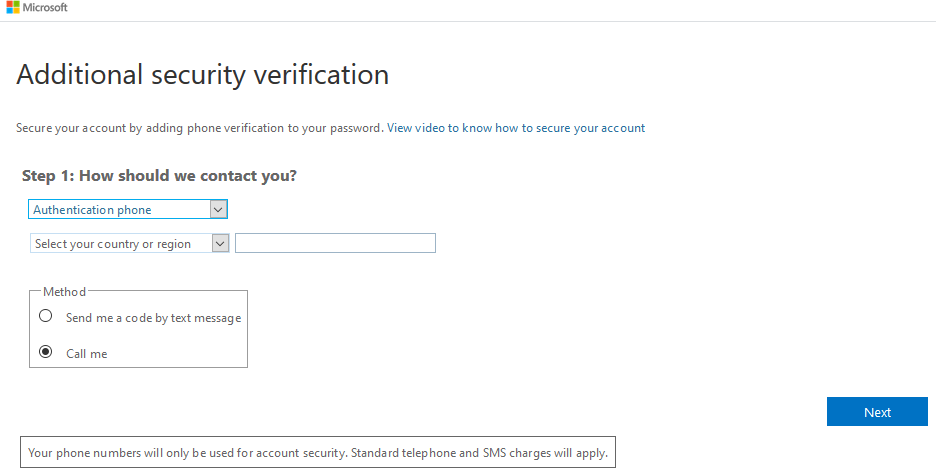
The image above shows the phone call or text methods of verification. Select your country, enter a valid phone number, and select call or SMS. Then click on Next to complete the process.
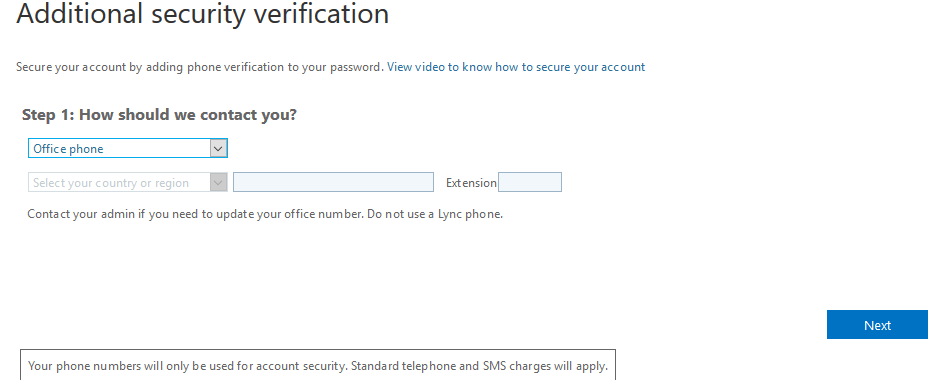
You can also be verified through your office phone, as shown in the image above.
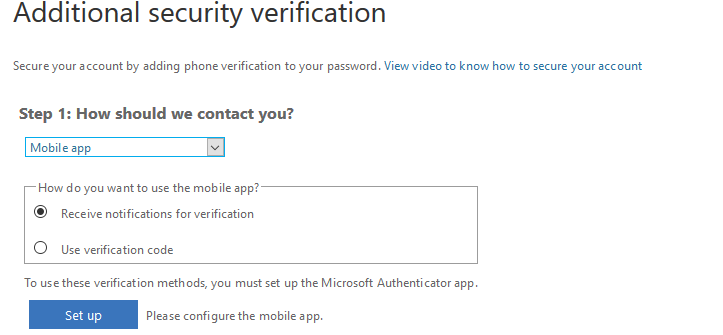
To use the app method of verification, you would need to install the Microsoft Authenticator app on your mobile phone and sync it using the code provided. Then any time your identity needs to be authenticated, Microsoft will send a verification code to you through the app. Once you provide correct code, the login process will move ahead.
MFA for Remote Desk Protocol (RDP) access of Azure VMs:
This is a bit different from setting up MFA for Azure portal. Setting up MFA for Azure portal is quite simple because the options for MFA are present in the portal itself and you only need to enable/configure it by selecting desired user.
MFA for RDP access requires an environment where couple of additional VMs have been created with specific roles.
- Remote Desktop Gateway Server
- NPS server (Network Policy Server)
- Azure-based Multi-Factor Authentication server
When I started working on this requirement, I setup the Azure-based MFA server and NPS server on one VM and Remote Desktop Gateway on another VM. However, this did not bring the desired result.
I reached out to Microsoft support and they confirmed I would need to have all three servers on separate VMs, which would have a greater cost, and was not approved by the client. Instead, I used a third-party application to provide MFA for RDP users.
As I continued to work on setting up MFA for RDP access, I referred to this Microsoft article about using the Network Policy Server (NPS) extension to integrate an RDP with Azure .