Welcome back for Phase 5! In phase 4 we moved some users over to the pilot pool. Today we’ll be taking things a step further by deploying an Edge Server role in our pilot pool. If you haven’t seen the blog articles on Phases 1-4, you can check them out here! However, if you’ve been on the journey with us since the beginning we can proceed on!
Phase 5: Add Edge Server to pilot pool
Great job! Now we have some users in our Skype for Business Server 2019 pilot pool! Next, we’ll be adding the Edge Server role to the pilot pool. In this phase we will be configuring and verifying our edge deployment.
Deploy pilot Edge Server
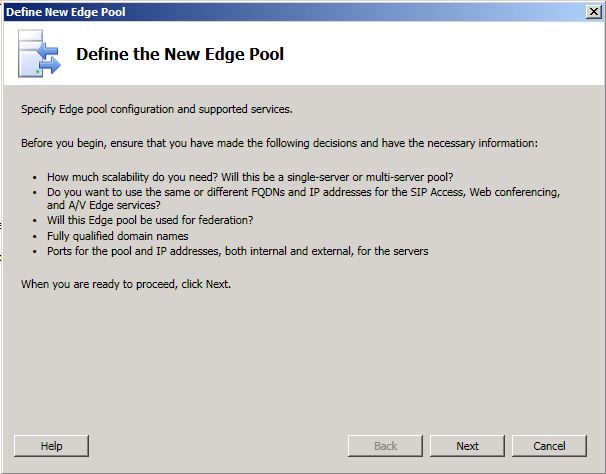
- This topic highlights configuration settings you should be aware of before deploying your Skype for Business Server 2019 Edge Server. As you navigate through the Define New Edge Pool wizard, review the key configuration settings shown in the following steps. Note that only a few pages of the Define New Edge Pool wizard are shown.
- Log on to the computer where Topology Builder is installed as a member of the Domain Admins group and the RTCUniversalServerAdmins group.
- Navigate to the Skype for Business Server 2019 node. Right-click Edge pools, and click New Edge pool.

- An Edge pool can be a Multiple computer pool or Single computer pool.

- On the Select features page, do not enable federation or XMPP federation. Federation and XMPP federation are both currently routed through the legacy Edge Server. These features will be configured in a later phase of migration.
- Continue completing the following wizard pages: External FQDNs, Define the internal IP address, and Define the external IP address.
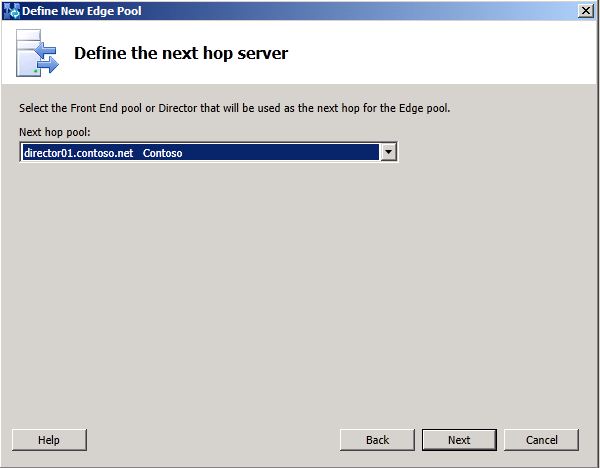
- On the Define the next hop server page, select the Director for the next hop of the legacy Edge pool.

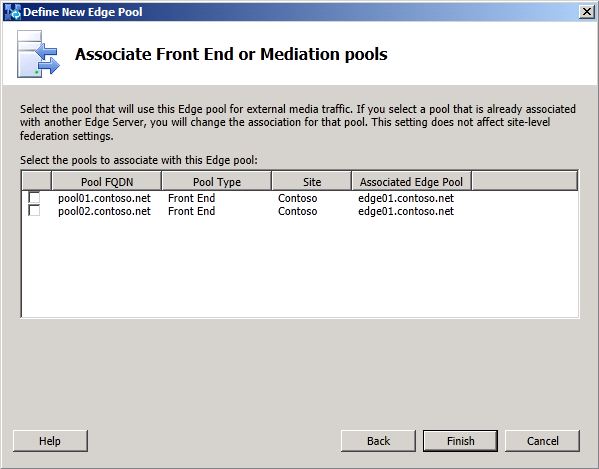
- On the Associate Front End or Mediation pools page, do not associate a pool with this Edge pool at this time. External media traffic is currently routed through the legacy Edge Server. This setting will be configured in a later phase of migration.

- Click Finish, and then Publish the topology.
- Follow the steps in the Deployment documentation to install the files on the new Edge Server, configure certificates, and start the services.
Verify configuration settings
Now that we have deployed the pilot edge server, we must verify the configuration settings. To do this we can run the Get-CsManagementStoreReplicationStatus cmdlet on the internal computer where CMS (Central Management Store) is located, or on a domain joined computer where Skype for Business Server 2019 Core Components (OcsCore.msi) is installed.
Note: Initial results may indicate the status as “False” instead of “True” for replication. If so, run the Invoke-CsManagementStoreReplication cmdlet and allow time for the replication to complete before running the Get-CsManagementStoreReplicationStatus again.
This concludes Phase 5. Today we added the Edge Server role to our topology, published, and verified the configuration settings. In Phase 6 we’ll be discussing possibly the biggest task yet, which is moving from a pilot to a production deployment. So definitely make sure to check back tomorrow for that blog! Until then, I thank you for checking out this blog and I hope you have found this helpful.

