Before I start, let’s discuss why do we need automation?
A very common answer would be to reduce human effort, time and most importantly to do regression testing again and again.
I am working as an Automation tester along with the manual testing team. My task is to create regression test scripts in Selenium and deliver the same to manual team so that they can perform regression testing using automation scripts.
Being an Automation tester I am aware of the framework and technicalities implemented by the Automation team to develop the test scripts. But another fact is, in order to make Manual team execute the same test scripts we cannot setup the same environment in their machine (Imagine there are 50 manual testers).
So our goal is to deliver the scripts wrapped in a framework so that the execution can be made with ease. The solution to the above problem is given by a tool called ‘Apache ANT’.
Using ANT tool along with few prior configurations we can make execution of scripts quite easy.
Downloading ANT
You can download ANT from the link “http://ant.apache.org/bindownload.cgi”
Installing ANT
Before building project with ANT, we need to do below configurations:-
- Set the ANT_HOME environment variable to the directory where you have installed ANT.
- Set the JAVA_HOME environment variable to the directory where you have installed JDK.
- Append the PATH (predefined) environment variable with ‘ANT_HOME/bin’ directory.
For more details on setup ANT follow the link ” http://ant.apache.org/manual/install.html”
Sample Project Hierarchy
Below is the project hierarchy tree structure to make the understanding proper.

– <Project Name> : This can be any meaningful name
– <Source Dir> : Location of Test Scripts (i.e. where your selenium java files are located)
– <Dest Dir> : The class files (i.e. compiled java files) gets copied to this directory
– <Lib> : Location of jar files that will be required to compile the JUnit code
– build.xml : Ant Configuration file
– <Reports> : Reports with % of passed and failed testcases along with total time taken
For locating jar files in <Lib> directory follow the link “http://ant.apache.org/manual/Tasks/junit.html”
build.xml
Let’s get to understand how ‘build.xml’ works because this is the heart of ANT tool:-

– <project> : This can be any meaningful name basically contains set of targets.
– <target> : Targets are the set of tasks that will be executed based on the input at the time of executing ant.
– <task> : These are logical set of operations which will be performed as target runs.

The sample build.xml will look like:-
<project name=”Selenium” default=”init” basedir=”.”/>
<!– default attribute states that if no target name is mentioned then it will execute ‘init’ target –>
<target name=”init” description=”Initialization”>
<taskname>
<!– here we will instruct ANT to initialize certain properties as per the framework requirements–>
</taskname>
</target>
<target name=”compile” description=”compile your test scripts”>
<taskname>
<!– <javac> task, this will instruct ANT to compile java files –>
</taskname>
</target>
<target name=”run” description=”run your test scripts”>
<taskname>
<!– <junit> and <batchtest> task, this will instruct ant to execute the test scripts in a batch–>
</taskname>
<taskname>
<!– <junitreport> task, this will instruct ant to create a report based on the execution results–>
</taskname>
</target>
</project>
For detailed build.xml follow the link “http://ant.apache.org/manual/using.html“.
Execute Test Scripts
The command required to execute the project build with ANT is quite simple.
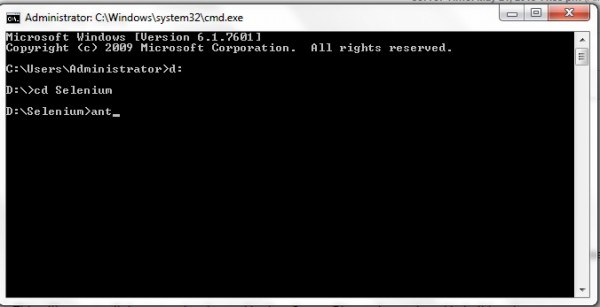
Go to the location of the project directory (“D:\Selenium” in the above screenshot) where build.xml is present.
Either give the command ant or ant <target name> in command prompt.
This will execute all the test scripts located in the <Source Dir> path mentioned in build.xml.
Reporting
Once the execution is completed successfully, we can verify the results of executed testcases (i.e. % of Passed and % of failed) in the <Reports> path mentioned in build.xml. The report is generated in the html format which Junit by default provides. The Junit sample report is given below.

Thanks a lot Sohit for detailed Explanation.
Looking forward for some more posts.
Nice brevity in explaining automation testing. Looking forward for more posts.
Good one Sohit… neatly explained the Jist of Selenium Automation.
Below is a small brief of what is Automation testing…
Automation Testing:
Automation testing is all about What & How.
My way of describing automation testing is to separate the “What” from the “How”, the “What” should be your test cases (like general instructions for a manual tester). The “How” should be your test framework (class and methods). The “What” should be business logic that needs to be tested (like work flow). The “How” should be the specific instructions for delaying with the interface (click this, fill in this). The “What” are your customer’s actions. The “How” is the implementation of your interface that supports what the customers wants to do.
Hey Harsha
I appreciate the way you have demonstrated Automation testing. This makes even more clear probably for those who doesn’t understand what Automation is.