This is part 1 of 2, a step by step document on how to install the Service Manager 2012 Self Service Portal on SharePoint 2010. These best practices are a result of many production installs in the field and the lessons learnt (so you don’t have to!)
Best practice is to have a separate VM just for the Self Service Portal (you can use an existing SQL instance, e.g. the one Service Manager uses, or a new SQL) – or you can install on the Service Manager box itself (not recommended), but then it becomes intertwined and you cannot uninstall without removing the whole of Service Manager.
Part 1 – SharePoint 2010 Install
Preparation
Hardware:
- Portal VM System Requirements – Server 2008 R2 OS fully patched
- 8GB RAM Minimum
- 4 CPU
- 80GB OS Drive
Monitor this VM, and increase resources as necessary when load/users increase.
Software:
Either download SharePoint 2010 Foundation, or use your existing full SharePoint 2010 Server software and license key. For this blog I’ll assume we’re using the SharePoint 2010 Foundation (although the steps are almost identical).
Download SharePoint 2010
http://www.microsoft.com/en-us/download/details.aspx?id=5970
Download SharePoint 2010 Service Pack 1
http://www.microsoft.com/en-us/download/details.aspx?id=26640
SharePoint Installation Steps:
On your new Self Service Portal assigned VM launch the SharePoint 2010 Foundation you downloaded:

Click “Install software prerequisites”

Accept the license terms:

This takes a few minutes to run – go make a coffee!

Make sure it completes successfully, if an error shows run again until no errors show:

Completed!

Next, run the “Install SharePoint Foundation”:

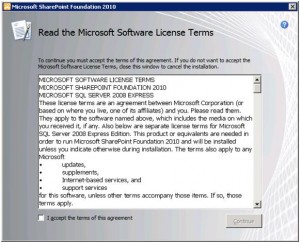
Again agree to the license terms:
Now IMPORTANT, you can choose “Complete” which will require an existing SQL instance later on to store data, OR choose “Stand-alone” which will install SQL Express locally.
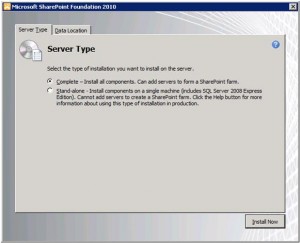
[Personally, I always use an existing SQL instance and choose the “Complete” option – much more flexibility with SharePoint configuration that way].
Click on the “Data location” tab and review where the files will be installed – click “Install Now”
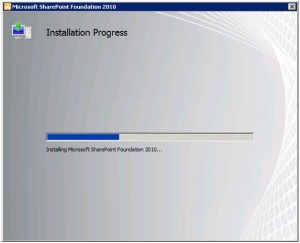
This takes several minutes.
When the installation is complete you will see this “Run Configuration Wizard” screen:
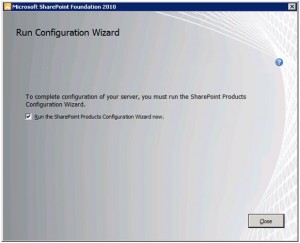
UNCHECK the box and click close – we need to install Service Pack 1 before we configure, far easier that way!
Run the SharePoint 2010 Foundation Service Pack 1 you downloaded – this takes a few minutes also.
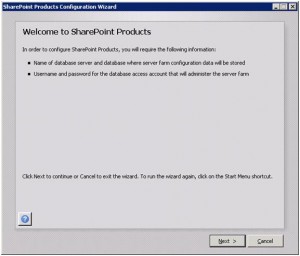
When the update is complete, run the SharePoint Production Configuration Wizard from the Start menu.
Welcome screen:
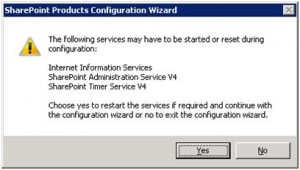
Click “Yes” for this warning:
Now if you chose the “Stand-alone” you will not be prompted for choices, if you selected the “Complete” you will be asked:

We are going to “create a new farm” – then you will be asked for a SQL server (point this to the SQL you want to use) and credentials for the SQL.

NOTE – for the “Username” I normally enter the service account that Service Manager 2012 is using.
This account must have “dbcreator” and “securityadm” role rights on the SQL before you go past this screen.
Next specify a passphrase for farm security:

Here you could use the same password as the Username you just entered in, to keep it simpler.
Next we need to specify the port that SharePoint will use for the Central Administration page, the administration site – here you can let the wizard choose a random port, or as best practice decide on a port to use to keep things in order, e.g. 2500.

NTLM is the usual selection here also.
A confirmation screen shows next – review and click next:

The process will take a few minutes.
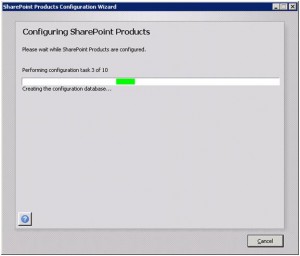
A confirmation screen will show when done – click “Finish”
A browser will open to the “Central Administration Site” after a few moments:

Click on: “Start the wizard” – to configure the simple services within your SharePoint 2010 Foundation farm.

You can select the managed account you used in the drop down – make sure the two services are checked and click “Next”
It may ask you for new SharePoint site information during this process.
A confirmation will show when it has finished:

Now Part 2 will cover the actual Service Manager 2012 Self Service Portal onto this SharePoint 2010 you have just built.

New installations should be using UR8 as instructed below:
https://blogs.technet.microsoft.com/antoni/2016/04/06/the-new-html5-based-self-service-portal-ssp-in-system-center-2012-r2-service-manager-ur8/