This article covers the implementation of the LDAP Adapter in Oracle Service Bus (12c). The LDAP Adapter provides an easy way to integrate with LDAP Servers.

In this article we are going to use Apache Directory Studio as the LDAP server and Apache Directory Studio as the LDAP browser. First, you will need to download and install ApacheDS LDAP server using this link.
Configure LDAP Server
- Click on the New Server icon to create a new LDAP server.
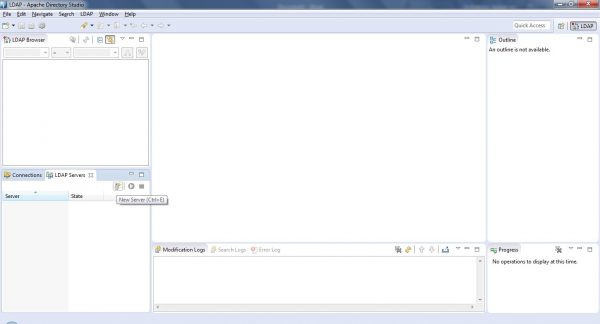
- Open Apache Directory Studio and click the LDAP Servers tab in the bottom left corner.
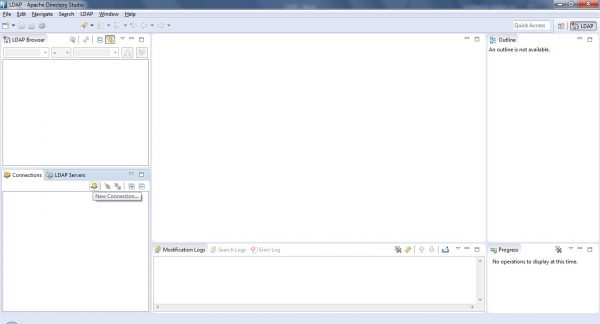
- Go to Connections tab and click the New connection icon to create an LDAP connection.
- Select Run to start the LDAP server.
- Select ApacheDS 2.0.0 as the server type under the Apache Software Foundations folder and click Finish.

- In the New LDAP Connection dialog box, enter the Connection name, Hostname, Port and click Next.

- In the Authentication session, select Simple Authentication as the Authentication Method and enter the following parameters. Click Finish.
- Bind DN or user: uid=admin,ou=system
- Bind password: secret

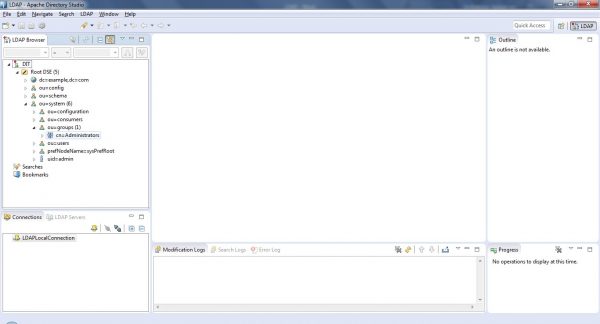
- Now you will be able to see the LDAP connection in LDAP Browser. You can also see the users and groups are empty under System.


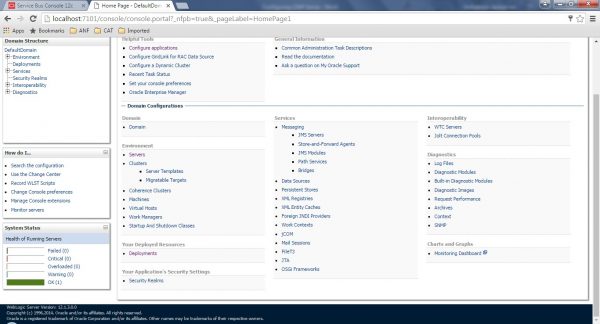
Configure LDAP Adapter in WebLogic Console
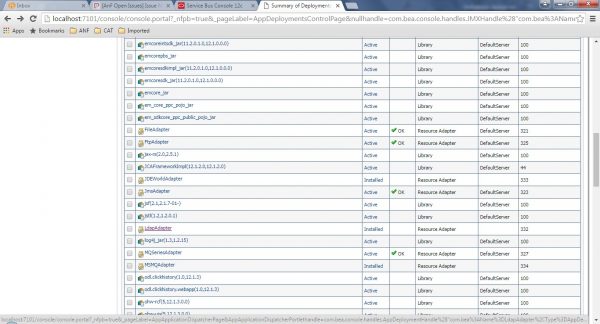
- Go to the WebLogic console and select Deployments.
- In the Summary of Adapters select LDAP Adapter.
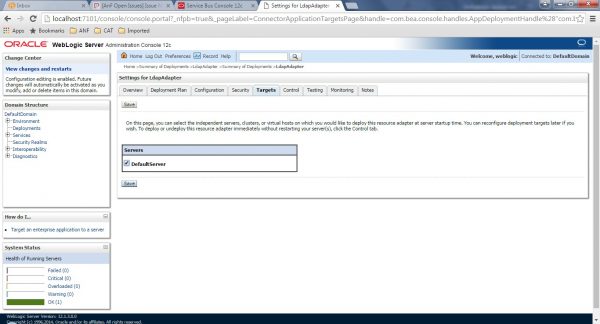
- Click on the Targets tab. Select the DefaultServer checkbox and click Save. By default, the adapter will not be targeted to any server.
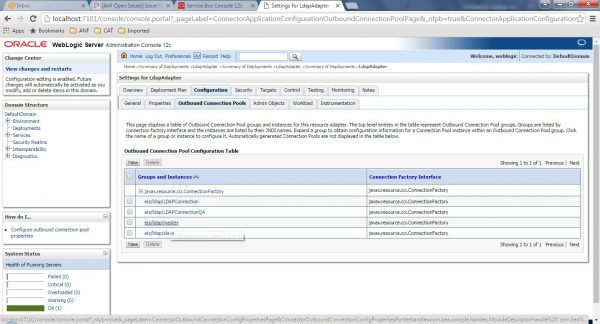
- Click on the Configurations tab and select Outbound Connection Pools.
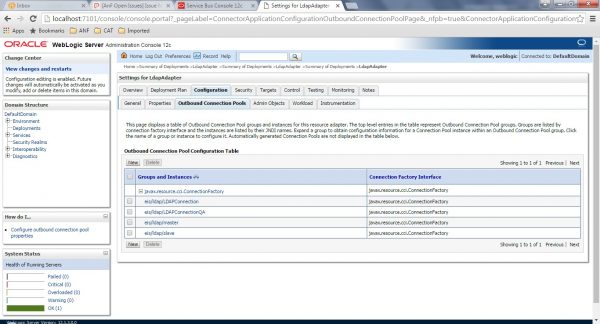
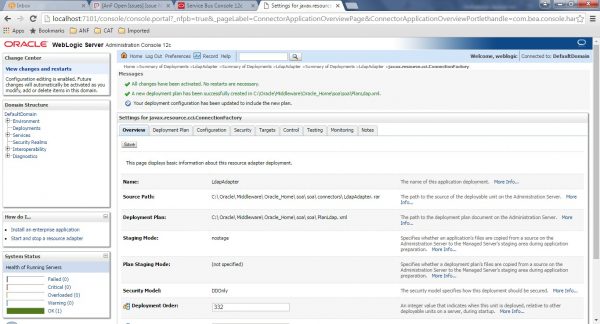
- You will now be able to see a list of connection factories. Select the eis/ldap/master connection factory.
- Enter the following parameters.
- bindDN: uid=admin,ou=system
- hostname: localhost
- port: 10389
- password: secret

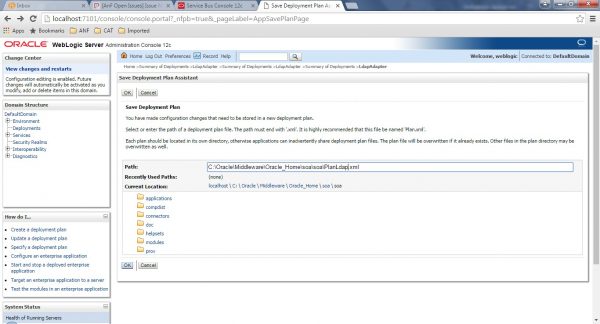
- When configuring the LDAP adapter connection factory for the first time, it will ask for the Deployment Plan path. Enter the plan path and click Ok.


- Restart the WebLogic server to activate the changes.

Create a Service Bus Project in Jdeveloper
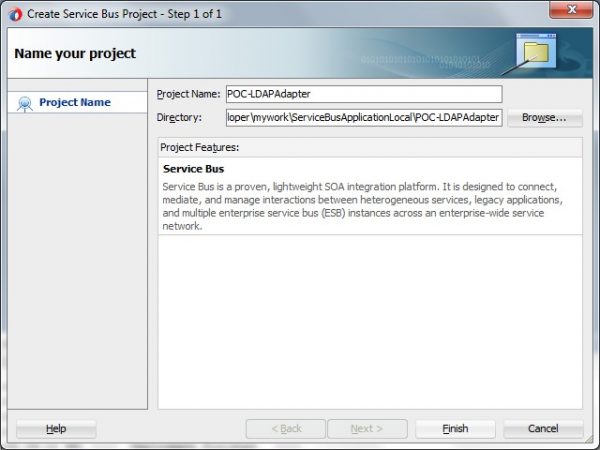
- Create a new Service Bus Tire Application and Project.

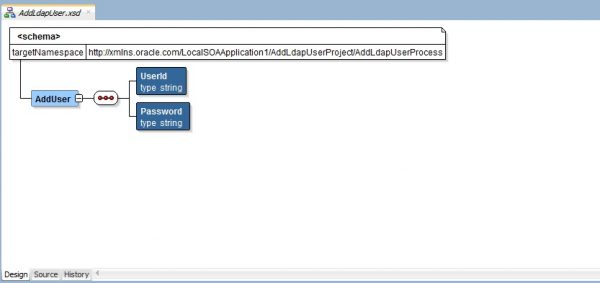
- Create a simple schema which contains only a userId and password to configure the proxy service.

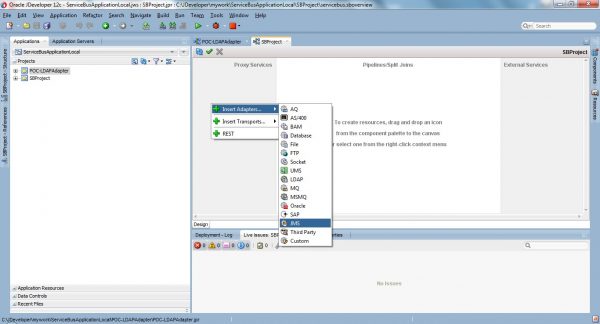
- Right click on the Proxy Services lane and select Insert Adapters. In the list of adapters select JMS.

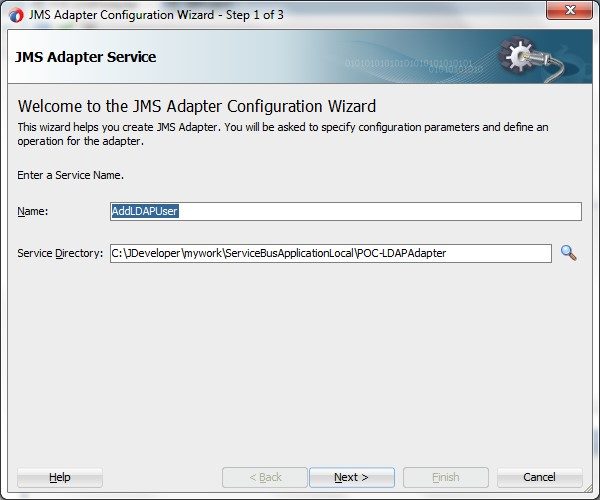
- Enter the Name of the proxy service and click Next.

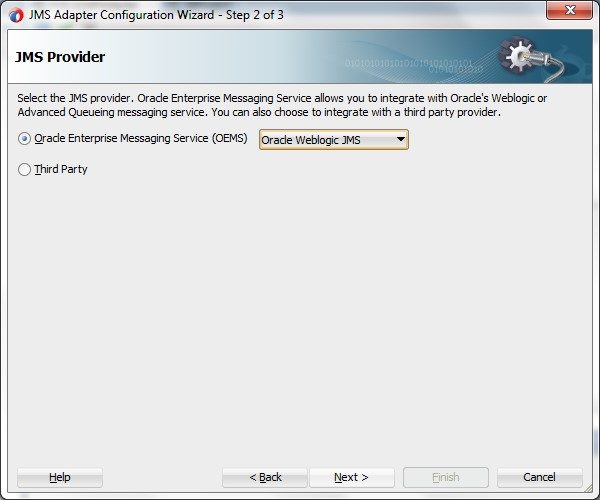
- In the JMS Provider dialog box, select Oracle Enterprise Messaging Service (OEMS).
- Select Oracle Weblogic JMS in the drop down list and click Next.

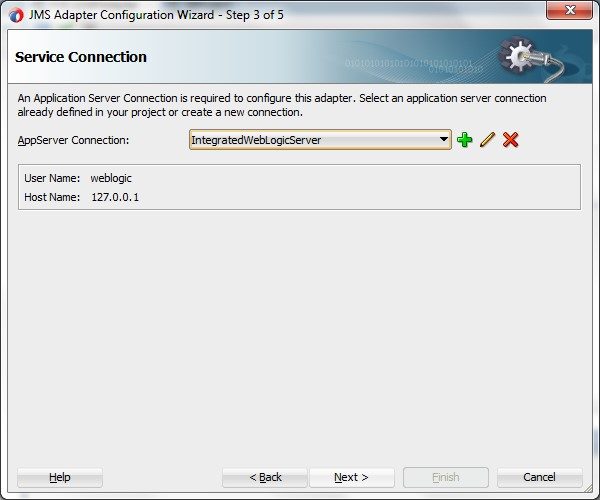
- In the Service Connection dialog box, select the WebLogic Server Connection and click Next.

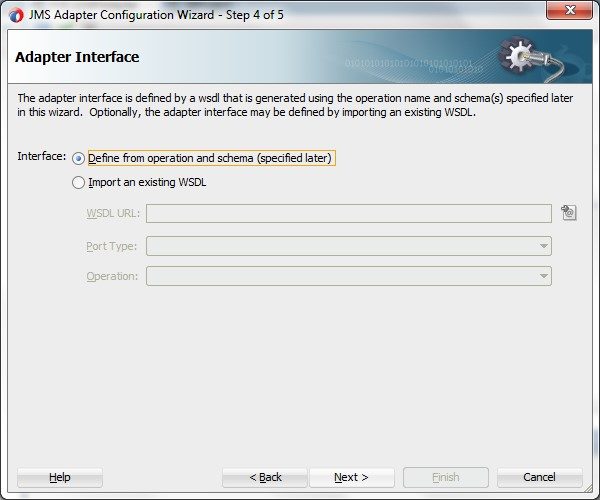
- Select the Define from operation and schema (specified later) option and click Next.

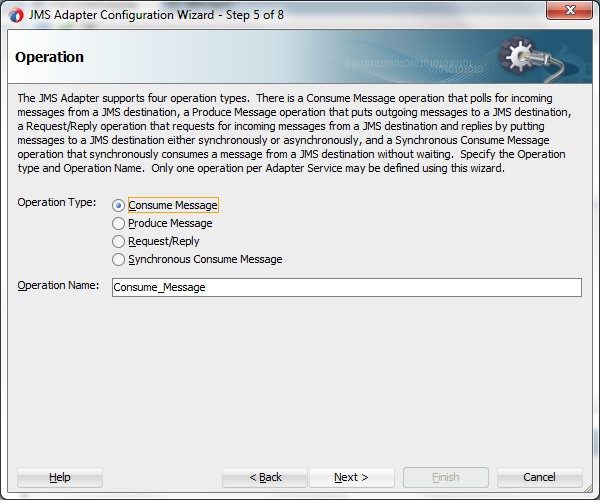
- Select Consume Message as the Operation Type and enter the Operation Name, then click Next.

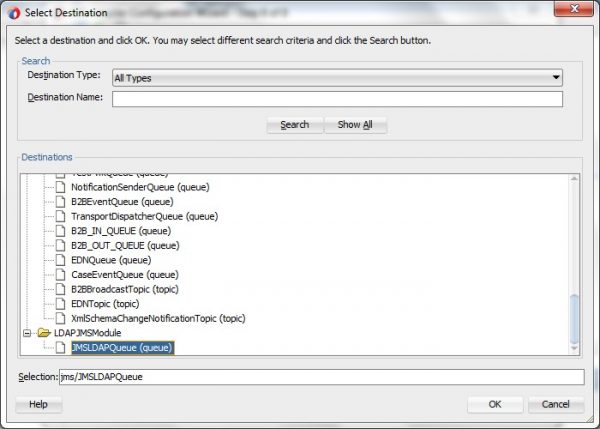
- Click on the Browse button to select the destination queue.
- Under LDAPJMSModule you will be able to see the LDAPJMSQueue. Click Ok.

- Browse and select the JNDI Name as eis/wls/Queue and click Next.


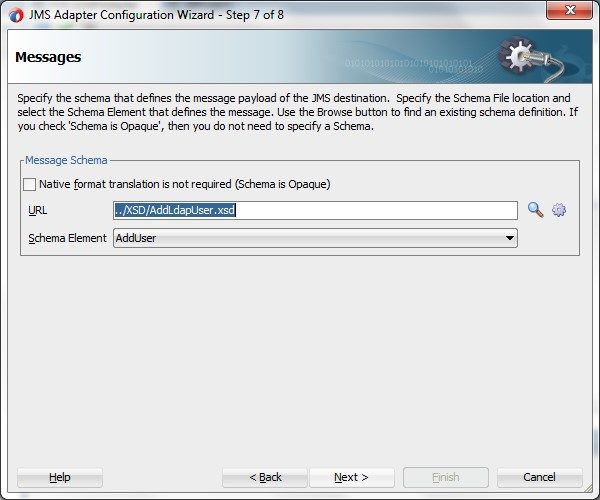
- Click on the browse icon and select the request schema and click Next.

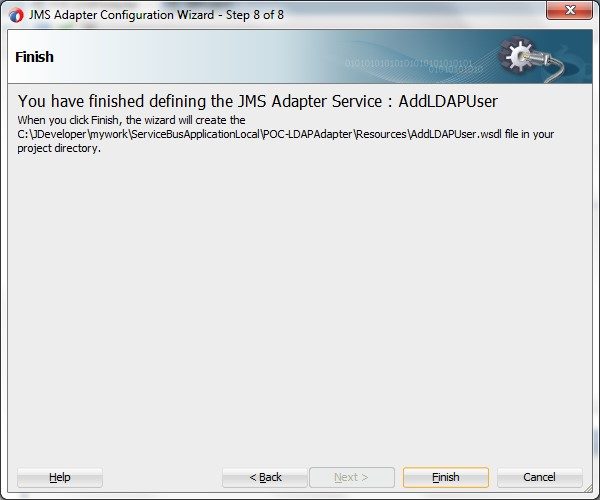
- Click Finish to complete the configuration. This JMS Adapter will generate an abstract WSDL, concrete WSDL and JCA file based on the configuration.
- Uncheck Expose as a Proxy Service option, as we already created a proxy service.
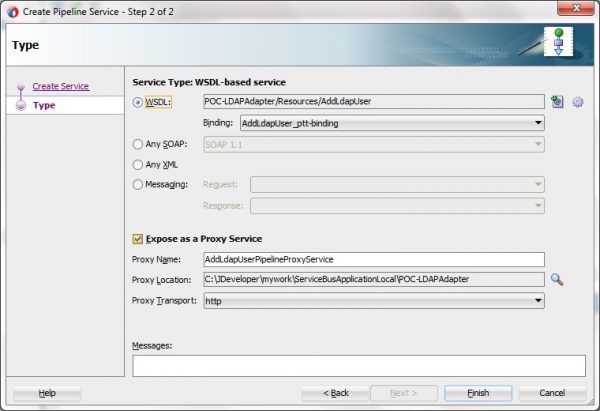
- Create a WSDL based Pipeline by selecting the REST proxy service WSDL.
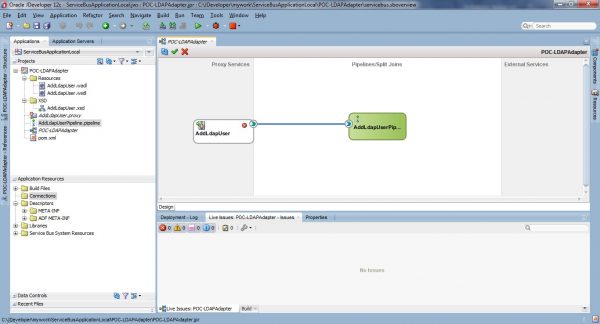
- Configure the PipeLine with Proxy Service.
- Select LDAP Adapter from the list of adapters.
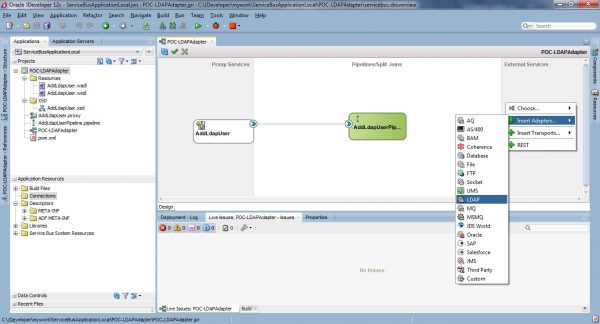
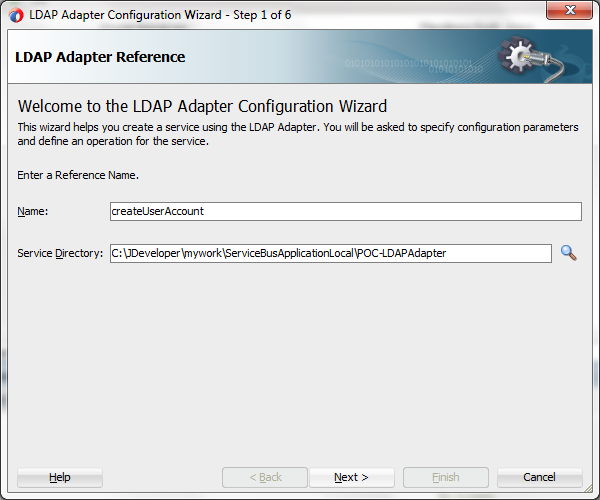
- Right click on the External Services lane and select Insert Adapters.
- Enter the name of the Adapter and click Next.
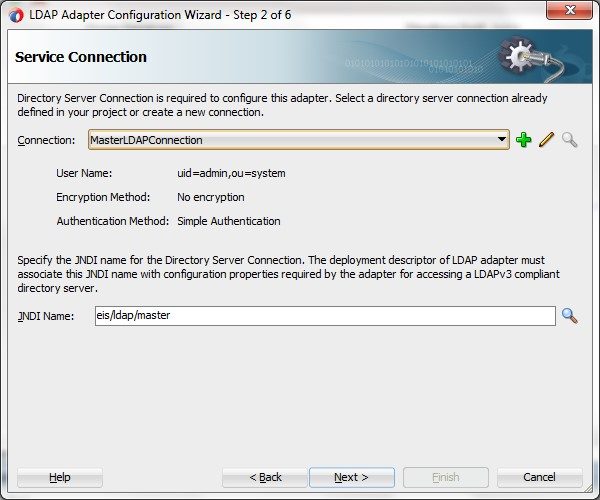
- Create a new LDAP Connection in Jdeveloper by passing the following parameters.
- Host Name: localhost
- Port: 10389
- Authentication Method: Simple Authentication
- Username: uid=admin,ou=system
- Password: secret
- Click Test Configuration to test the connection and click Ok.


- In the Connection drop down list, select the LDAP connection which we have created.
- In the JNDI Name, browse and select eis/ldap/master jndi and click Next.

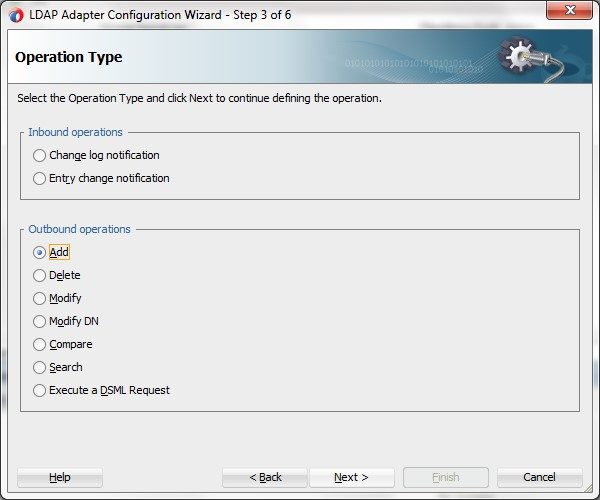
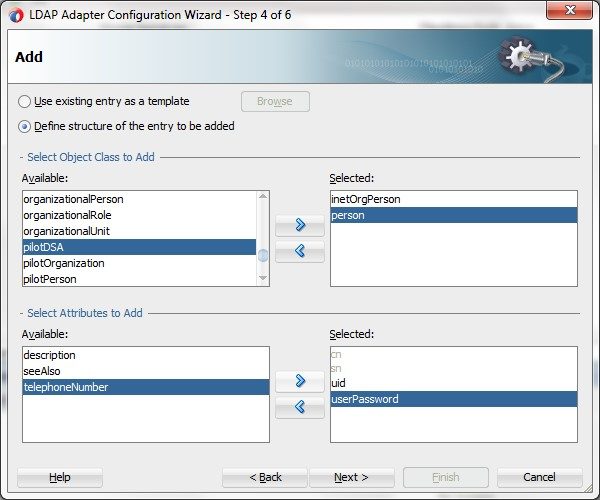
- Select Add as Operation Type as we are going to add the user account. Click Next.

- LDAP Adapter has some predefined object classes which contains required attributes. As we are going to add user credential we need only user id and password.
- Add inetOrgPerson in object class list and uid in the attributes list.
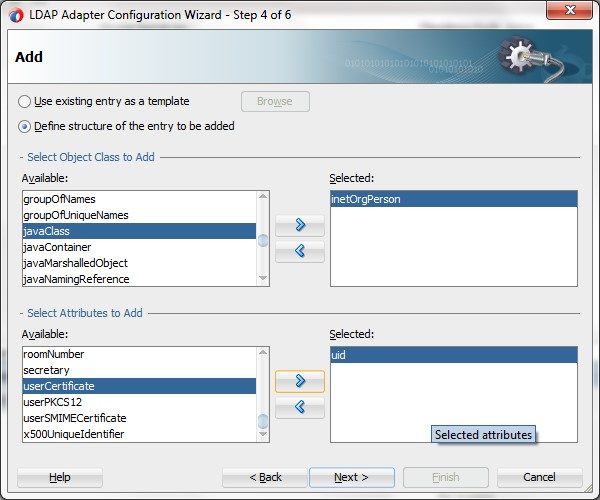

- Add person in the object class list and UserPassword in the attributes list.
- Verify the selected attributes and click Next.

- In the final step of the LDAP Adapter Configuration, you can see the xsd, wsdl and jca files directory. Click Finish to generate the resources.


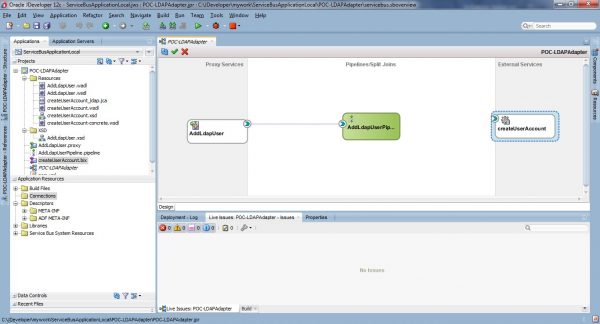
- Now in the design view you will be able to see the LDAP Adapter Business Service. You can also see xsd, wsdl and jca files created under Resources.

- Before going to the pipeline flow, create an xsl to transform the request to an LDAP adapter request.
- In the xsl configuration, select the source schema AddLdapUser.xsd which we have created to configure proxy and select the target schema as createUserAccount.xsd which we have generated using LDAP Adapter.
- Map UserId to cn/value,un/value and uid/value.
- Map Password to UserPassword/value.
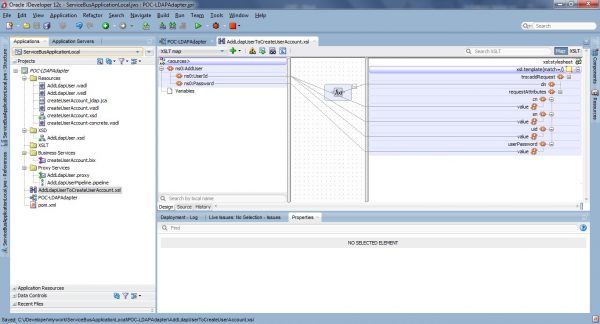
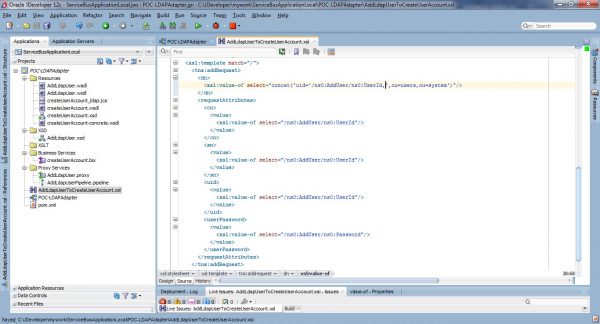
- Concatenate UserId with ou=users,ou=system and map to dn.
- The source of xsl looks like the below image.


- Go to PipeLine and add a new PipelinePairNode.
- In the Request Pipeline add a Replace action and configure the xsl which we have created.
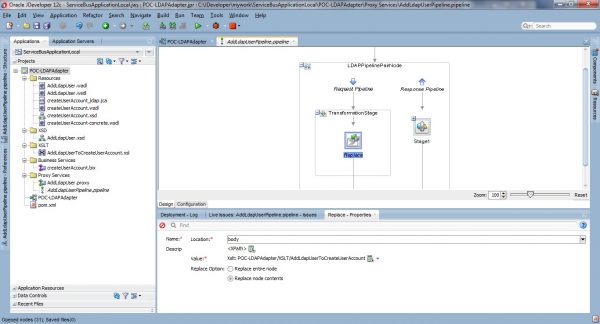

- In the next stage, configure the LDAP Adapter Business Service using Publish. You can also add an empty error handler in the PipelinePairNode to catch errors.

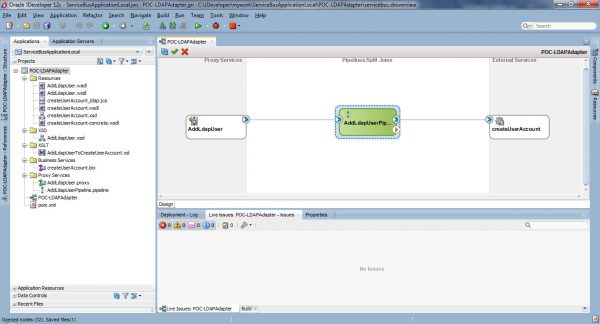
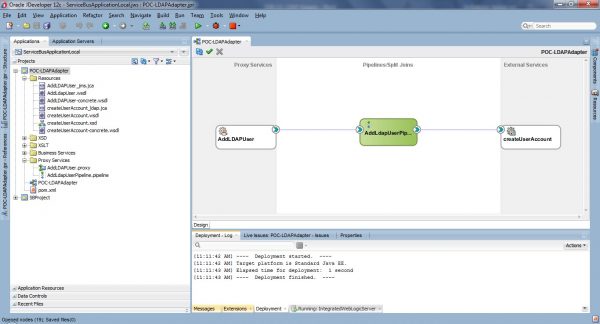
- Now you will be able to see the LDAP Business Service connected to the Pipeline.

- Right click on the project, select Deploy and click Deployment Profile.
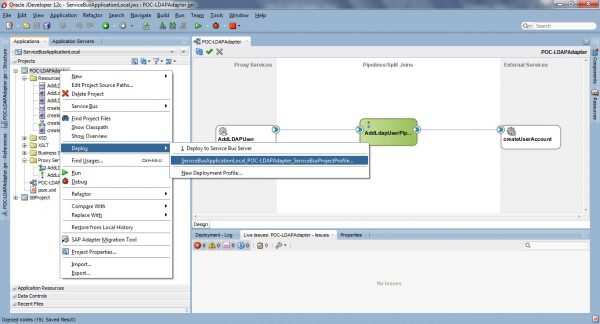

- In the Deploy Action, select Deploy to Service Bus Server and click Next.
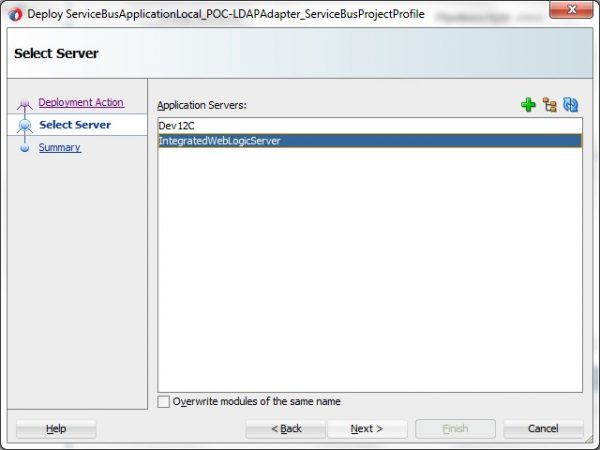
- Select the server connection where you need to deploy the project and click Next.

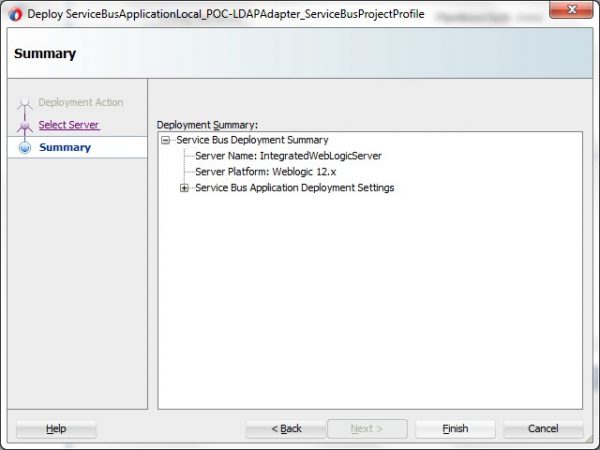
- The final dialog box will show the summary of the Server Name, Server Platform and Service Bus Application Details. Click Finish to deploy.

- In the Deploy Log tab, you will be able to see the deployment status.

- Once the deployment is finished. Go to Service Bus console and select the project.
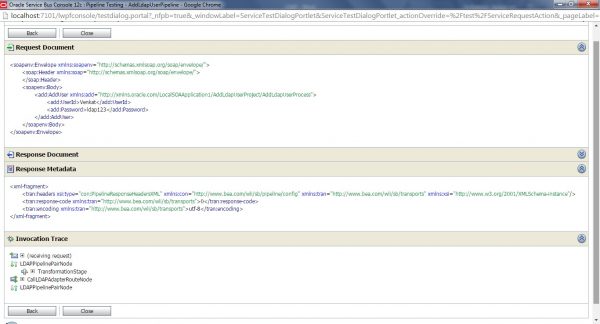
- Go to Proxy Service, select pipeline and click on the Launch Test Console icon.


- In the payload pass UserId, Password and click on the Execute button. You will be able to see the flow.

- Go to LDAP Browser and refresh the connection. You will be able to see the UserId which we have sent using console is added under system/users.


Using the LDAP Adapter, we can also Modify, Search and Delete user accounts.