
In my previous post I discussed how Microsoft and NBC were streaming every single event live and on demand at the Sochi Olympic Games. Azure makes publishing and streaming videos easier than ever before. This post will walk you through creating a media service, uploading content (video or audio), encoding it and publishing it for consumption. We will do this all using the Azure management portal.
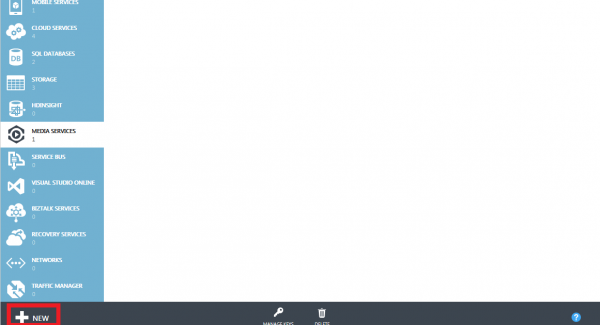
- To start log into Azure and go to the portal (if you don’t have an Azure account you can get one for free at http://windows.azure.com). Select ‘Media Services’ on the left hand navigation bar, then select ‘New’.
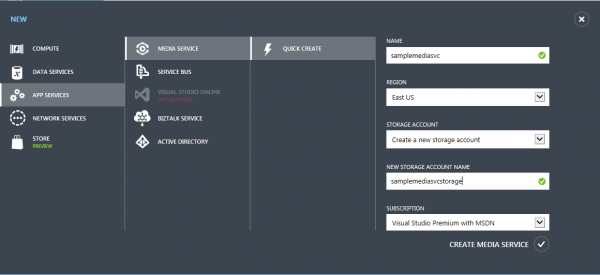
- Fill in the requested information. Note that in order to create your Media Service. You must use and existing storage account or create a new one. In this example we will be creating a new storage account. This storage account will hold all of the media that we would like to stream from Azure.
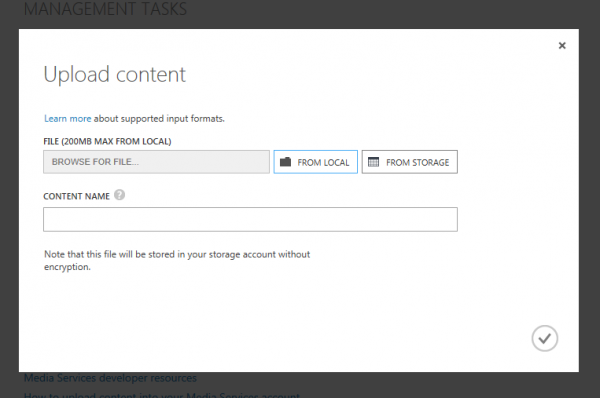
- After you Media Service is created your dashboard should look similar to this. Our next step is to upload some content. Click on the ‘Upload’ button.

- You can select content to stream in two ways. You can upload content you have stored locally on your computer, or you can “upload” content to Media Services that is already located in Azure blob storage. The content can be located in any storage account you have access to in Azure.


- Once the media is uploaded we will be able to publish it or encode it.
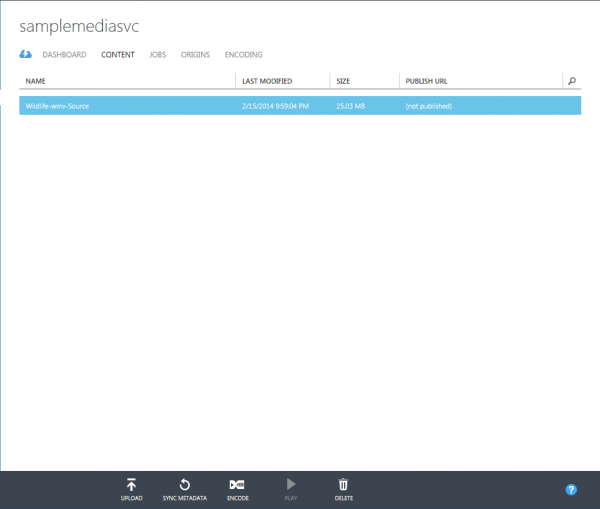
- Select ‘Encode’. This will provide a small modal as well as list the various options Azure provides for video encoding. For this example we will stick with the Common presets. In a later example I will show you how to enable IIS Smooth Streaming content. Smooth Streaming is a new adaptive bit rate technology which operates over the HTTP protocol. Smooth Streaming is what is being used for the Olympic live and on demand video streams. Select ‘Playback via HTML 5’ and click the check mark to begin the encoding process.

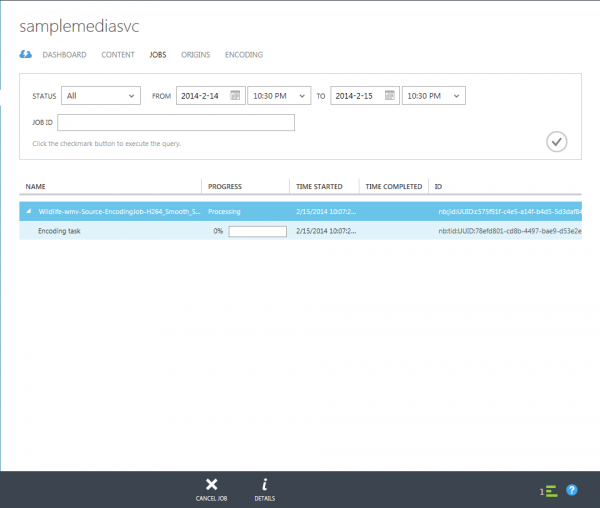
- Depending on the size of the video file uploaded the encoding may take a few minutes. If you were uploading and encoding videos in bulk Azure will automatically create an encoding queue for you. The default Media Service setting enables just one encoding process. You can increase that so that 5 encoders are running at once. This does not mean the amount of time the video encoding will decrease; it means that you can encode up to five files at once. To do this click on the ‘Encoding’ tab and move the slider up. Note that this will incur an extra charge based on time used.
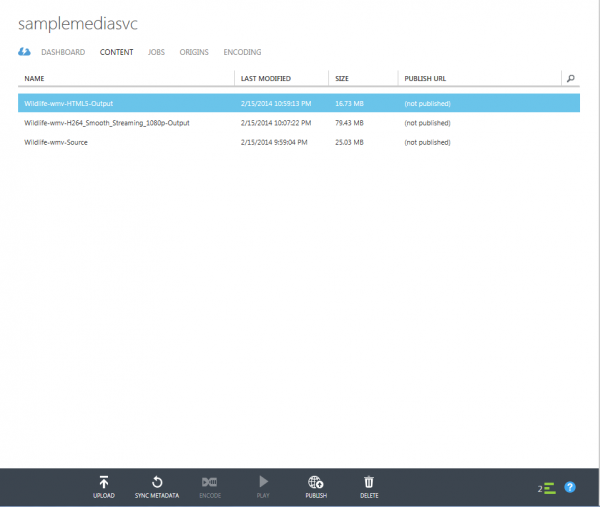
- Once the encoding is complete click on the ‘Content’ tab and select the newly encoded item. Select ‘Publish’ to make the video file accessible on the web.
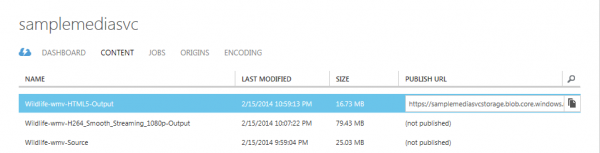
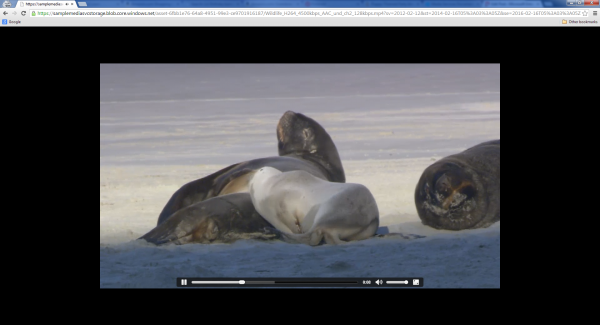
- Copy the hyperlink in the ‘Published URL’ column. Open a new browser window and paste the URL. Your HTML5 video should being playing in the browser with a full featured player. You can even do full screen. If your internet speed can’t keep up with the quality of the encoded video you can create as many different encoded versions of the video as you would like. Simply repeat the above encoding process.
This was a very basic introduction to how easy it is to use Azure Media Services. Next time we will automate this process by using the Azure Media Services SDK to upload and encode content. We will also stream and deliver the content programmatically from an existing cloud service.


